
Bench Top Router Table - Page 4
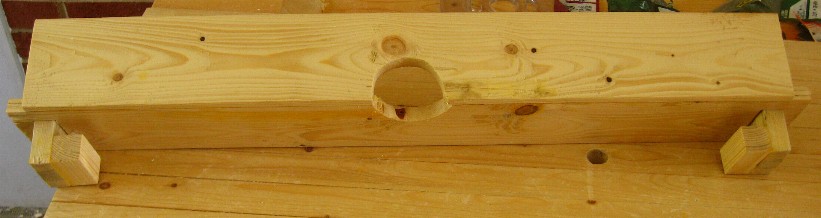 | ||
FenceA Router table must have a fence to help guide the work over the bit correctly. I split a 2x4 length wise to make 2 1/2 inch thick boards. I also prepared two pieces of 2-inchs wide, 1/2 inch thick and about 3.5-inchs long, and 4 pieces about 1x1-inch by 2-inches. These I used to make clamps with thumb screws to compress fence down to router table. For the board that sits on top of the router table I cut a hole to take the clamp and cut a piece to fit in the end and hold the clamp tight. | ||
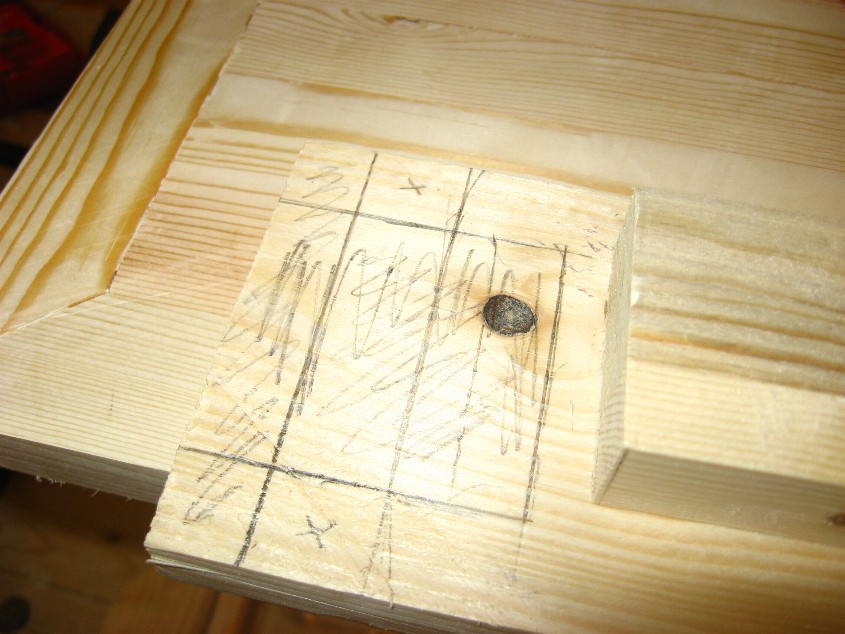
| Marked out for cut. You can see the part that will become the body of the clamp is used for sizing. This wants to fit very snug, but should not bind. | |

| I used my gents saw to saw down and then used my chisel to remove the rest. Then filed bottom smooth. | |

| Finished end, now groove for holder. Note the piece of wood I made the fence out had a major problem with pulling out along the grain when I was planing it. | |

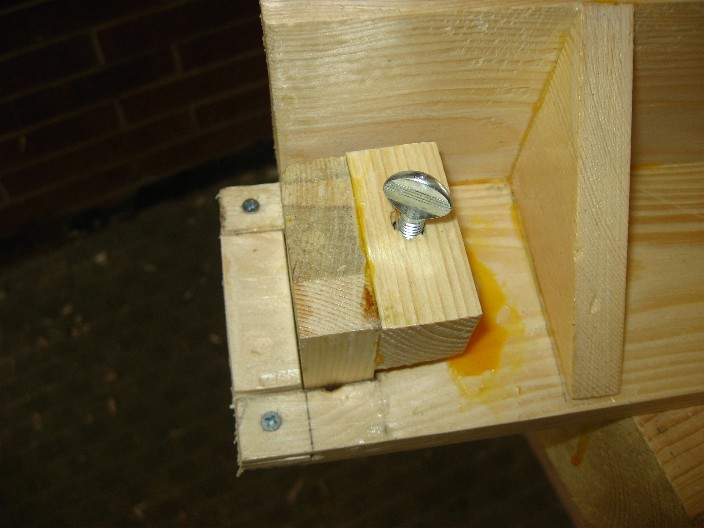
| The holder was made from extra part of guard board. | |

| Test fit. | |
| How things will look when glued, I still need to cut fence to length. | |
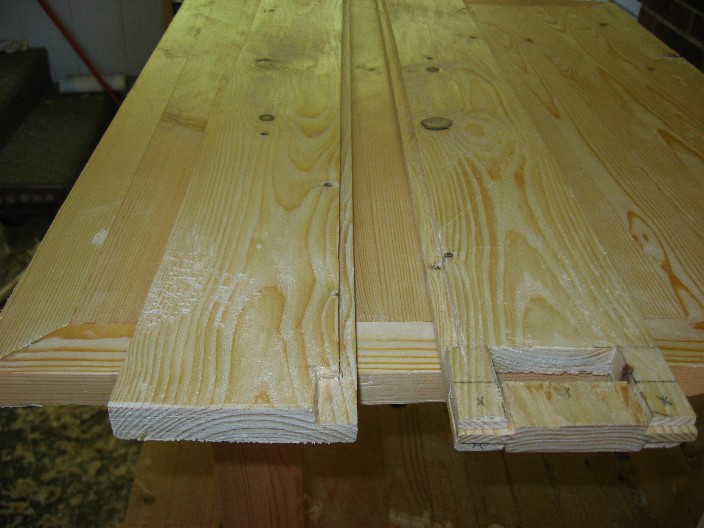
| I used a simple rabbet joint to join the fence and the fence anchor. fence to length. | |
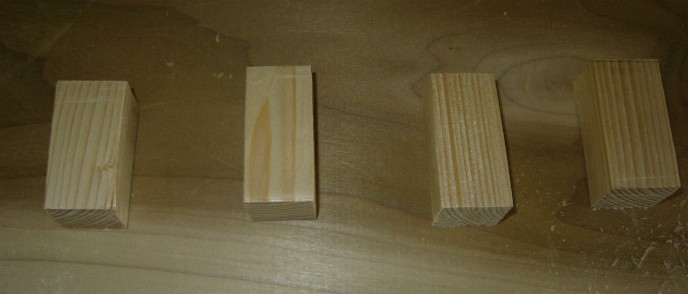
| Blocks to be glued onto clamp to act as stops. | |

| I drilled 5/16 inch holes and inserted threaded eyes to hold the thumb screws. | |

| Clamps that will hold fence down. | |
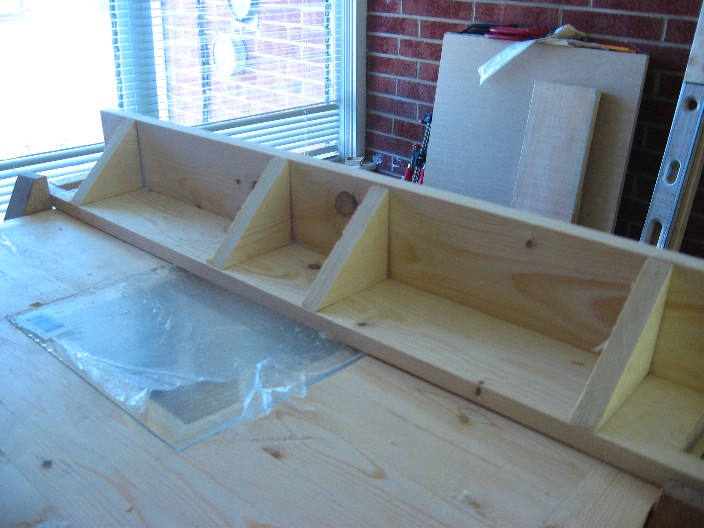
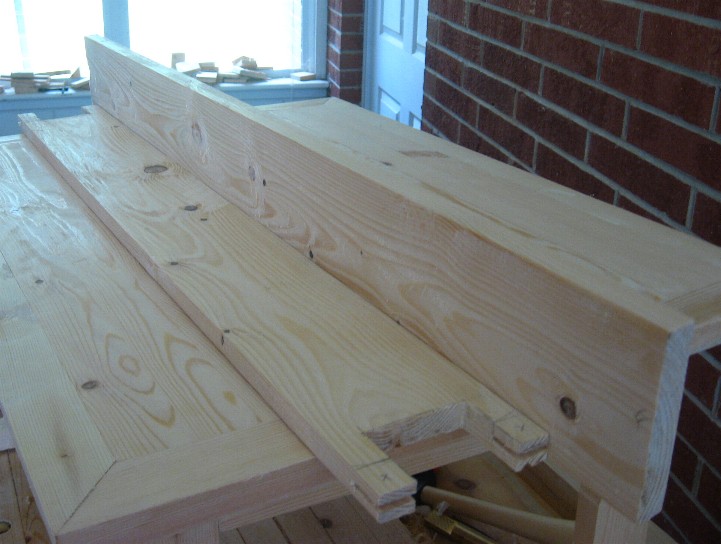
| Test fit of fence and braces. | |

| Gluing fence to base of fence. I need a few more clamps here I think! | |
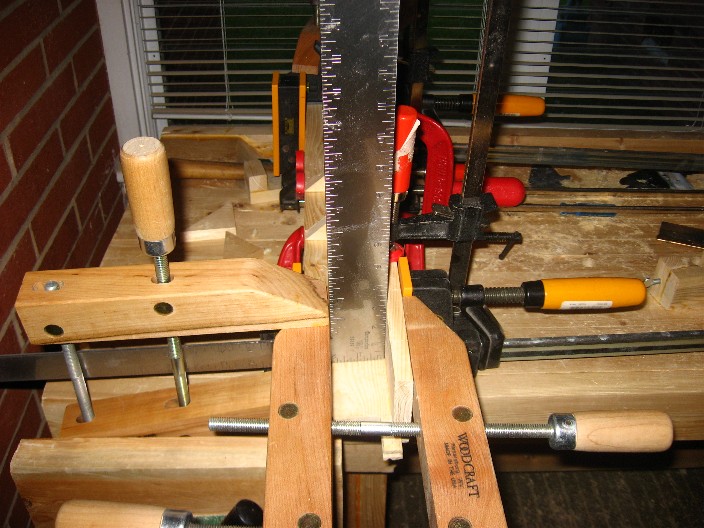
| Another view, the square is clamped in place to keep the front of the fence perfectly straight. There should be exactly a 90 degree angle between fence bottom and fence front. I have another square clamped at other end. | |

| Gluing the re-enforcements to the back of the fence. | |
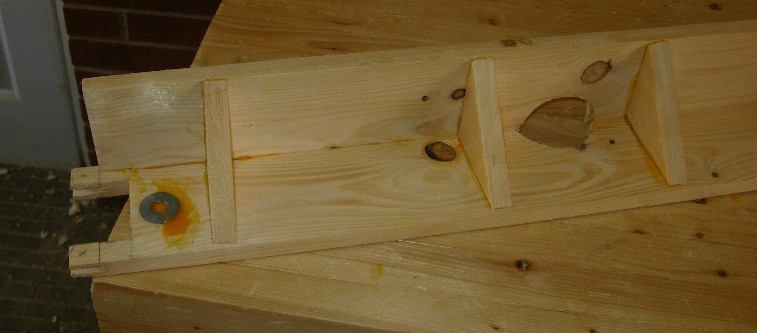
| Fence ready for finishing. I glued down some large washers where the thumb screws touched the wood. This is to keep them from tearing up the fence base when pressure is applied to lock fence down. | |
| I attached the clamp holder pieces with small 1/2 inch wood screws. I predrilled a pilot hole, and counter sunk the heads in place. After the pieces were screwed in place I cut them flush with my gents saw. | |
|
| Finished Fence after 3 coats of Poly-Acrilic. | |