
Oak Bookcase
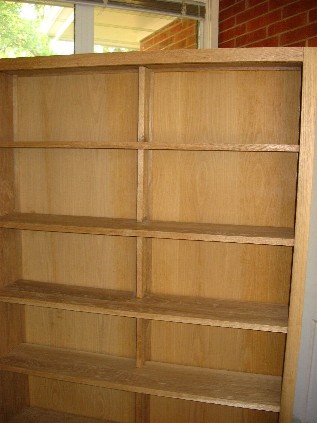 | ||
Preparing the WoodMy current project is building a Oak Bookcase, I have too many books and I need nicer bookcases to put them on. The bookcase is going to be about 6 feet tall, 48 inches wide and 8 3/4 inches deep.
| ||
Basic Parts | ||
| My bookcase came some assembly required. | |
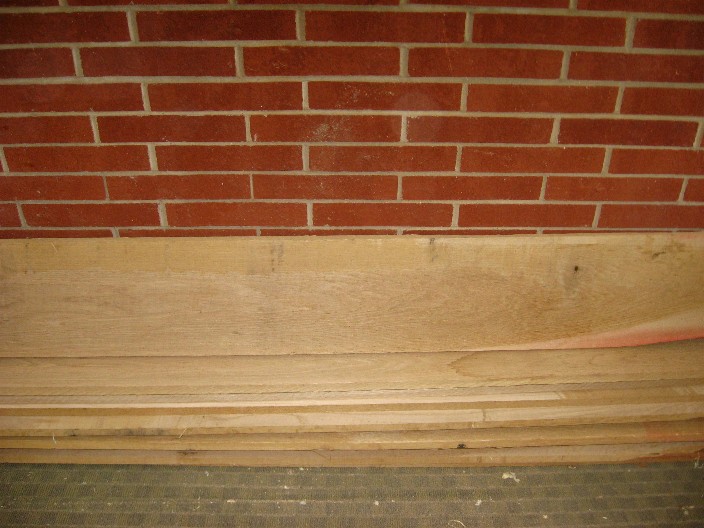
| I could not get alot of pieces that were wider then about 6 inches. So I ended up getting several 6 inch pieces and a similar piece that I could get 4-5 inches out of. Here I am sorting boards based on size and defects to get widest possible pieces after they are jointed. All boards are between 9 and 10 feet long. | |
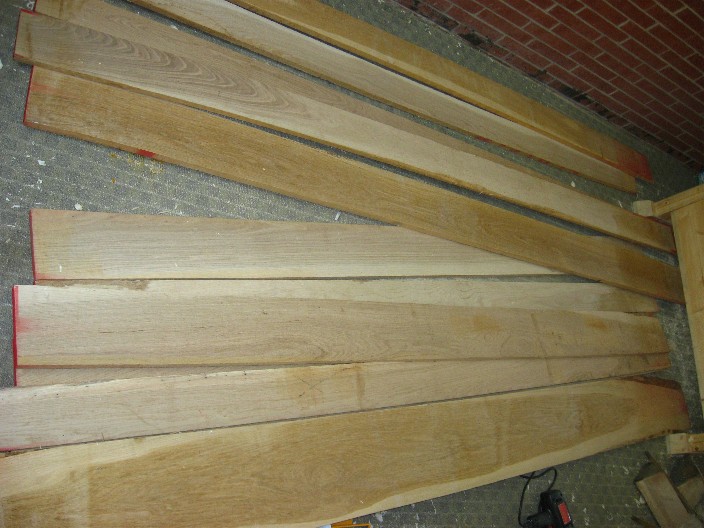
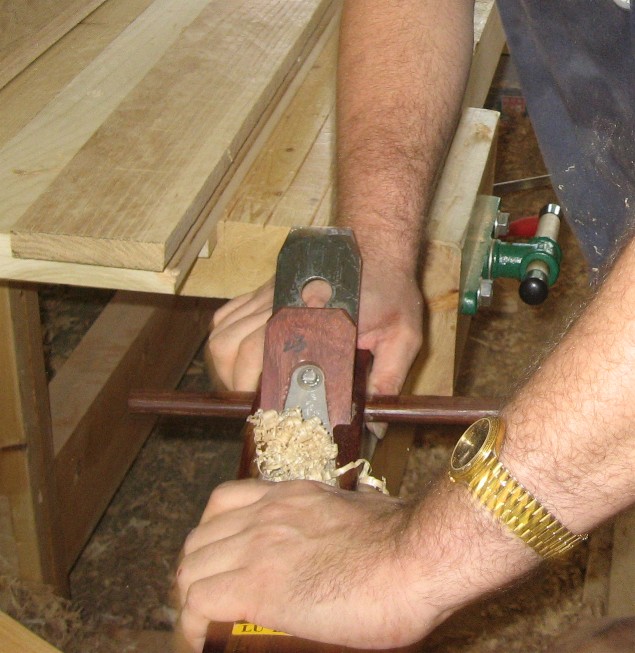
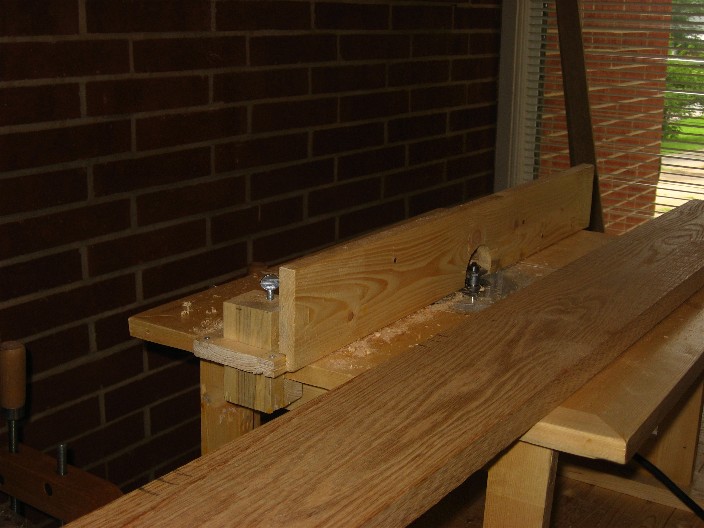
| I am taking each pair of boards and plaining one side (will be bottom) and one edge. After I have all the boards like this I will rough cut them to length and biscuit joint the pieces to make the shelves and sides. | |
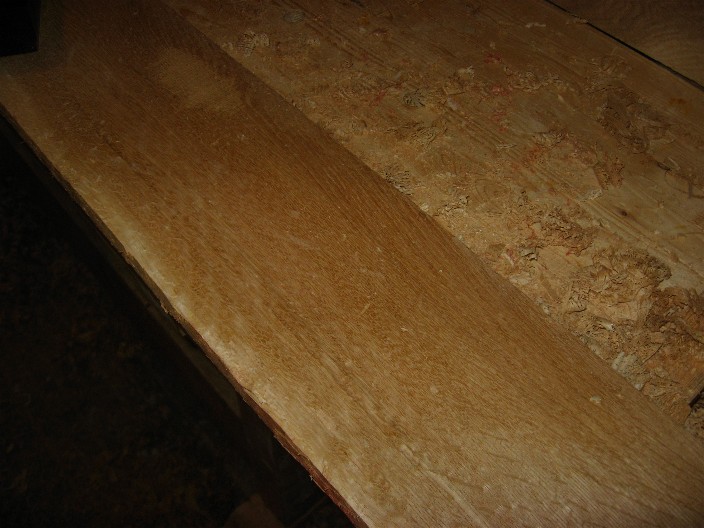
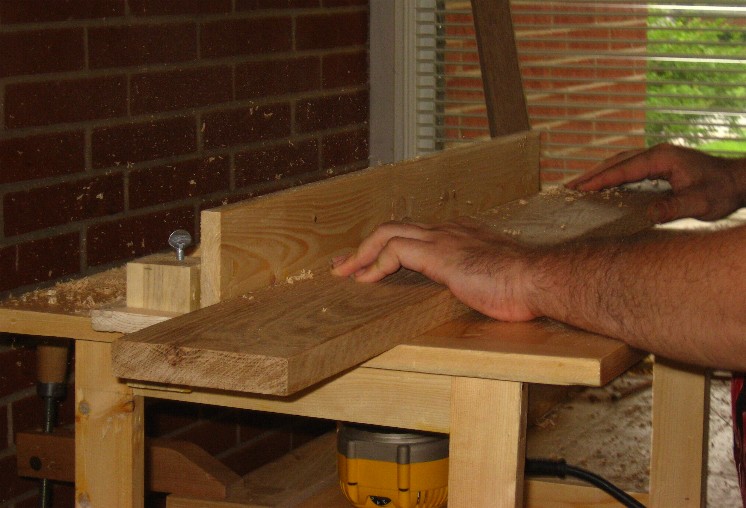
| Close up of plaining. My goal here is to get one side reasonably flat and clear of nicks and saw marks. The boards came speed plained, but as you can see the edges are not very smooth. Once these have been jointed I will plain both sides smooth and adjust all boards to same thickness. | |

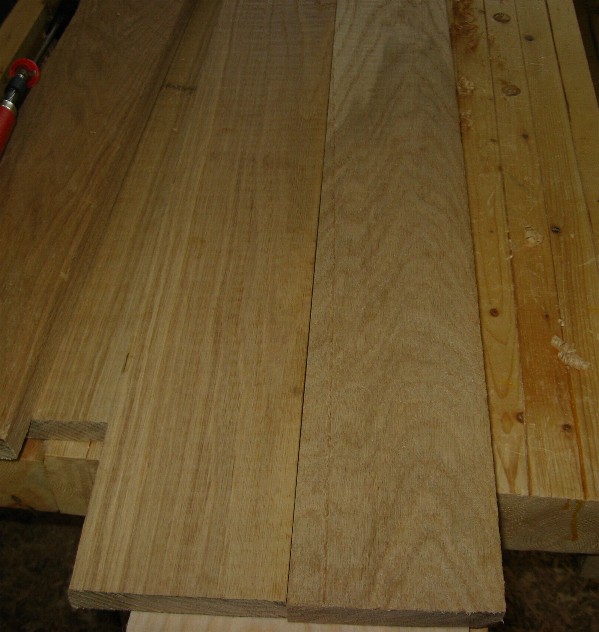
| I stacked the boards to get the largest possible widths. The board to the side is an extra one. | |
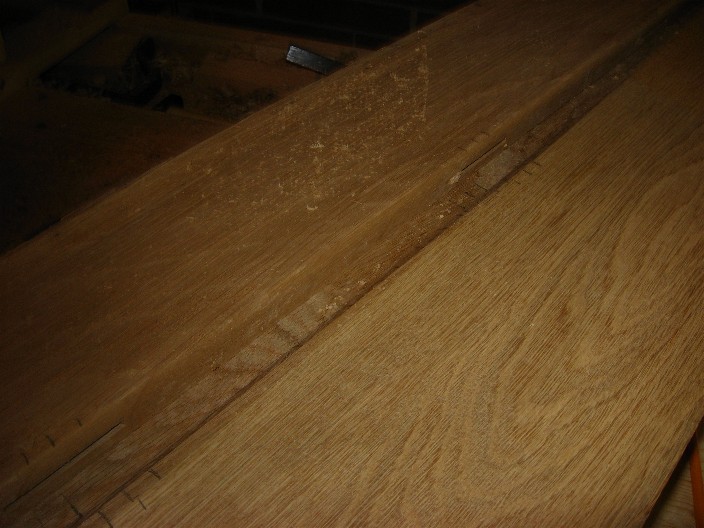
| After I cut the shelves I have to make the matching sides perfectly straight, so they will join without a seam. | |
| Perfect match up. | |
| Close up. | |
| I used my router to cut biscuit holes. The biscuits are used to help align the halves so there is less work in final board preparation. | |
| Cutting holes. | |
| Biscuit holes (placed about every 12inches, and about 7 inches from edge). | |
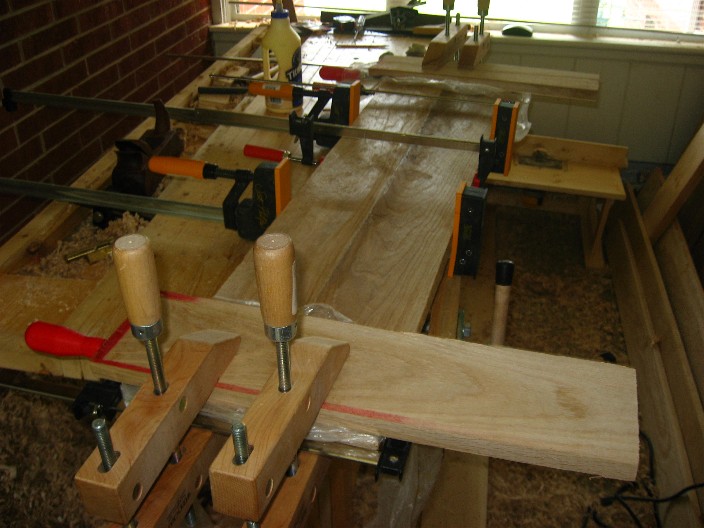
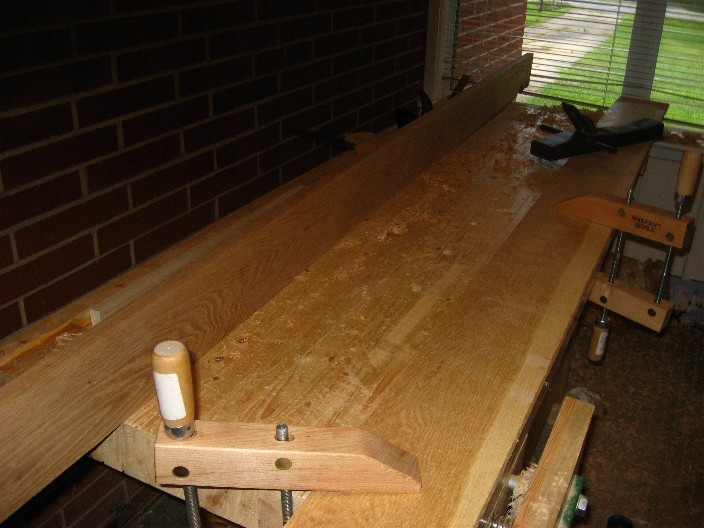
| Glue up of one of the shelves. | |
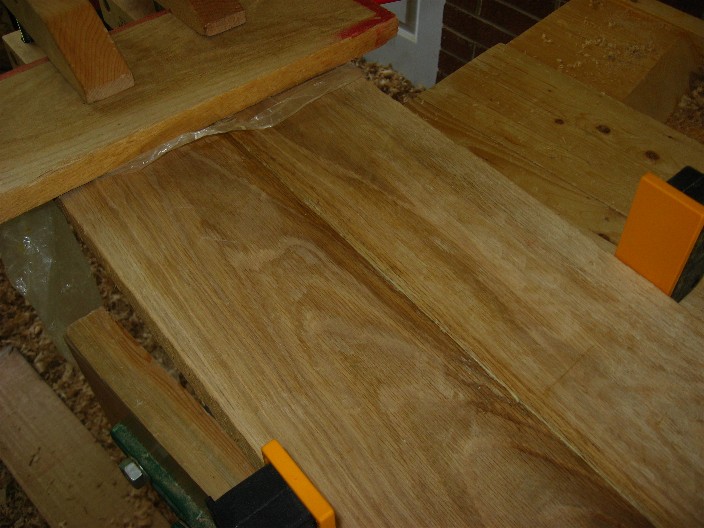
| I clamped a flat board across the smoothed side of the pair to keep the boards reasonalbly flat during glue up. | |
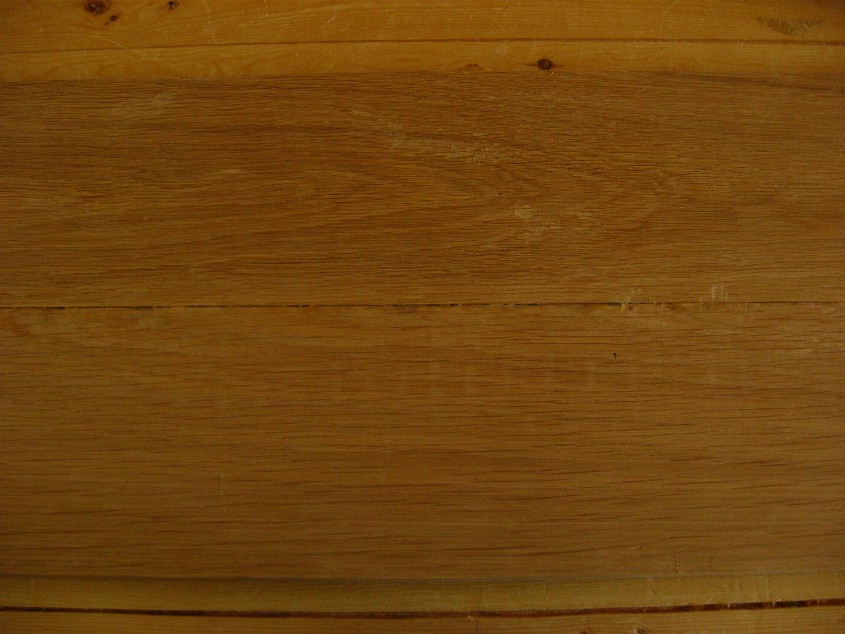
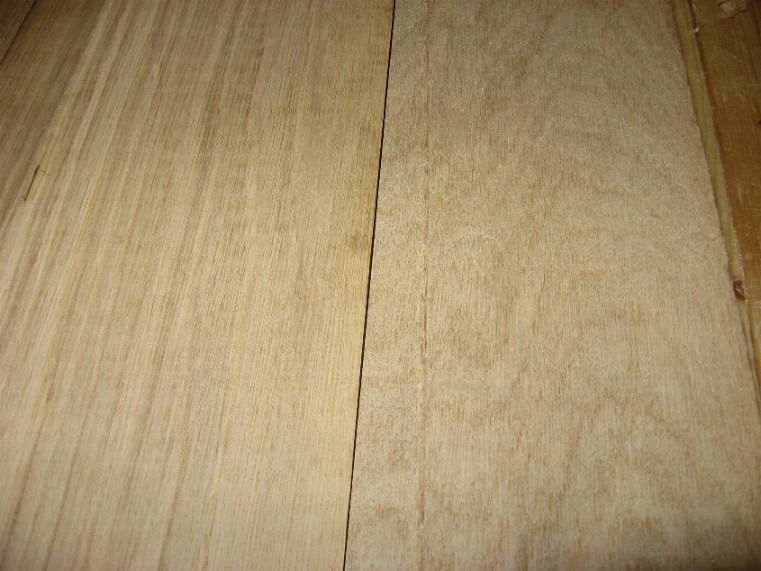
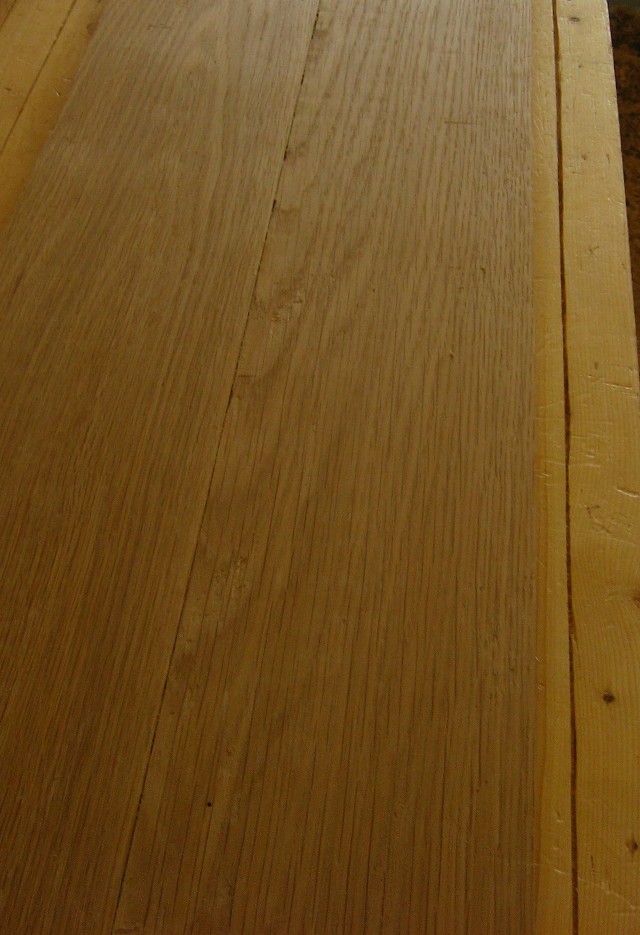
| After the boards have been planed to thickness, cut to width and scraped, they look like this. I did not do as good a job as I would have liked to with keeping gap hidden. | |
| ||