
 | ||
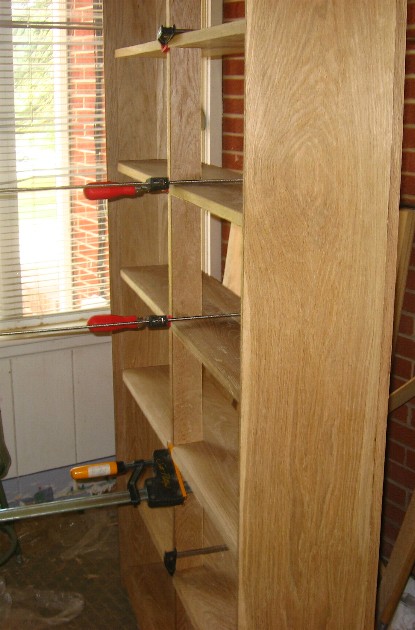
Glue up.Final assembly here. Not alot to write about here. Basic steps were to first glue the front molding in place. This gave shelves a place to stop to. Next step was to glue shelves in place and toe kicks. This took a long time to clamp up, and I did not have enough clamps (you can never have too many). Next the top was glued down. This was left unglued during shelf glueup since I wanted to clamp it down to the shelves to get downward clamping force on dovetails. Next the center was glued in. Lastly the top molding was glued inplace. For the back I after cutting the 1/4" oak plywood panels, the center piece was glued in with panels partialy in place to keep everything straight. Lastly the panels were slid out and glued and clamped along side. The back will be nailed in place after the finish has been applied. This will allow me to remove the back if I need to at some point in future and allow back to float semi free during wood movement.
| ||
Test fitting | ||
| How it looks from front. | |
Glueing shelves | ||

| Glueing front molding on sides. | |

| Here is a test of how shelves will look when finished. I did another pass of scraping, then wet them with denatured alchol to bring out grain. | |

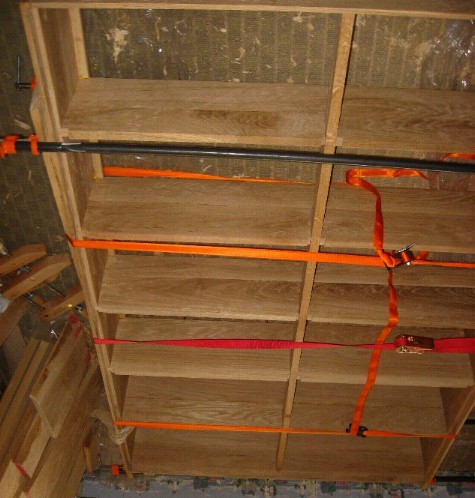
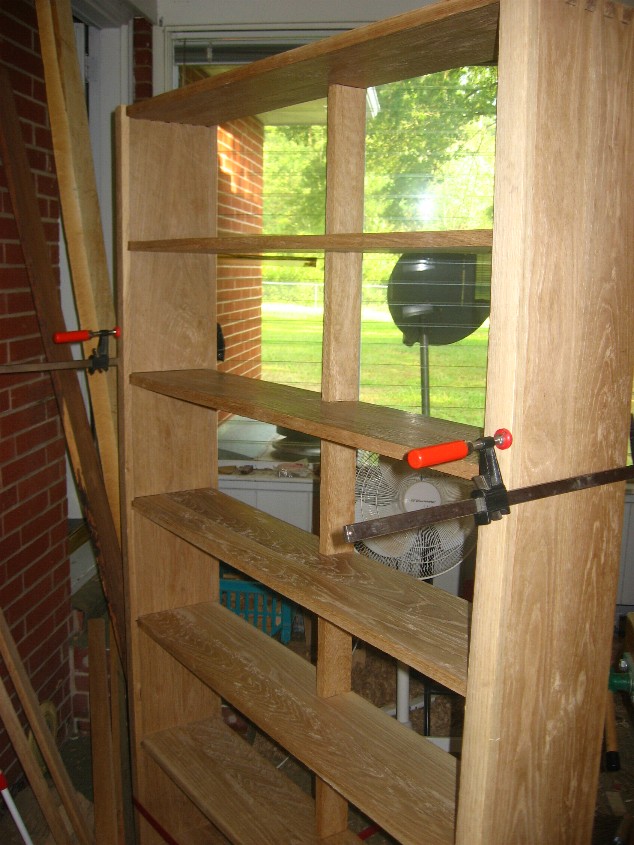
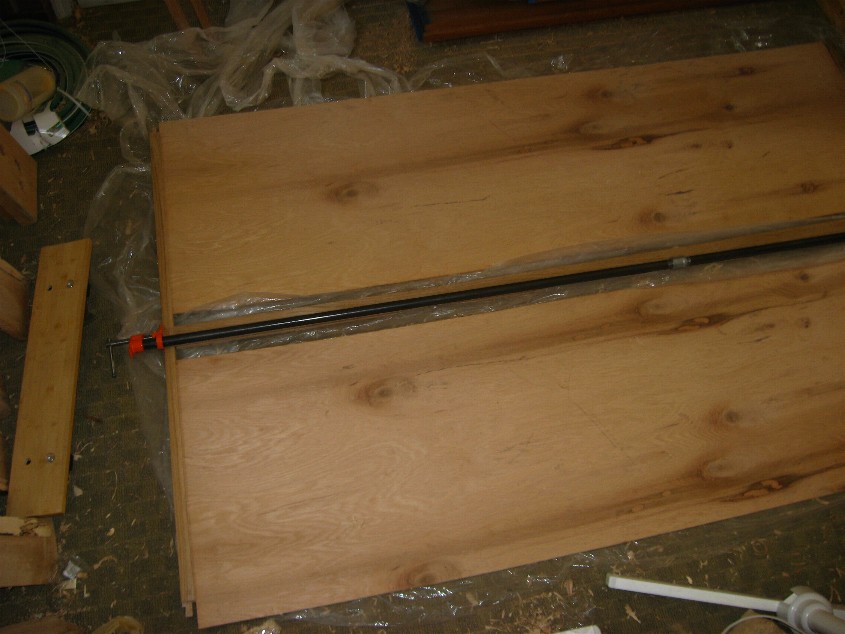
| Main glue up, I glued the shelves and kick plates in place. I really need more clamps. The top and the center support are not glued yet, just there to help hold everything in place. | |
| Gluing the top on. | |
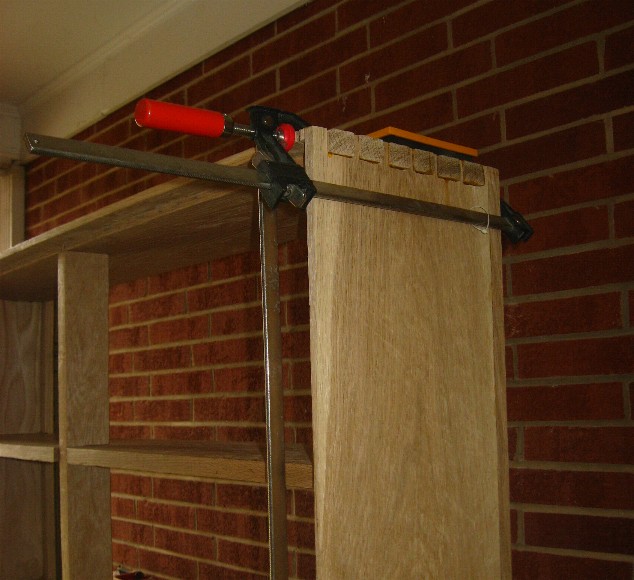
| Close up of dovetails, I will trim these after the glue has dried. | |
|
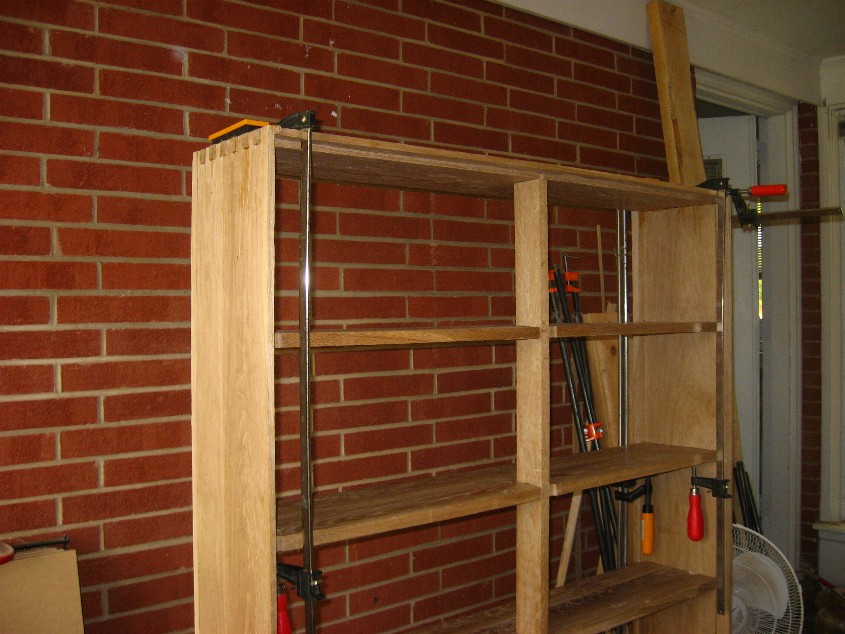
| Glueing top on. | |
| Glueing back together. I did not take a picture of glueing the panels in place. Basicly after the glue had dried for center peice, I slid out the panels and applied glue to tracks. Then clamped along outside. | |
| Clamping down center support piece. | |
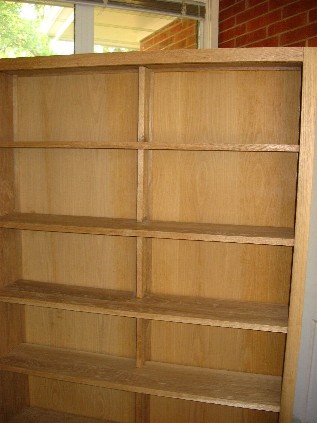
| All glued up. The back is just sitting in place. After the bookcase has been finished I will nail this in place. | |