
Oak Bookcase
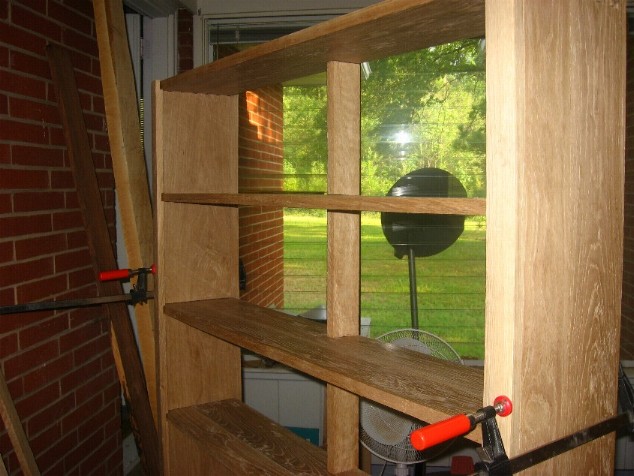 | ||
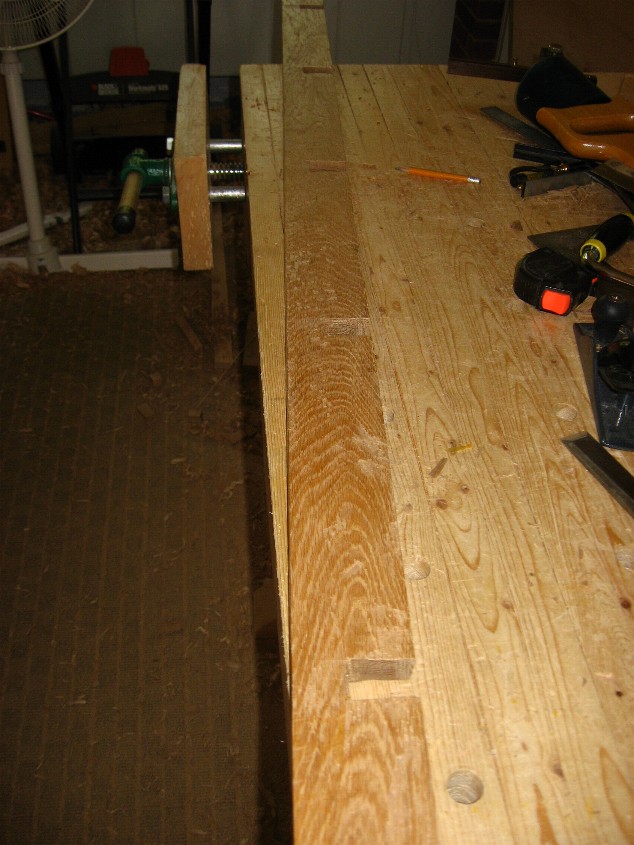
Still more parts.Now that the front molding is cut, I can start work on the center self support, and the back frame.
| ||
Cutting shelf support | ||
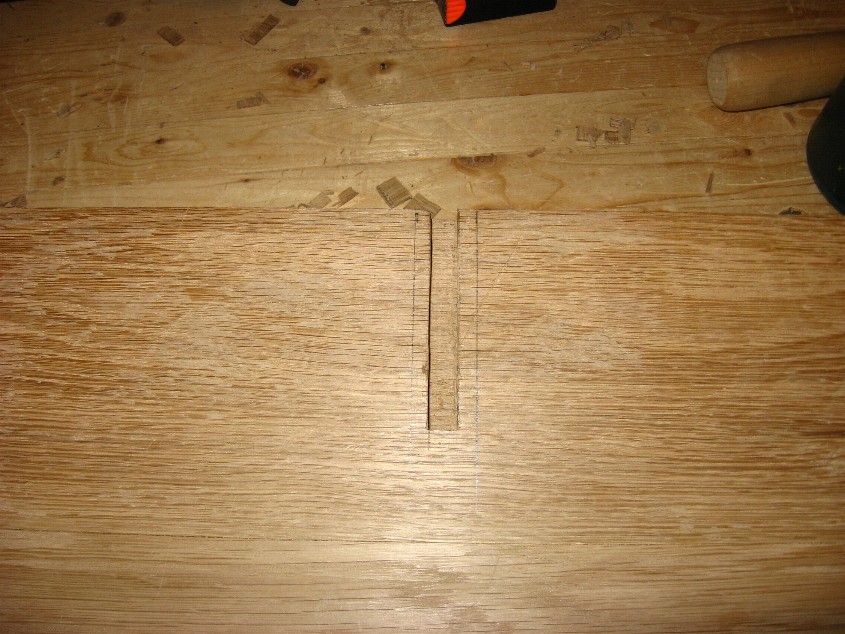
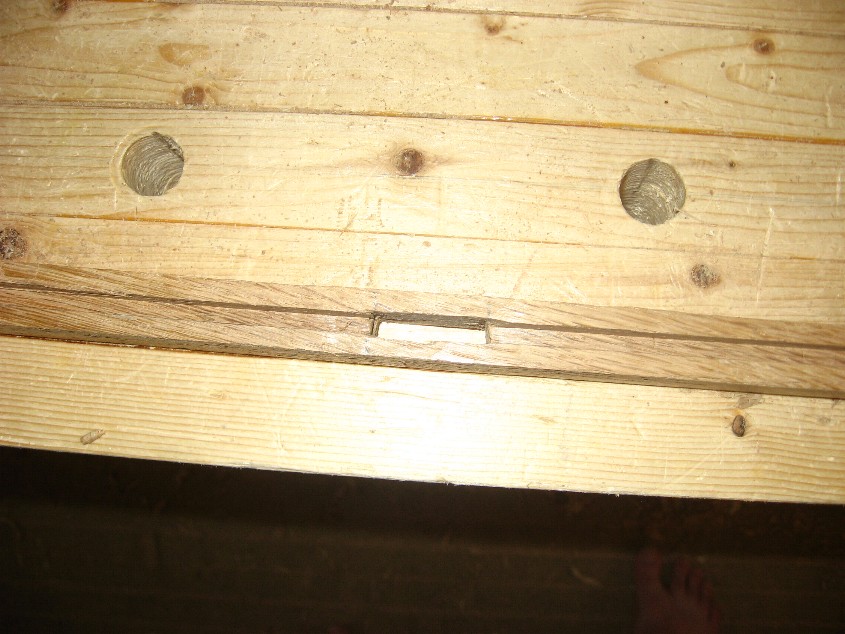
| The bottom and top of the shelf support is rabbeted into a stopped dado cut in center of top and bottom shelves. | |

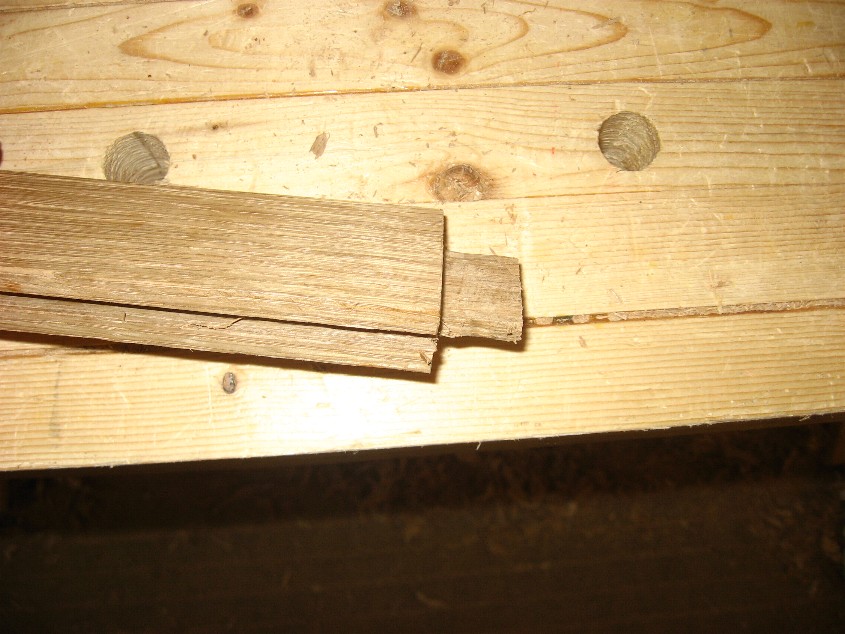
| The top and the bottom of the center support has a sliding tenon to fit into rabbet in top and bottom shelf (see above). | |
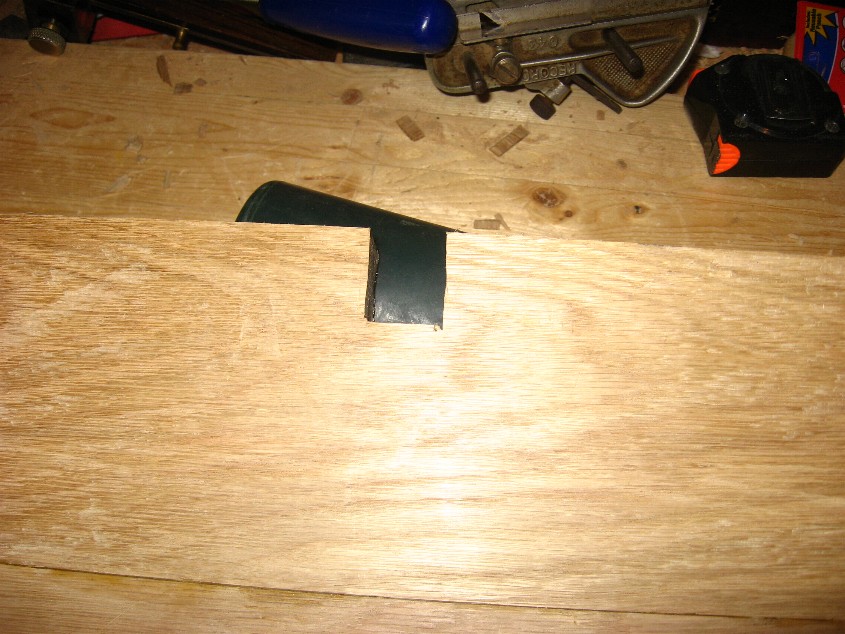
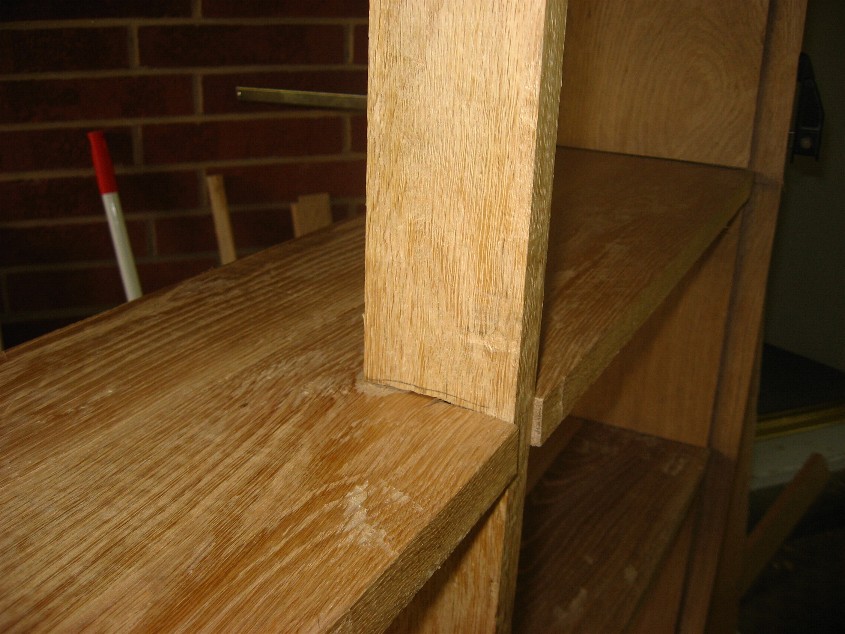
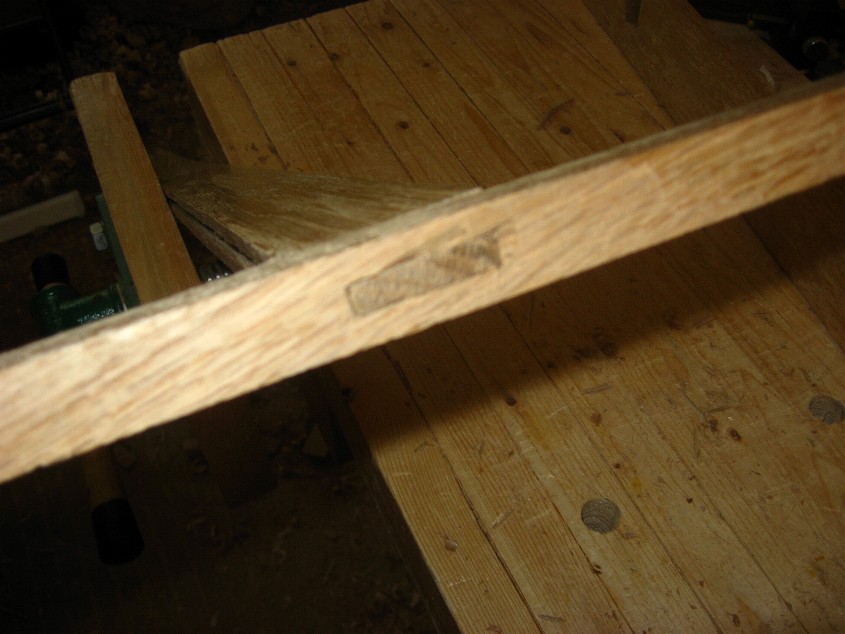
| For middle shelves the center support fits with a lapped joint. Basicly cutout a section of at the center of the shelf to fit the center support. | |
| A similar cut is made in center support to hold each shelf. These were fixed so that the center support is indented into the shelf by 1/4 inch. The selves will be trimmed back to hold the center support for the back panel. | |
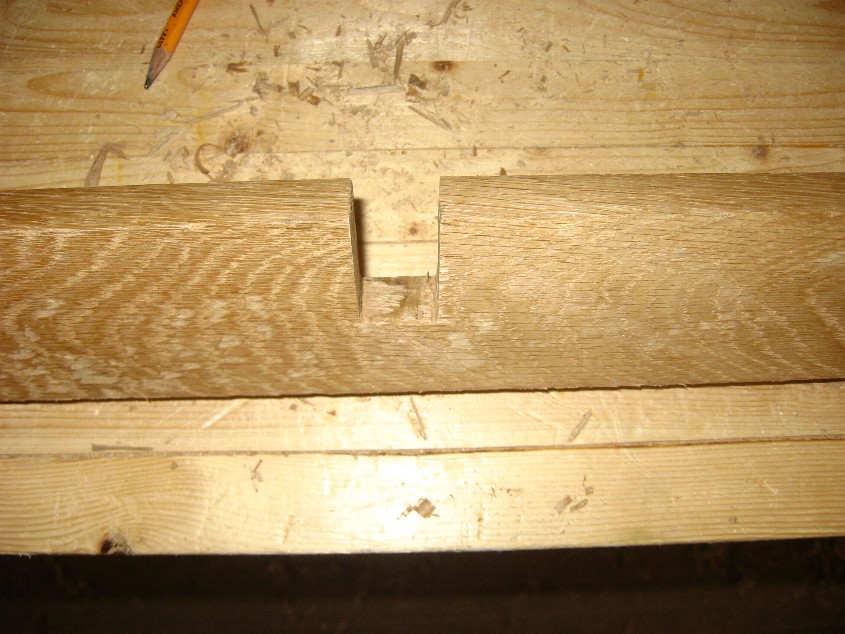
| Here is finished center support. | |
Rabbet for Back Frame | ||

| I cut a 1 1/4" rabbet around the inside of the back to fit the frame into. After cutting a stop cut with my backsaw, I used my chisel to remove the rest. | |
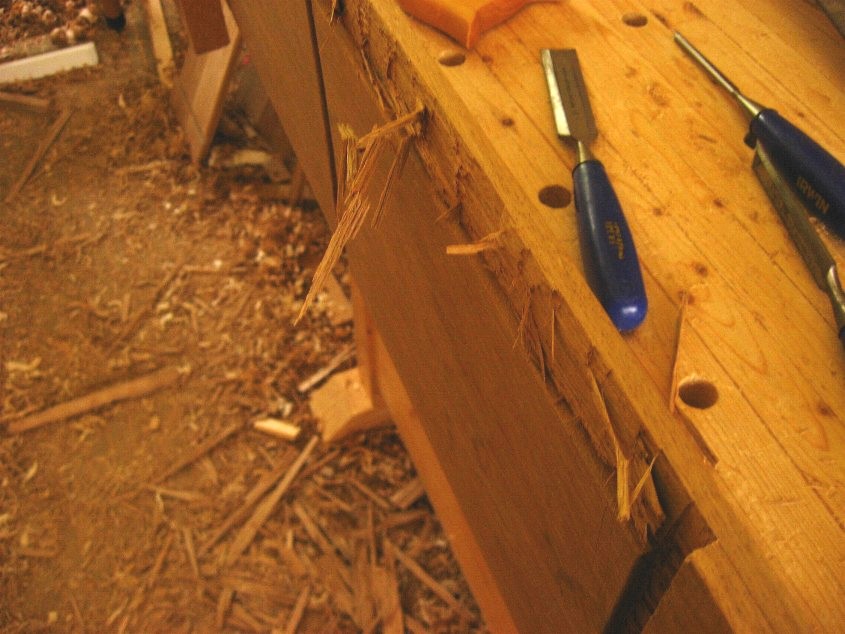
| More removal. | |
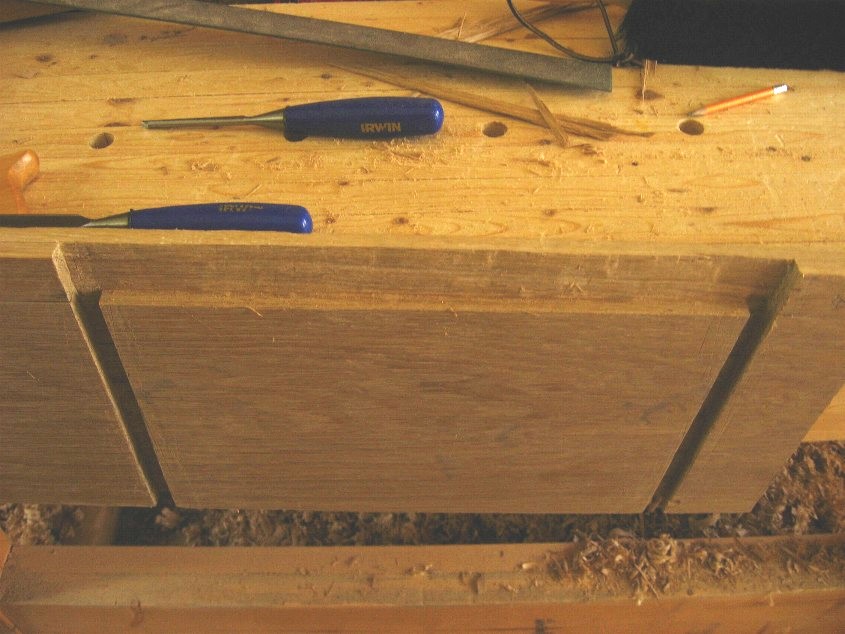
| After cleanup the rabbet looks nice. | |

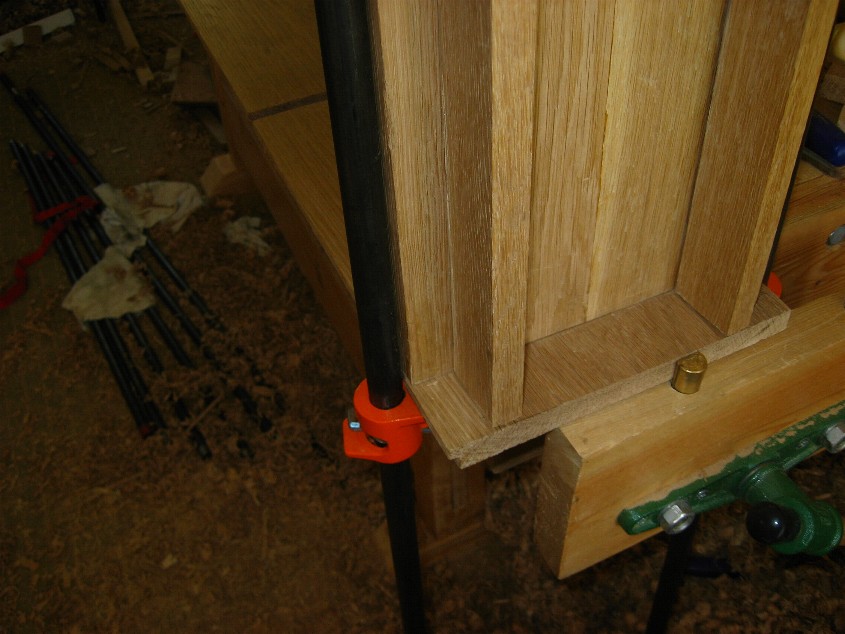
| Here you can see the rabbet to hold the back around inside of back. | |
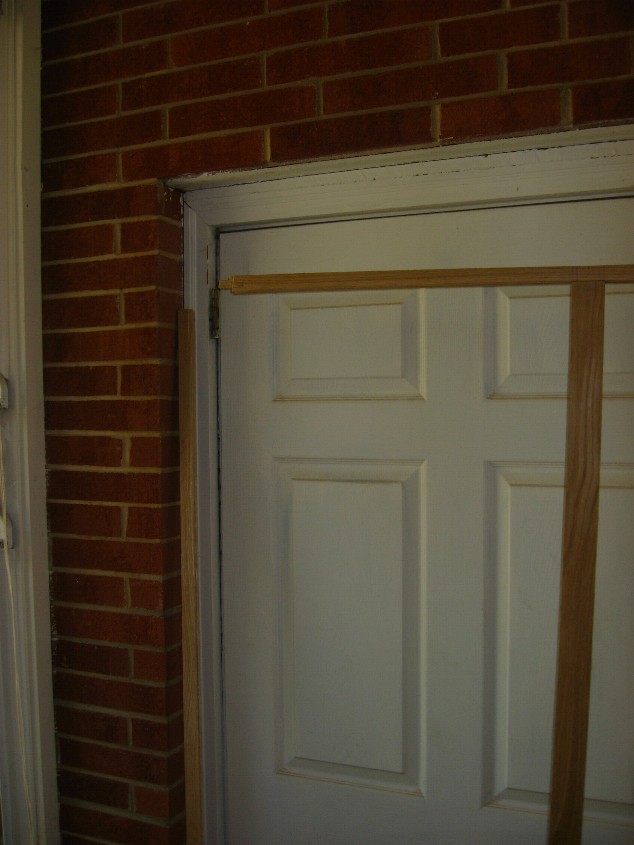
| Here is a better shot looking at side, I still need to trim the shelves so that center of back will be flush with center post. | |

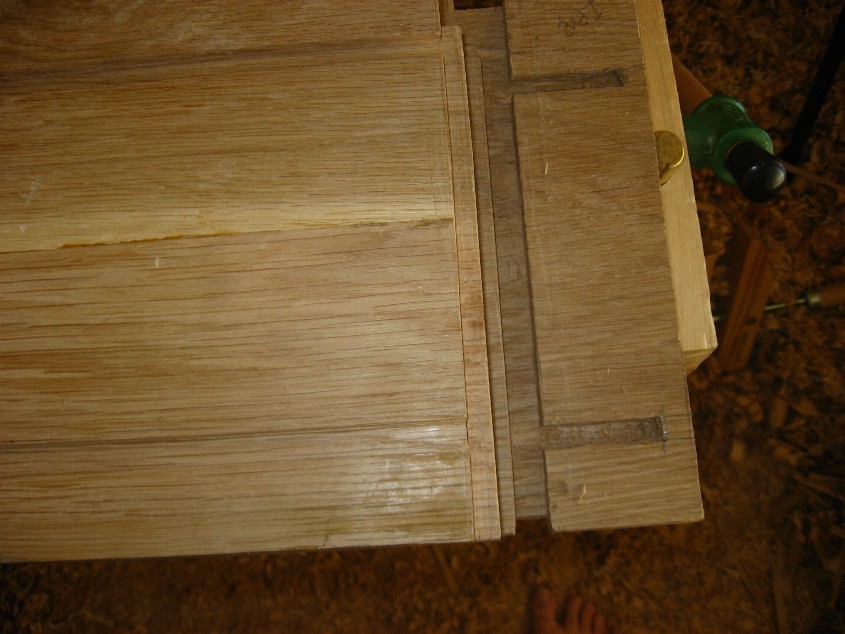
| Cut out for frame on top. | |
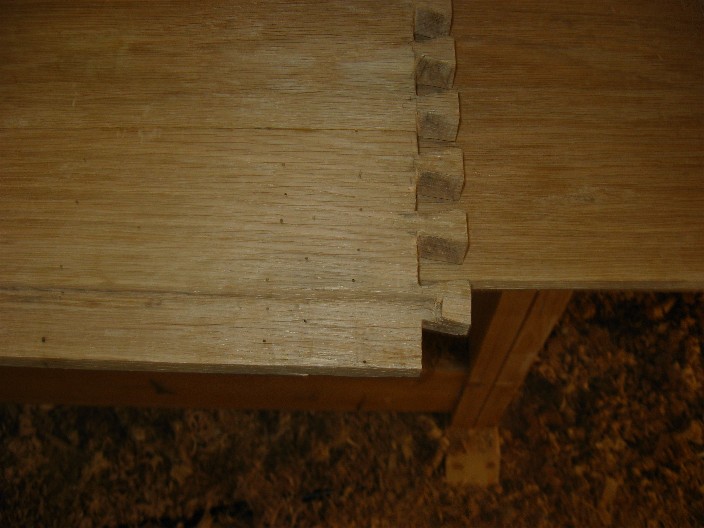
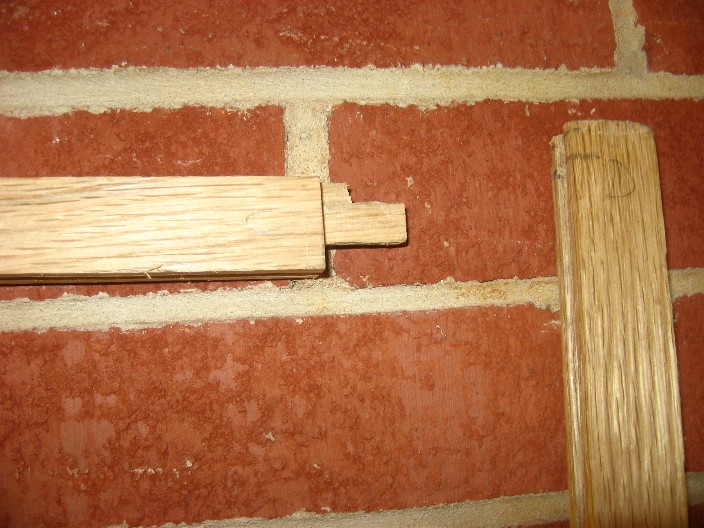
| Showing the ends where I did left dovetail. This is so that there is not a gap at corner. | |
Back Frame | ||
| The edges of the back frame were routed with my plough plane with a groove that will be used to hold the plywood back panel. | |
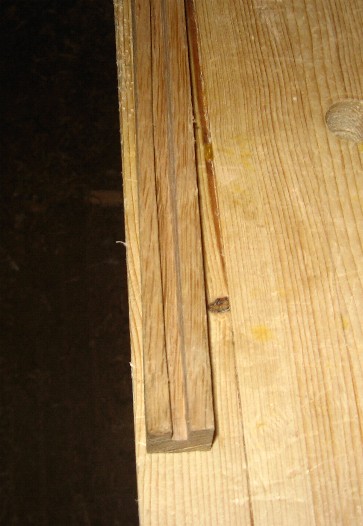
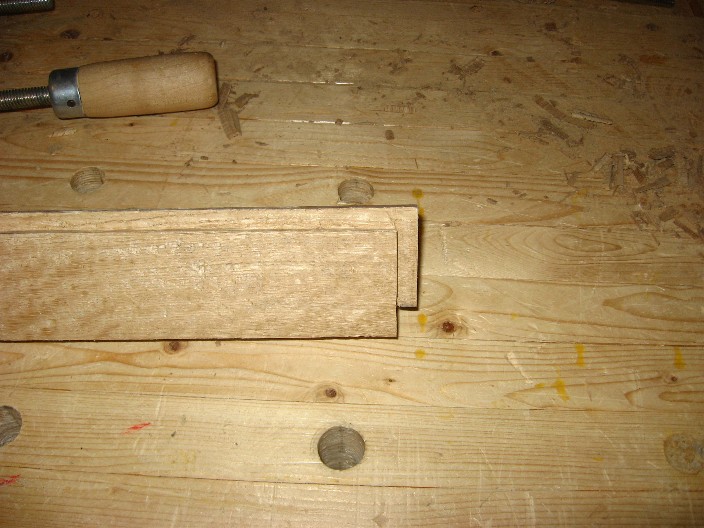
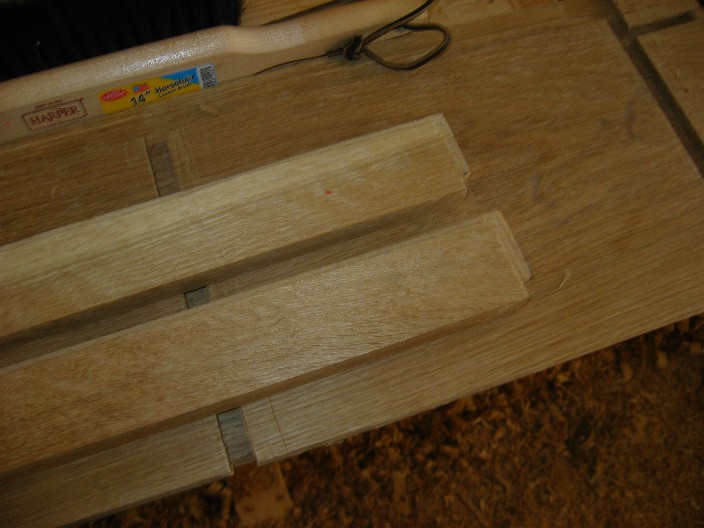
| The center back panel support has a groove cut down both sides of it. Next a tenon is cut at both ends to fit into a mortise cut in center of back panel top and bottom supports. | |
| Here is mortise in top piece. | |
| Here is it put together. | |
| Frame cut, test assembly. | |
| Mortis and tenon joint for frame edge. | |
Kick (or toe) plate | ||
| This is a pretty simple cut, the kick plates were cut to 2 1/4 inchs, then a 1/4inch rabbit was cut into top. Next a 3/8 inch by 1/4 inch tendon is cut on the ends. It starts 1/2 inch above floor. | |
| Cutting tenons for kick plates in side. | |
| Test fit of kick plates. | |
| Finished kick plates. | |