
English Garden Bench
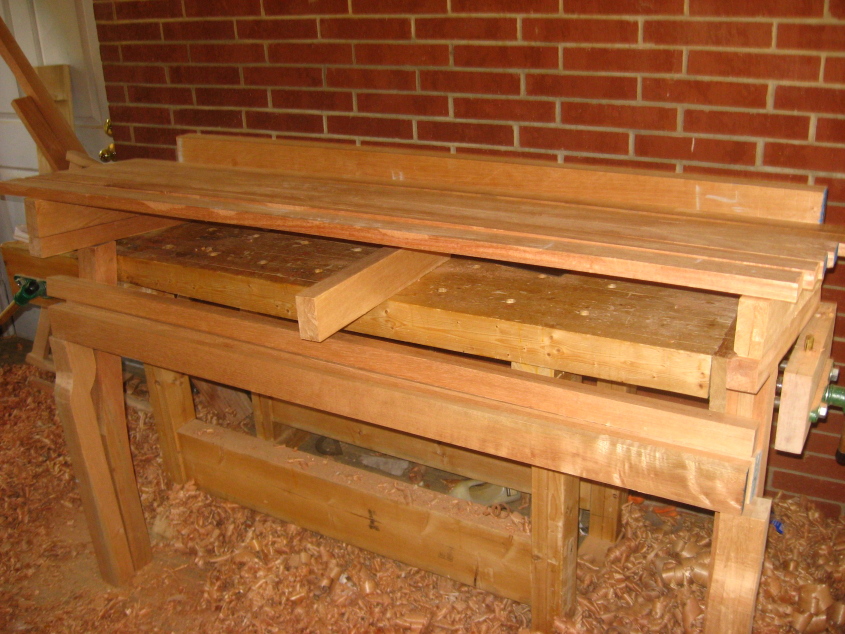 | ||||||||||||||||||||||||||||||||||||||||||||||
Preparing the WoodMy current project is building a bench for my front porch. This is being made out of Spanish Cedar. Overall size will be 5 foot long. Again I did not make accurate plans before I started this project. Since I am not trying to match an existing bench, overall dimensions are not important. I want the seat to be about 17 inchs of the ground and be about 17 inchs wide. But there is about plus or minus 1 inch tolerance here, and the bench will still be confortable. Note I am not recommending sloppy construction techniques here, rather that exact dimensioning of stock is not extremely important. Now it is very important that the front and back rails be the exact same lenght and at exactly the same hieght off the ground at each leg, or the bench will not be square or level. The first step in preperation was to hand plane all the rough stock generaly flat and remove all the saw marks. Since none of the peices needed to be edge jointed and all would be cut out of larger boards, I did not worry thicknessing the boards or squaring up the boards at this point. The parts required to be cut for the bench are as follows:
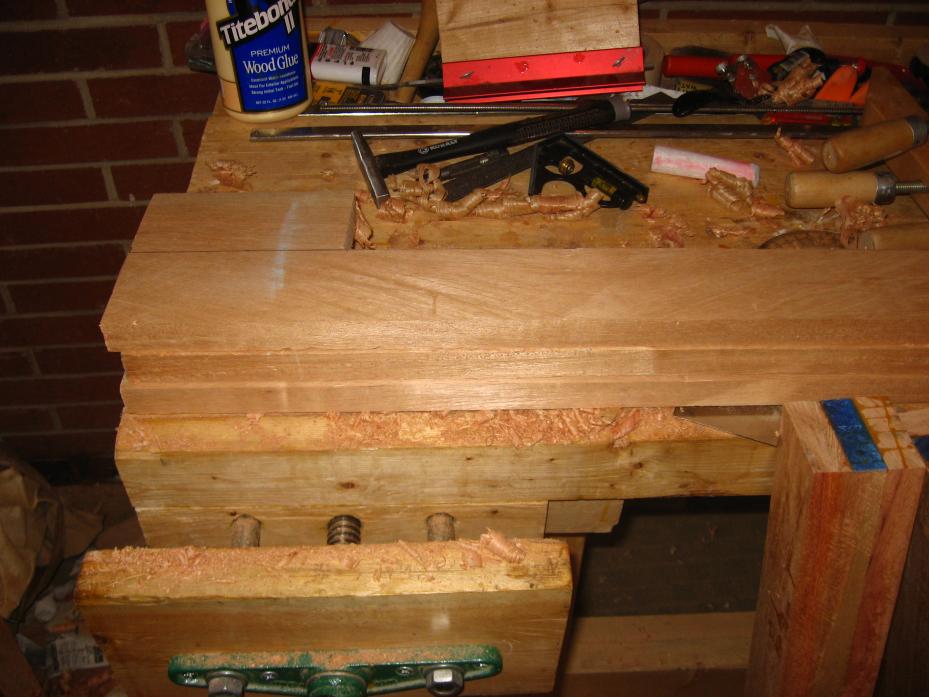
The back legs are about 17 inchs height, then there is about a 10 degree angle and then up to about 34 inchs tall. These were made up of 3 pieces glued together. You could use thicker stock, but the glued pieces should be stronger. After the glue up they are shaped to be 2.5 inchs square. The front legs are about 20 inchs tall, again from three pieces lamenated together. Also I cut them with a extra piece as you can see below. After the bottoms are squared up and made to be about 2.5 inchs square (size should be same as back legs). The legs are carved starting at about 20 inches above bottom side. The top is offset about 1 inch back from front of leg, then a smooth curve is carved. Again exact placement is not important, just as long as you start somewhat over 18 inchs (so the curve does not start until it is over top of seat. | ||||||||||||||||||||||||||||||||||||||||||||||
Basic Parts | ||||||||||||||||||||||||||||||||||||||||||||||

| The bench again came assembly required. I really need to find another furniture vendor that does not make these do it yourself pieces. | |||||||||||||||||||||||||||||||||||||||||||||

| Close up of planed wood showing clear image of grain. | |||||||||||||||||||||||||||||||||||||||||||||
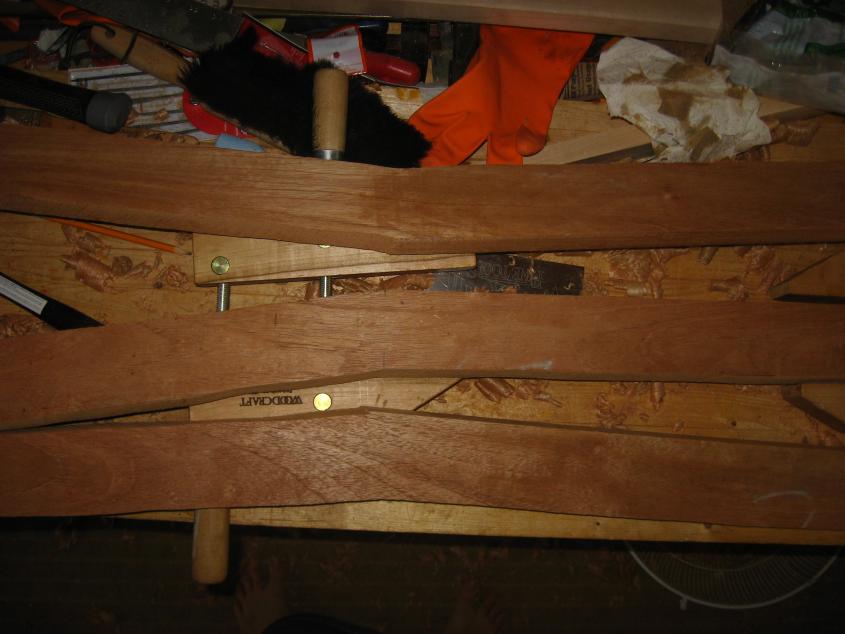
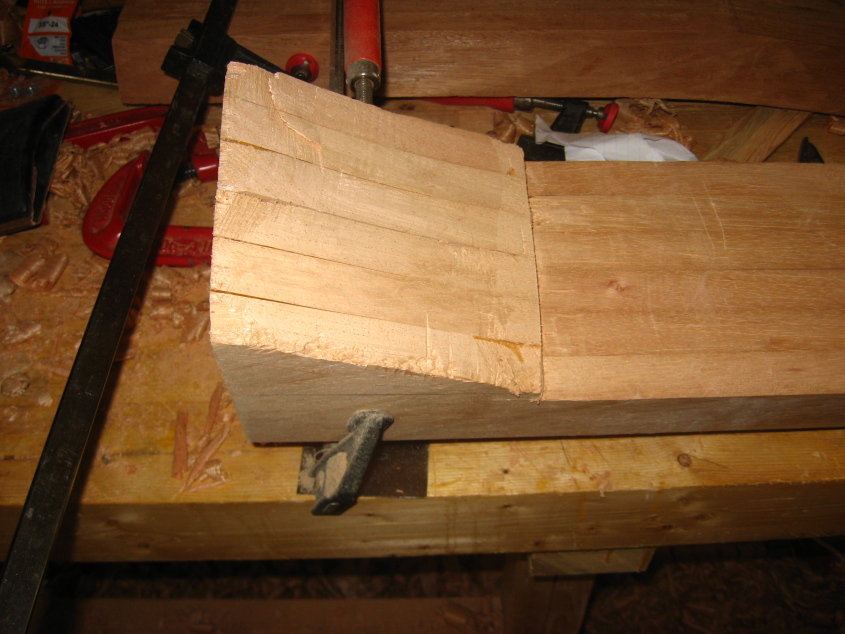
| The legs are being made of three pieces glued together. | |||||||||||||||||||||||||||||||||||||||||||||
| Another view. | |||||||||||||||||||||||||||||||||||||||||||||

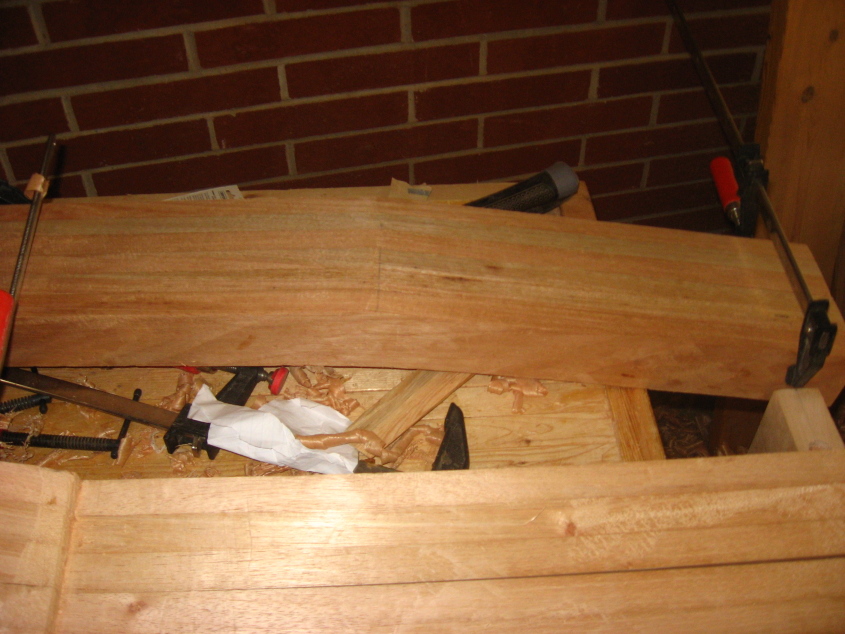
| Glueup, showing that I really need more clamps. | |||||||||||||||||||||||||||||||||||||||||||||

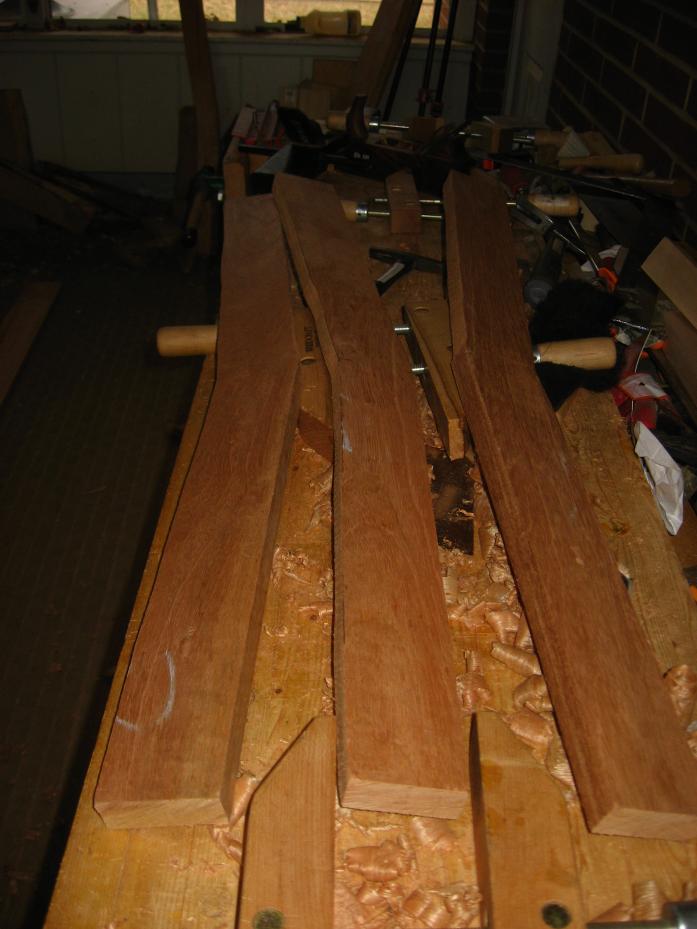
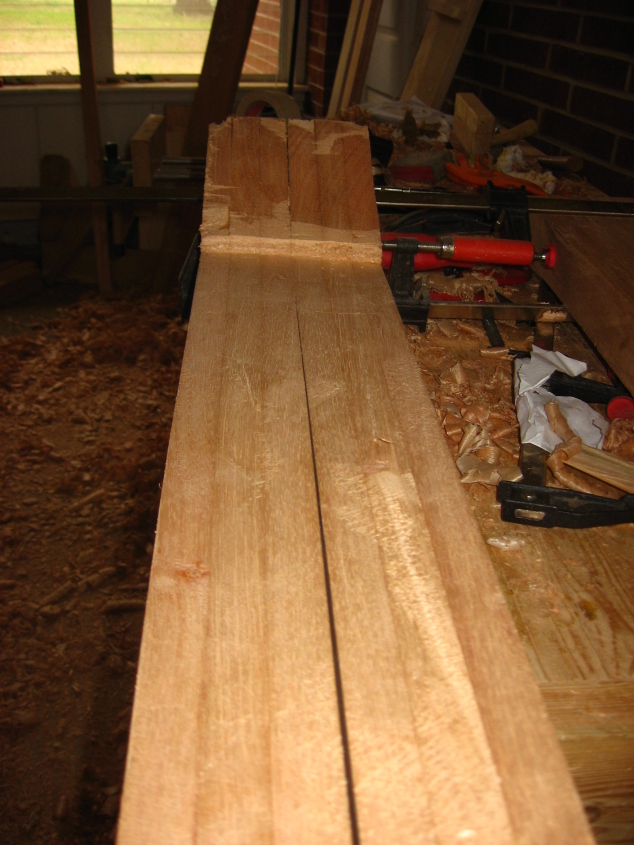
| Legs after they have been glued, and cleaned up a bit. /td> | |||||||||||||||||||||||||||||||||||||||||||||

| Side and front view of back legs. | |||||||||||||||||||||||||||||||||||||||||||||
| Front legs are similar to back legs. | |||||||||||||||||||||||||||||||||||||||||||||
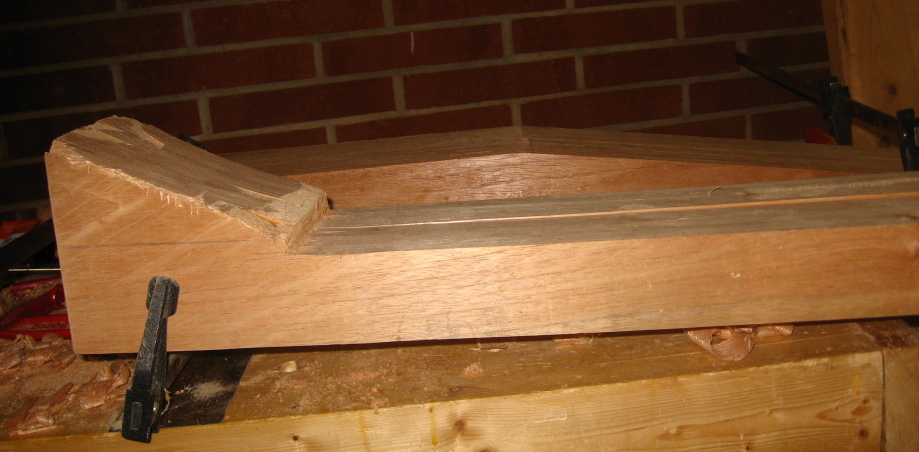
| Here they are glued up, but before I have shaped the top part. | |||||||||||||||||||||||||||||||||||||||||||||
| Back legs and front legs shown together. I have clamped the legs together so that I could make them the same size. | |||||||||||||||||||||||||||||||||||||||||||||
| Front legs. | |||||||||||||||||||||||||||||||||||||||||||||
| Front legs before carving. | |||||||||||||||||||||||||||||||||||||||||||||
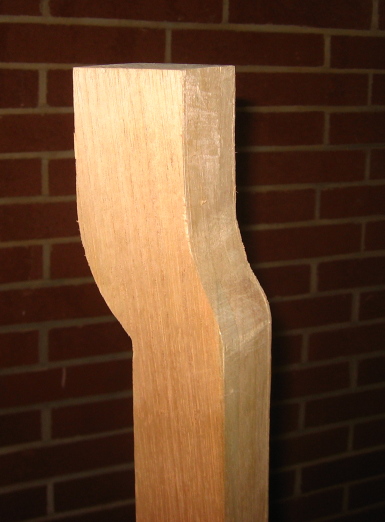
| After the front legs have been carved to shape. | |||||||||||||||||||||||||||||||||||||||||||||
|
| All parts (except back slates), cut. | |||||||||||||||||||||||||||||||||||||||||||||