
English Garden Bench Page 2
 | ||
Fitting piecesThe first step here is to insides of the front and back legs are at right angles and that the legs sit together without gap. If this is off you will never get bench square.
| ||
Joints part 1 | ||
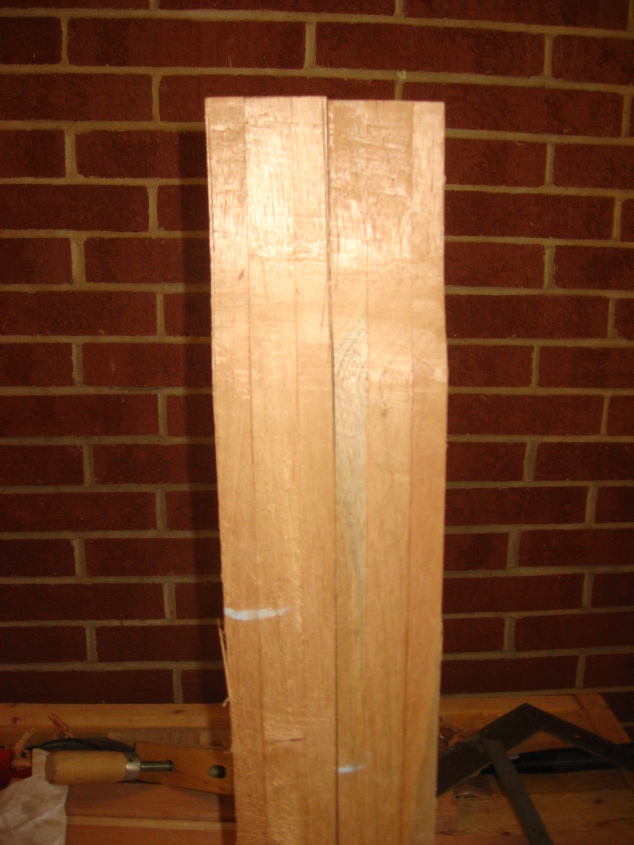
| Make sure that the legs are parrelel to each other. If they are not parrelel, then you will never get the front and back supports straight. And you will never get a square frame. The next step is to make sure the seat supports and the back rest are all the same lenght. Also square off the ends to make doing the mortists easier. I started with the front legs and then moved to the back, doing the seat rails first. The front rail top is about 16.25 inches above the ground (+ about 1 inch for seat gives a 17 inch high seat). The back rail is set 3/4 of an inch below the front rail to give the seat a gentle cant. | |
| Also the insides of the legs must be at exactly a right angle. | |
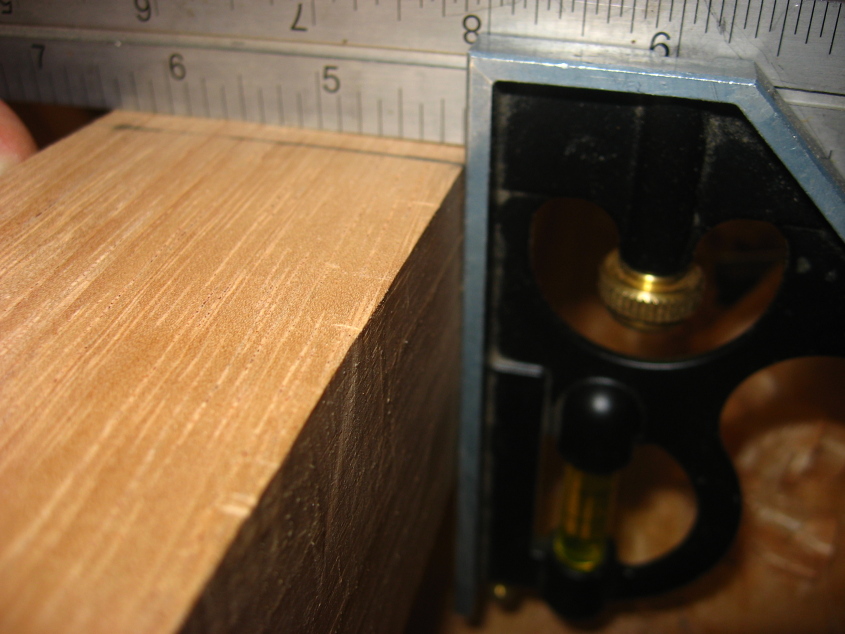
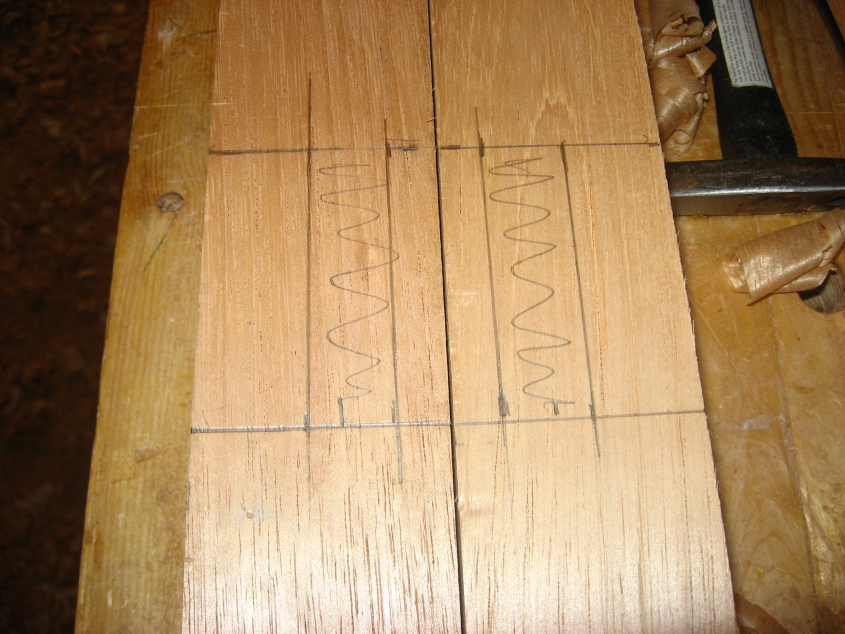
| Laying out the markings for cutting the mortists for the front bars. | |

| ||
| a bit. /td> | |

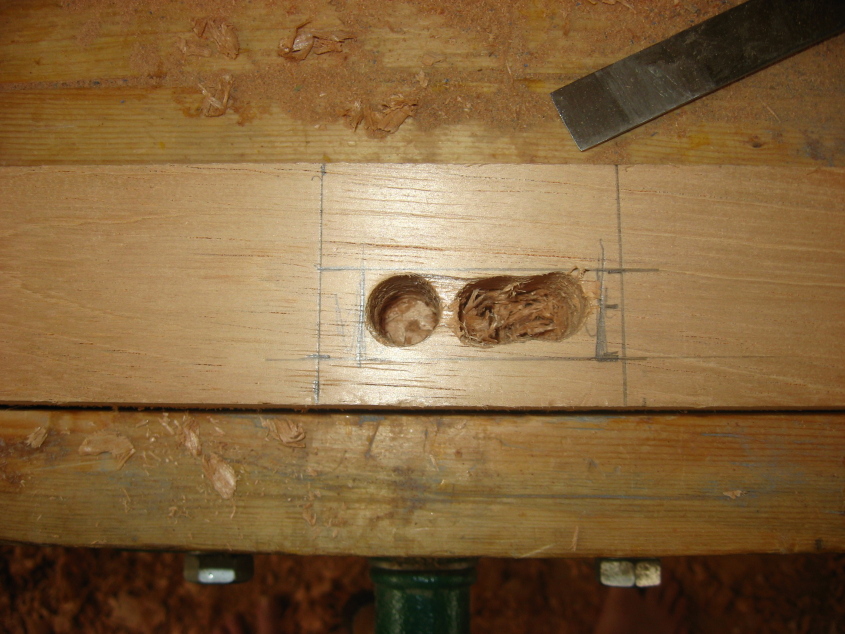
| Cutting out the mortists, you will note that I made an error here. Remember measure three times and cut once... otherwise you will need to fix things. | |
| The otherside, this time I did it right. | |
| Back legs. | |
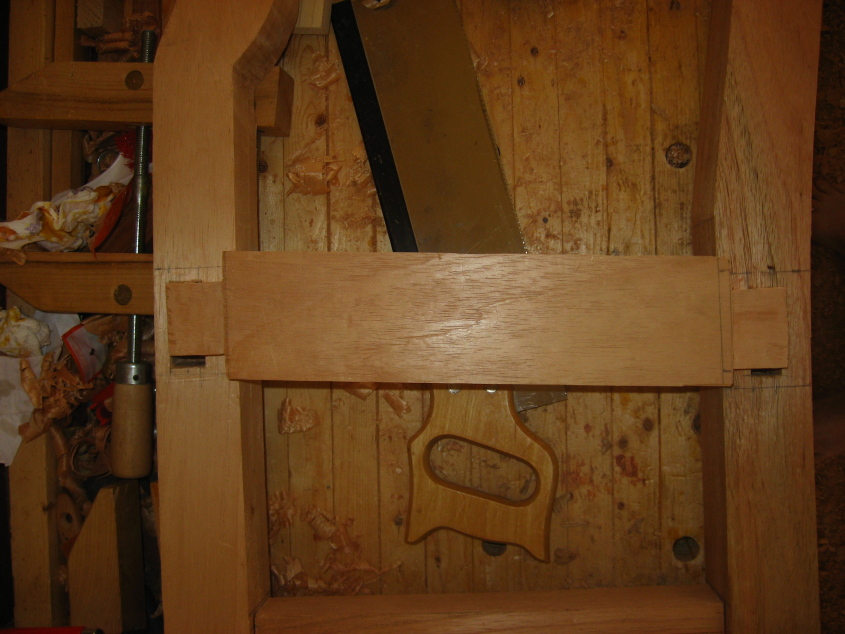
| Testing fit of back legs and back bar. | |
| Front legs. Here I am adjusting the width of the seat. The front to back seat distance is measured from the center of the back rail to the outside edge of the front rail and is set to around 16 and a half inchs. This is used to measure the lenght of the close spreaders. Which turned out to be 13 and 3/4 inchs. | |

| Another angle. | |
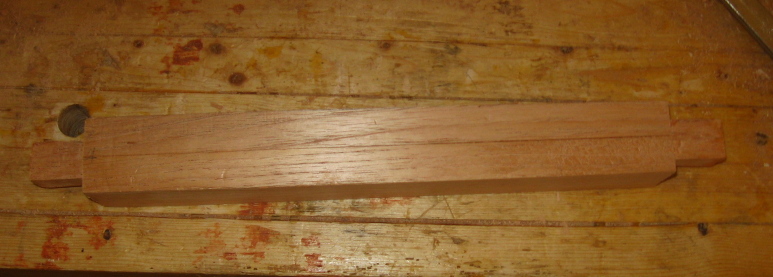
| Cross spreader. | |
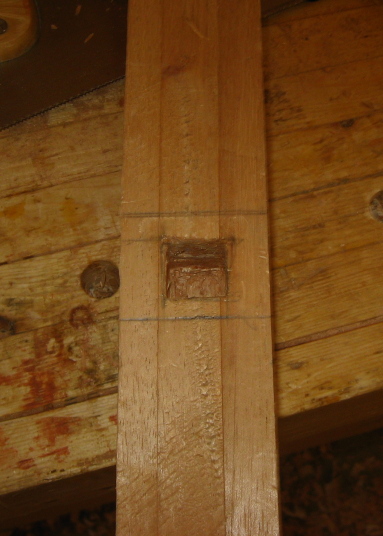
| Mortise joint for lower spreader. | |

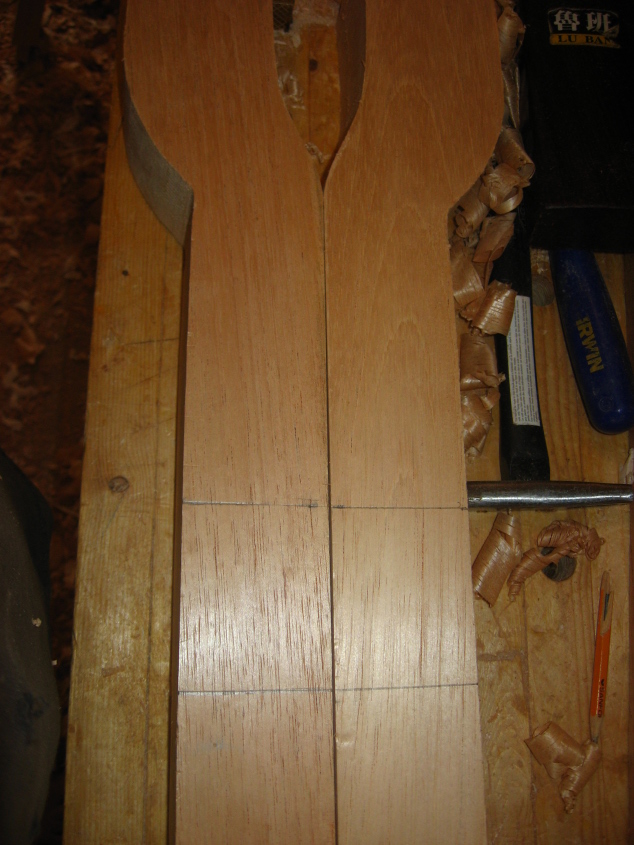
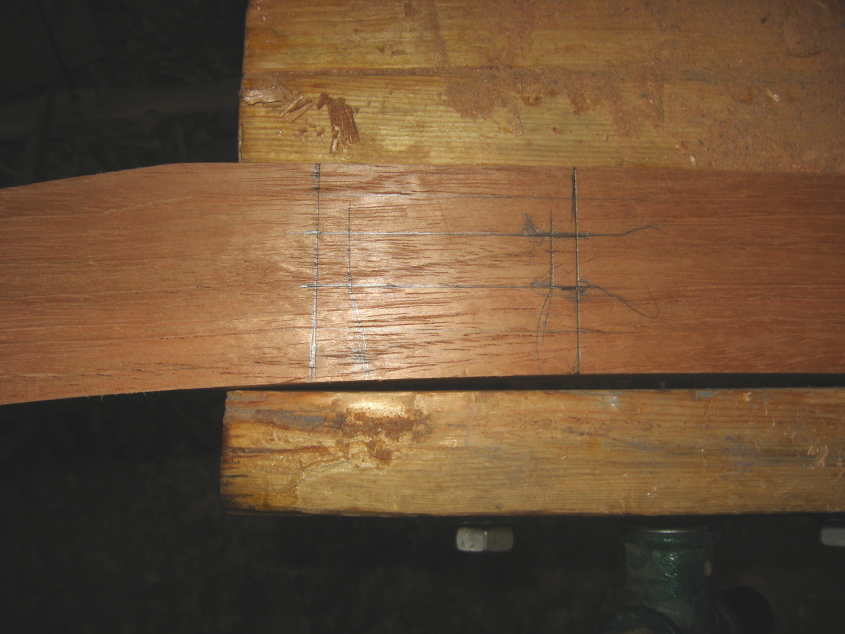
| Front and back legs showing layout of mortists for front rails and lower spreaders. | |
|
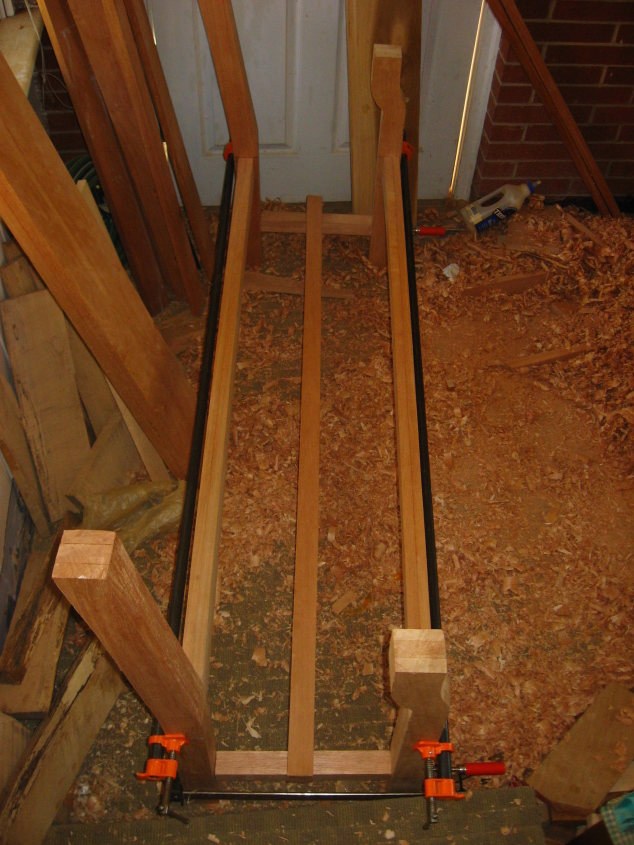
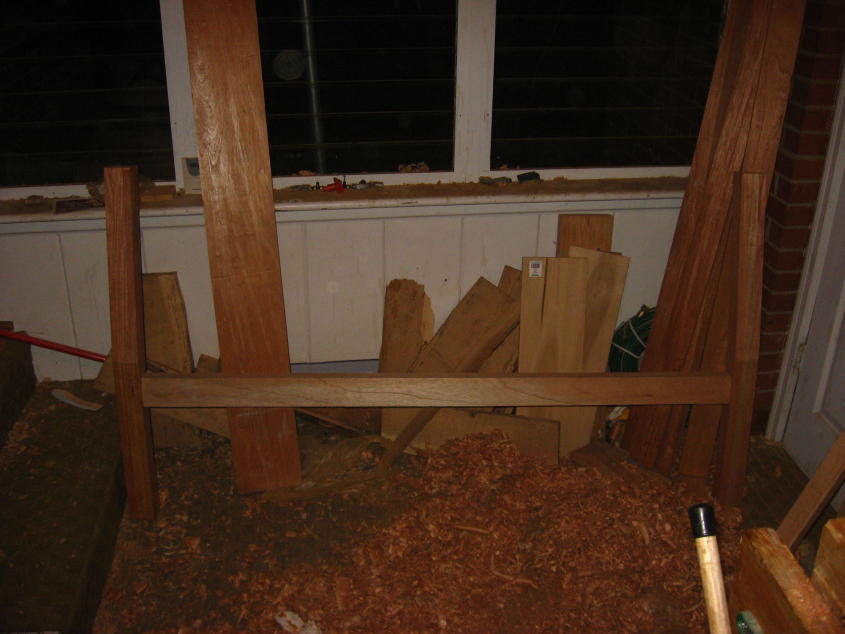
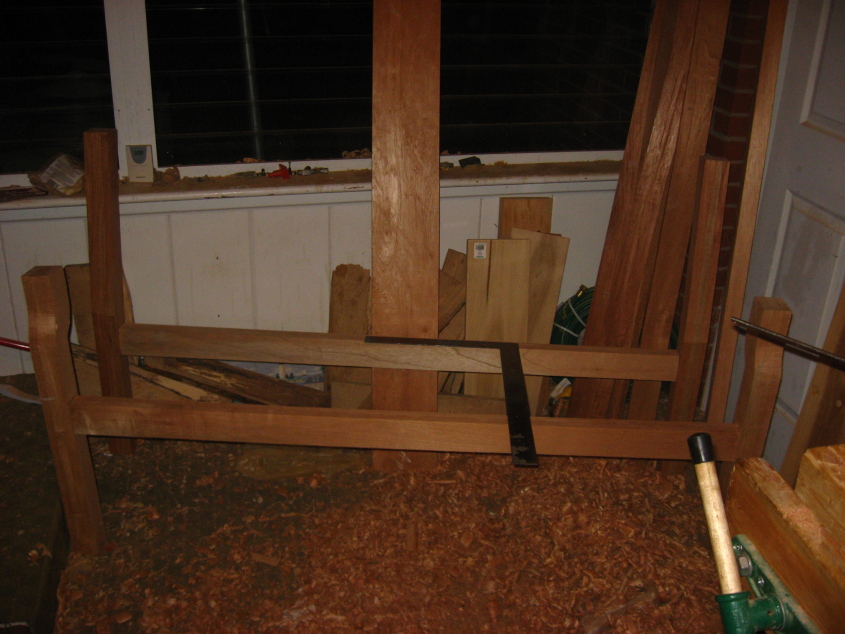
| Test fit for squarness. (The center support is just setting on rails to check lenght). | |
| The seat braces need to be cut correctly to have the right angle. Note I cut these a bit high, and will use my spokeshave to add a gentle curve to seat bottom to make it more comfortable. | |
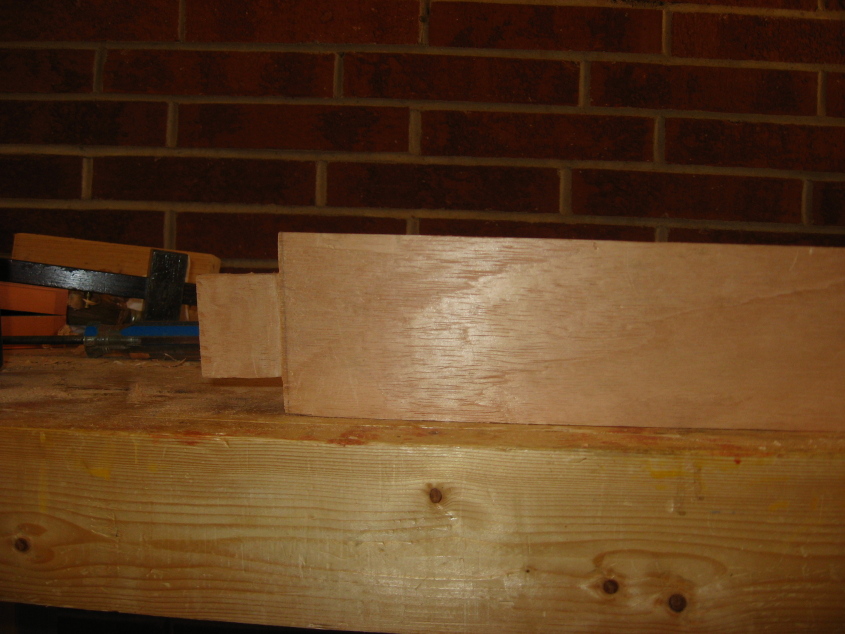
| Closeup of front joint. | |
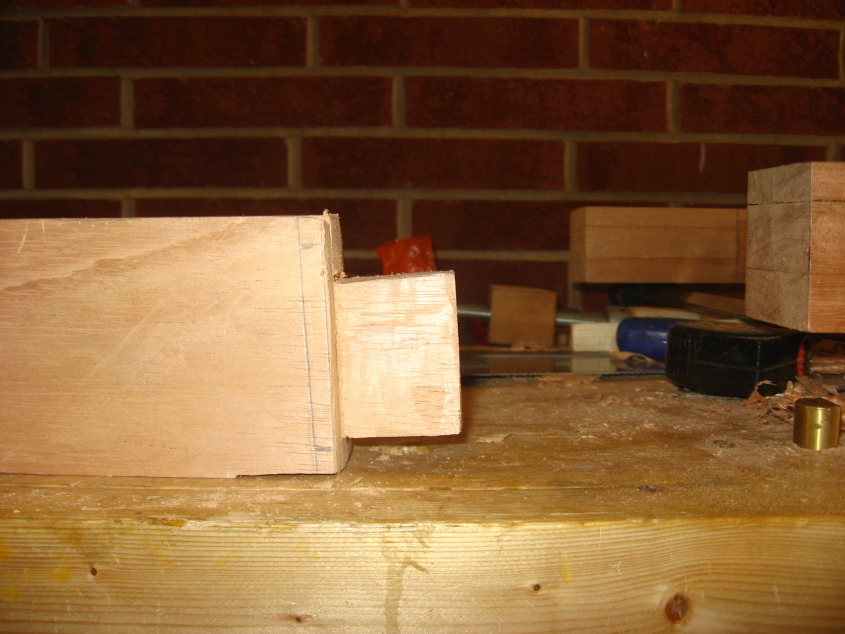
| Close up of back joint | |