
English Garden Bench Page 3
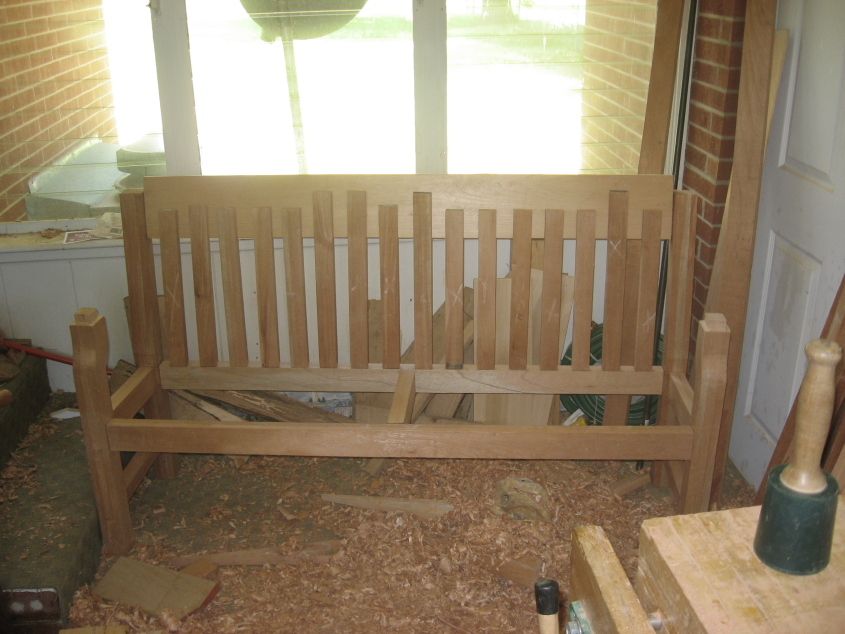 | ||
Fitting piecesMore piece cutting. Here I am working on back rest, slates for back and arms.
| ||
Joints part 2 | ||
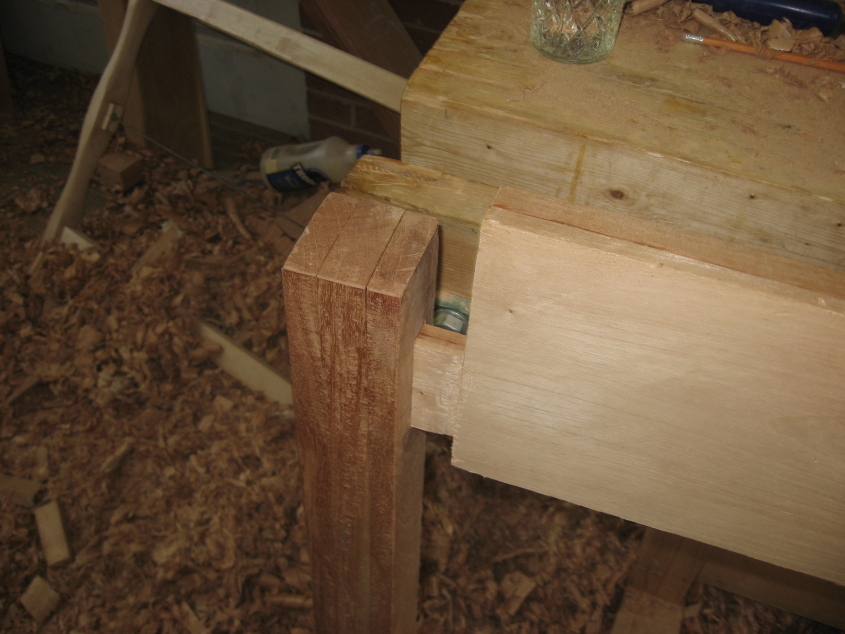
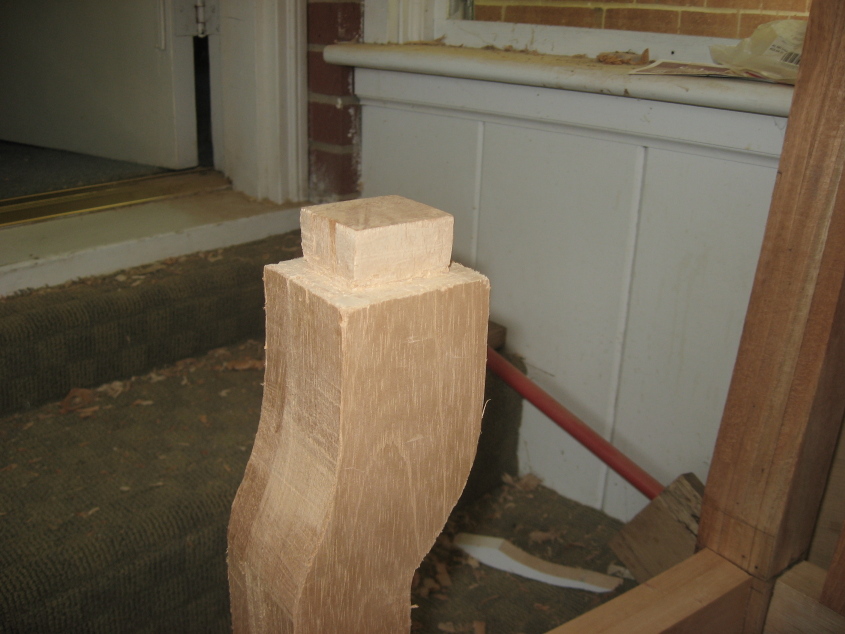
| Close up of back mortis and tenon joint. It does not go all the way to top of leg, since I will be cutting back down after I have cut mortises for back slats. | |
| Adjusting back sizes. | |
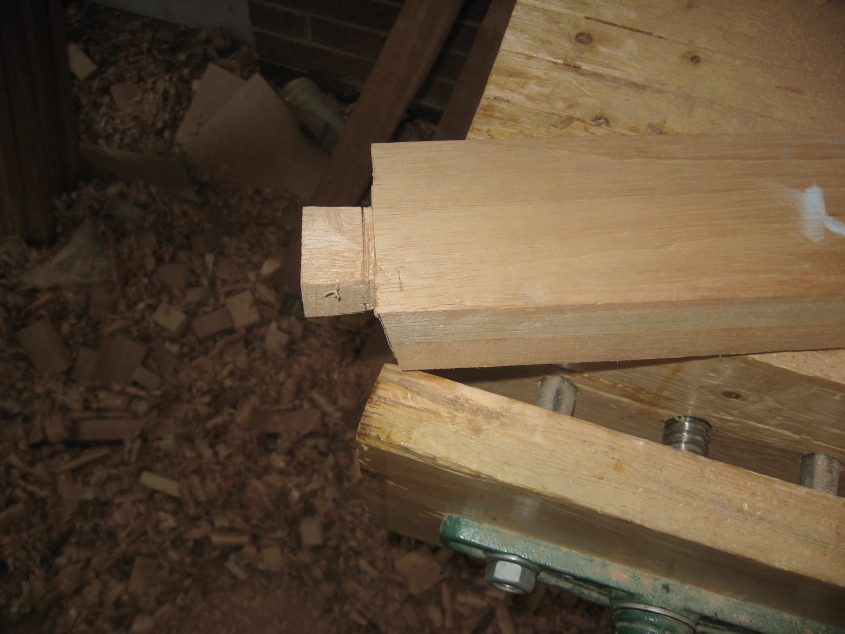
| Notice joints for side and back pieces do not fit good. | |
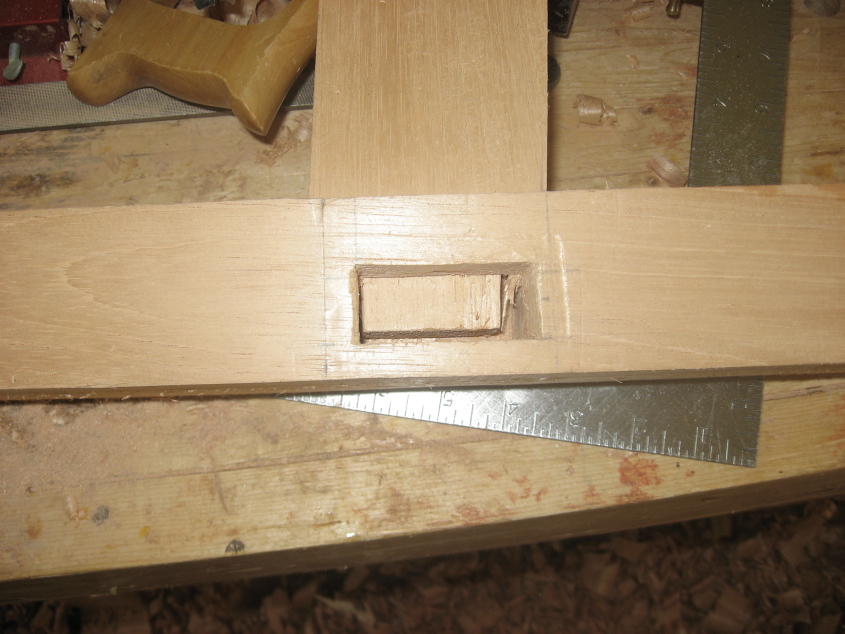
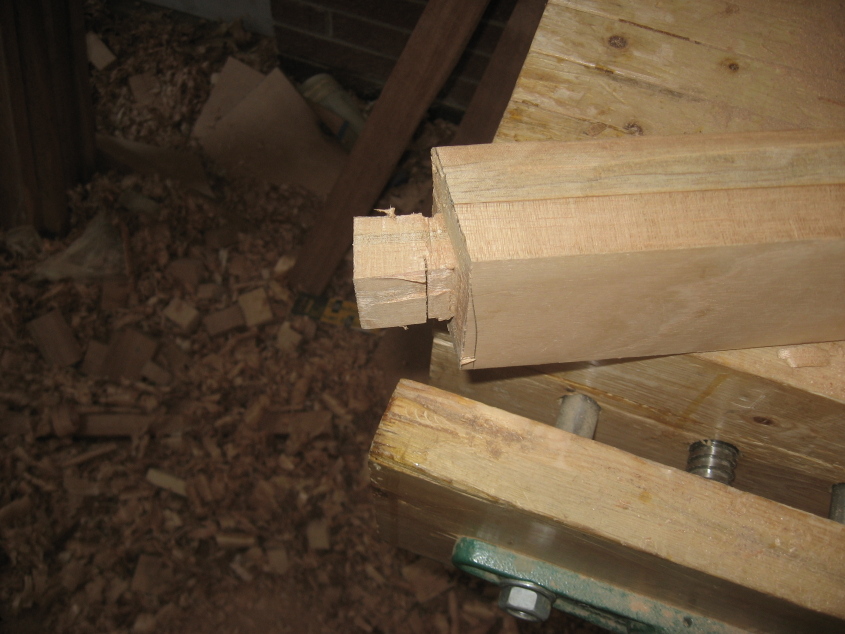
| Close up of how tenons fit together. | |

| The side and the rails tenons are cut at an angle to allow them to seat fully into joint. This allows for a stronger joint than cutting one short so that it clears other one. | |
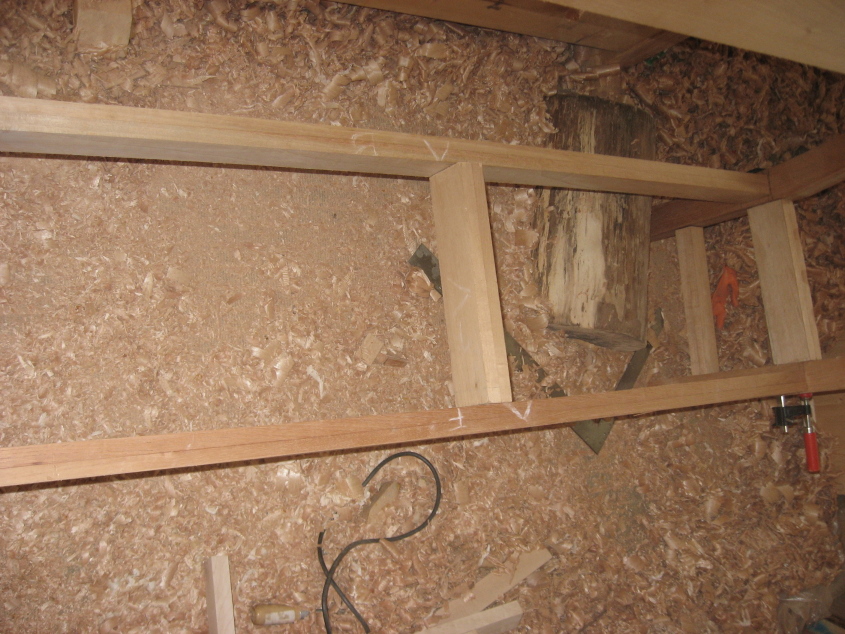
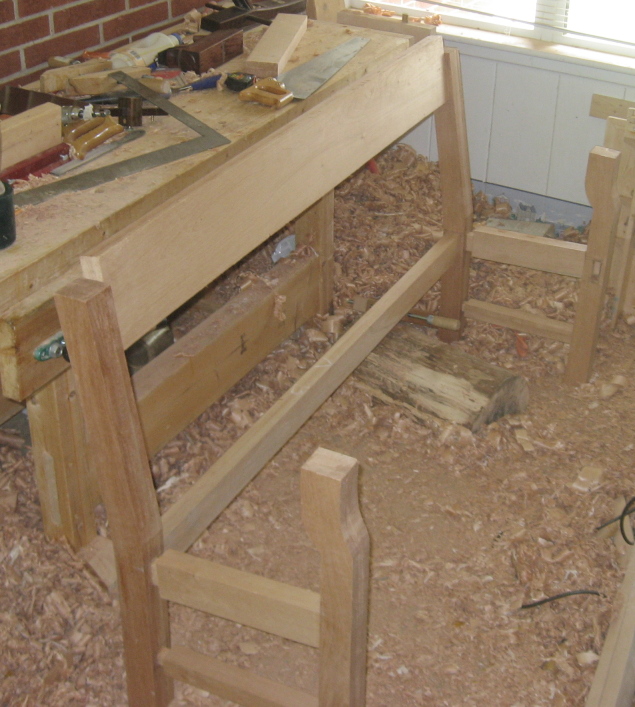
| Center support added. | |
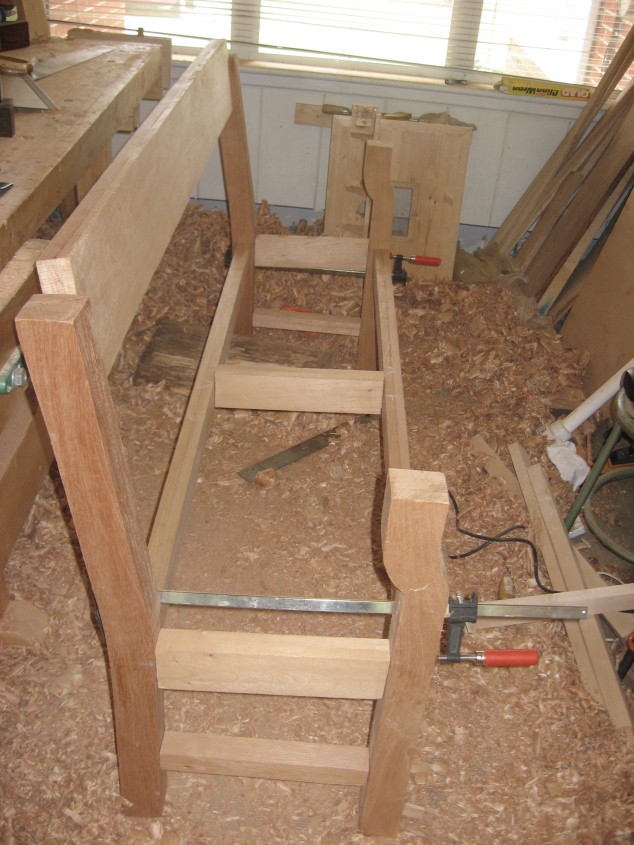
| View showing it together. | |
|
| Testing spacing on back slats. | |

| Cutting the mortises for the lower back required some interesting tricks. I cut a couple pieces of scrap at angle to fix back rail at angle so that when I cut mortises they would be veritical. The slats have a tenon with a angle on them so that they can fit straight into back. | |

| I adjusted the shims until the leg was straight vertical. | |

| After all the slats have been cut to length and fitted into the mortis and tenon joints. | |
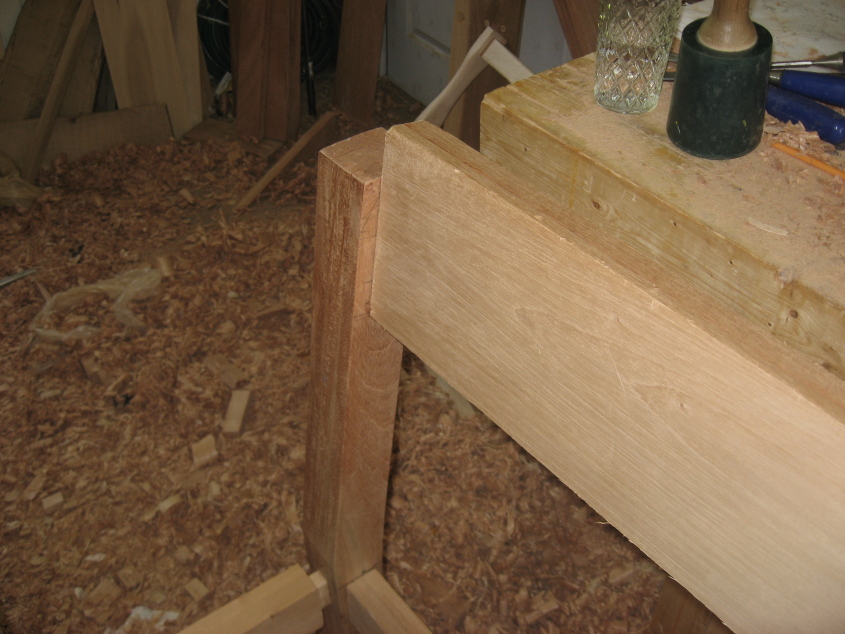
| Mortises cut for arms. | |
| Arms fit straight into the back legs so they need to have a angled tenon joint. | |
| Another view. | |