
Wood Working Work Bench
Page 4 Finished bench.
| ||
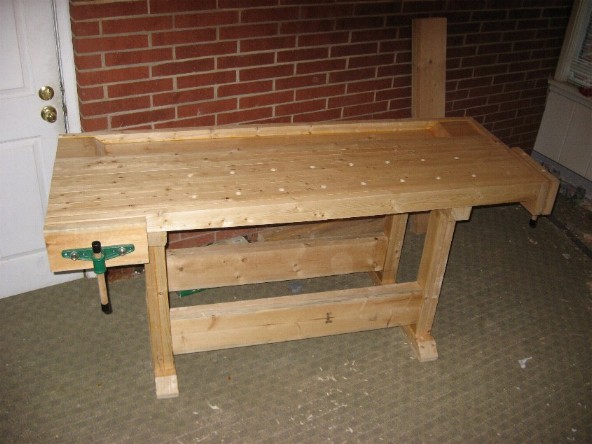
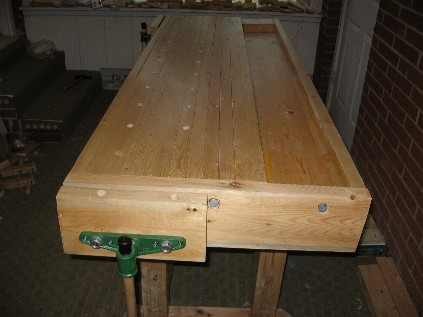
Pictures of finished bench. I coated the bench with 3 coats of Poly-Acrylic, this is a great cover. Glue will not stick to it (don't wipe glue off, let it dry and use chisel to pop it off). After each coat I sanded with 400 grit sand paper. I used a cabinet scraper to get top very smooth and flat. I did a final rub down with 220 and 400 grid sand paper before I applied the finish. This is really only to get good surface for Poly to stick to. Some views of the finished bench. | ||
| End vise. | |
|
| Front view. | |

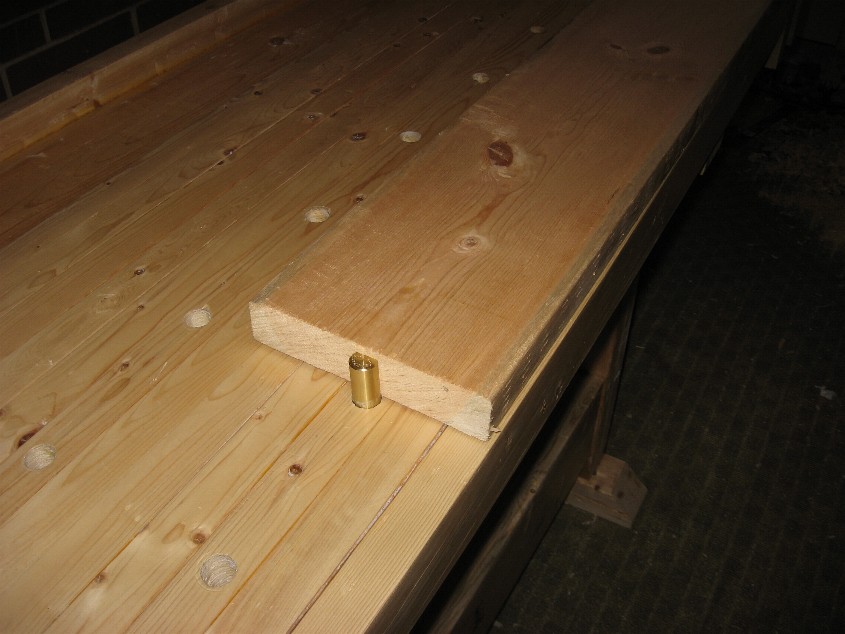
| Tool tray. | |
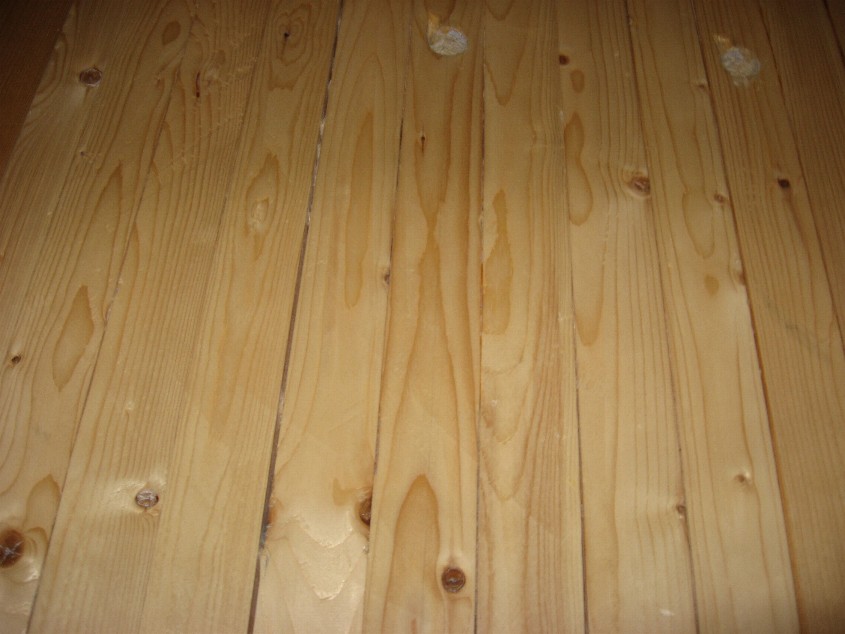
| A close up of top. As you can see I did not get boards of top joined very close. Mostly because it is not easy to plan boards on a work mate. | |

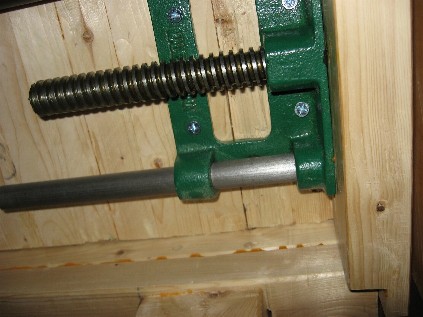
| Side vise. | |

| Another view of side vise. | |
| Front view of vise. | |
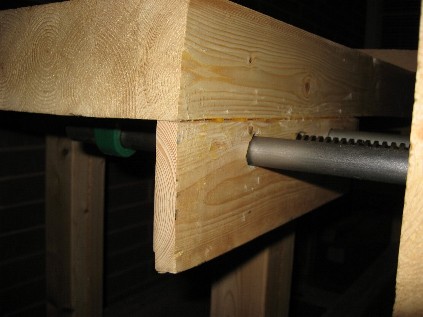
| Underside of side vise. | |
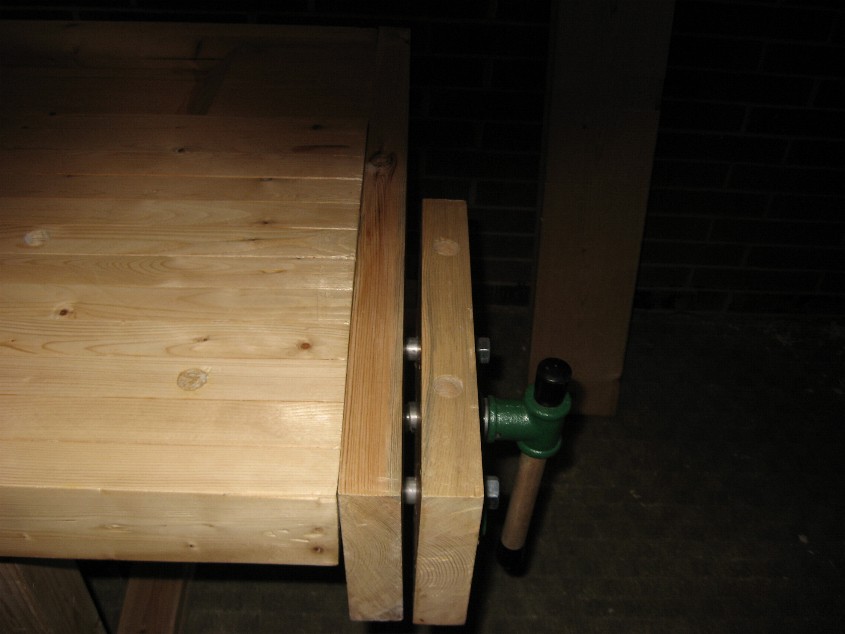
| End vise. | |

| Vise and bench dogs in action. | |

| End vise. | |
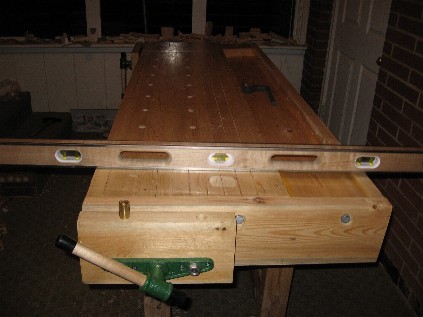

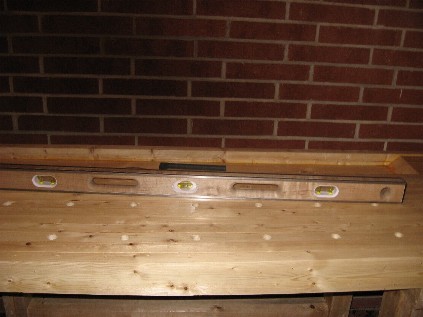
| Checking flatness and level. | |