
Bench Top Router Table
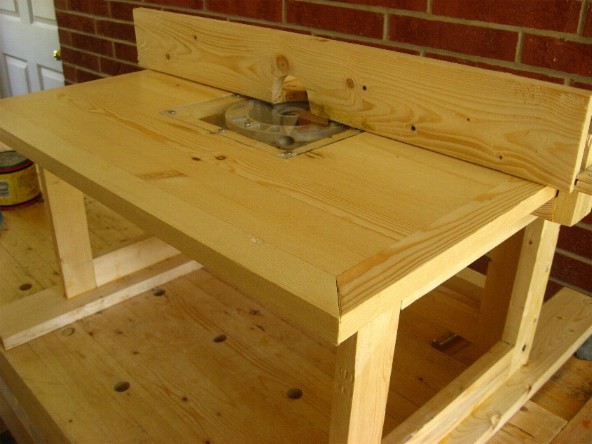 | ||
Overview and Construction of TopI have no plans for this. The measurements where made based on my work bench. The overall height is about 1 foot. The table is 24x18 inches. I used the basic idea from an article by Jeff Greef Router table. | ||
Top | ||
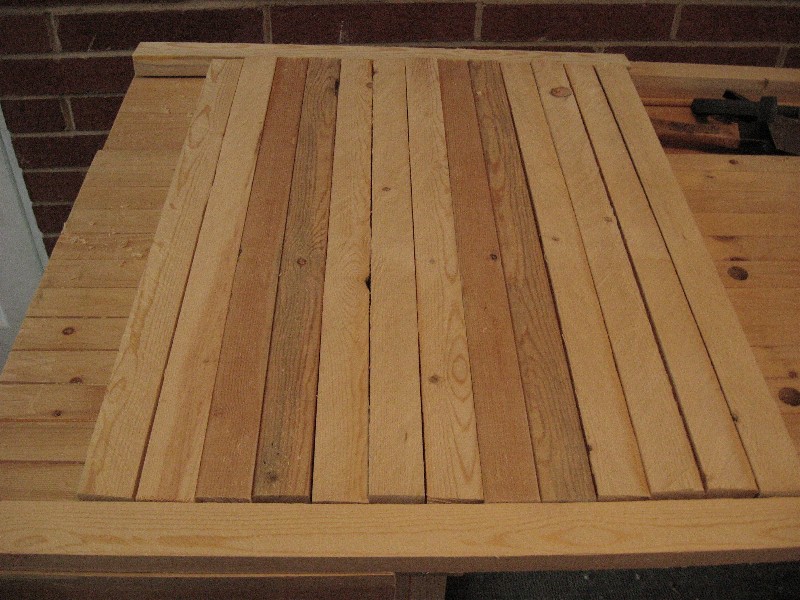
| Checking size of finished board. | |
| ||
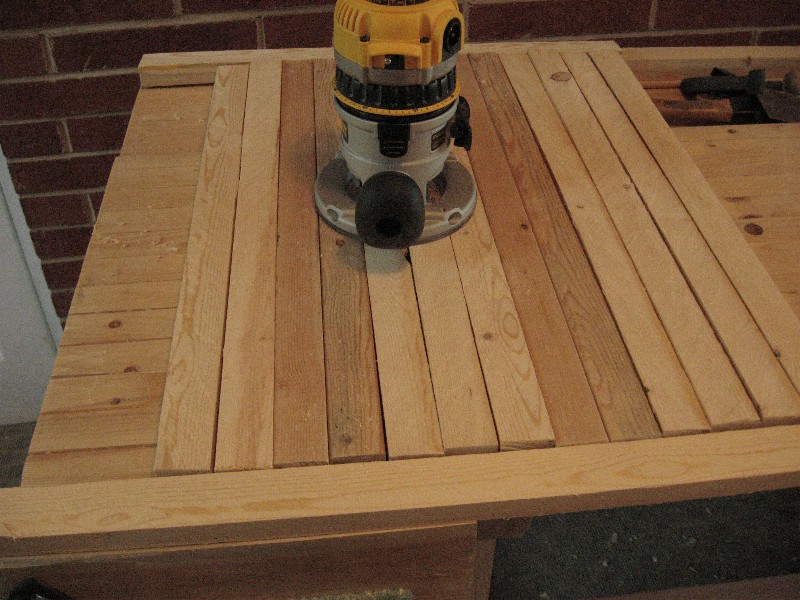
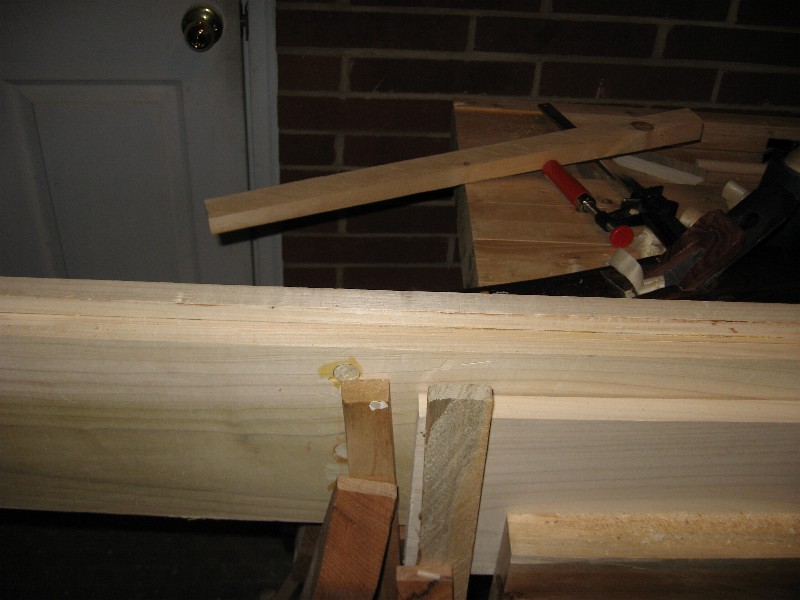
| Checking spacing with router. The router will be mounted toward the back of the table to allow for largest area in front as a work area. | |

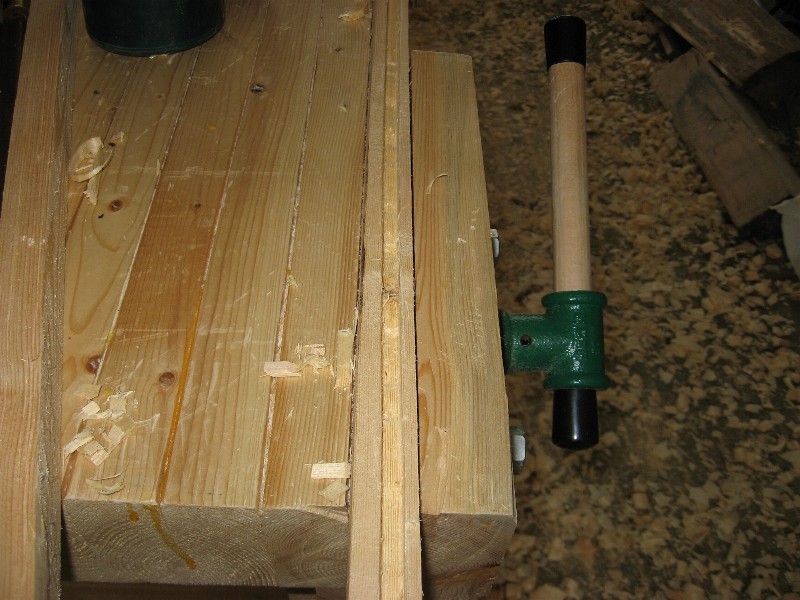
| I used my shooting board to get the slices straight. | |

| ||
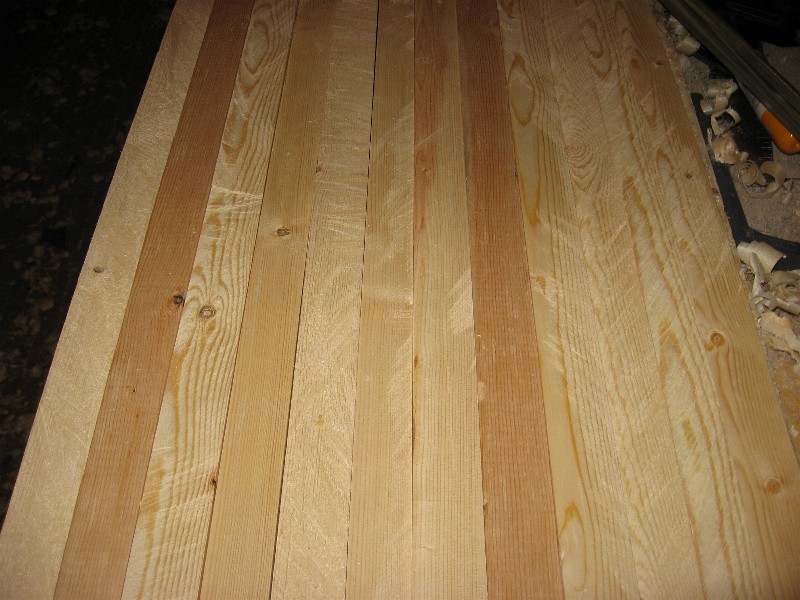
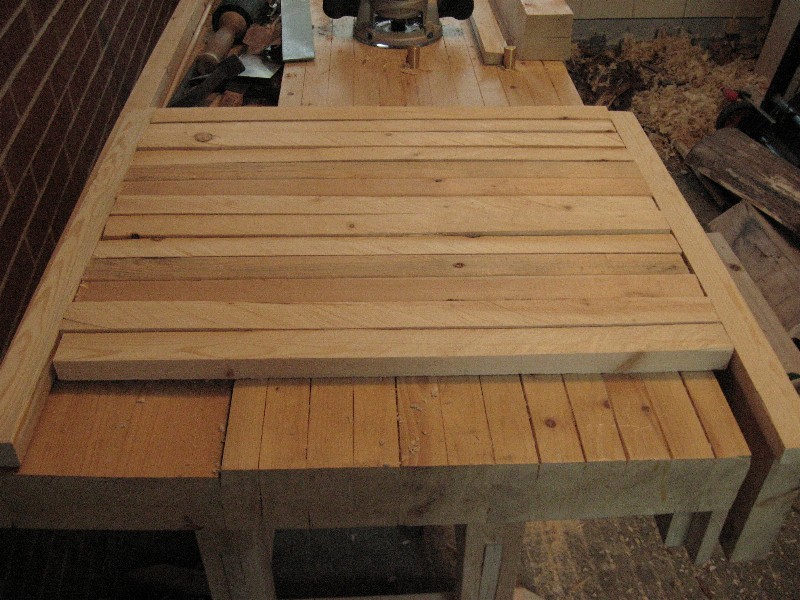
| Test fitting. Note I only cared about getting the two matching sides straight, not the top or bottom. | |

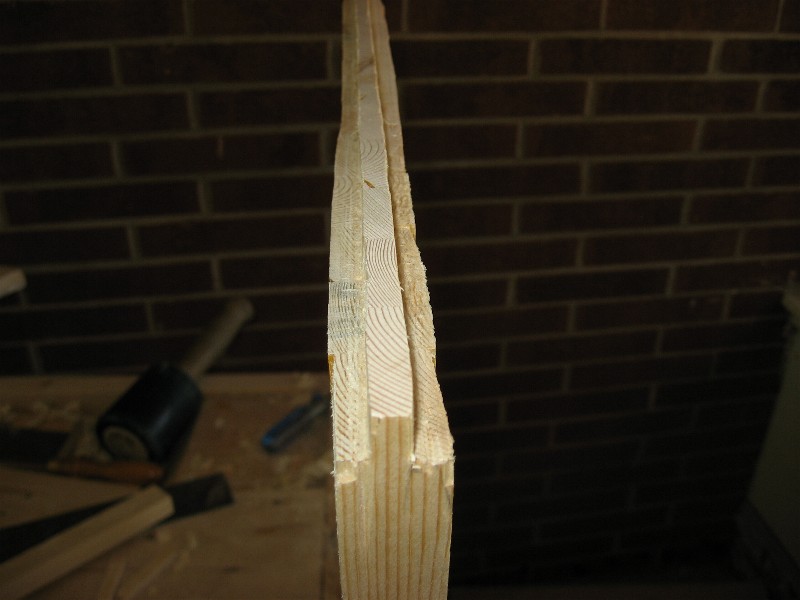
| Close up showing how tight a fit is needed. | |
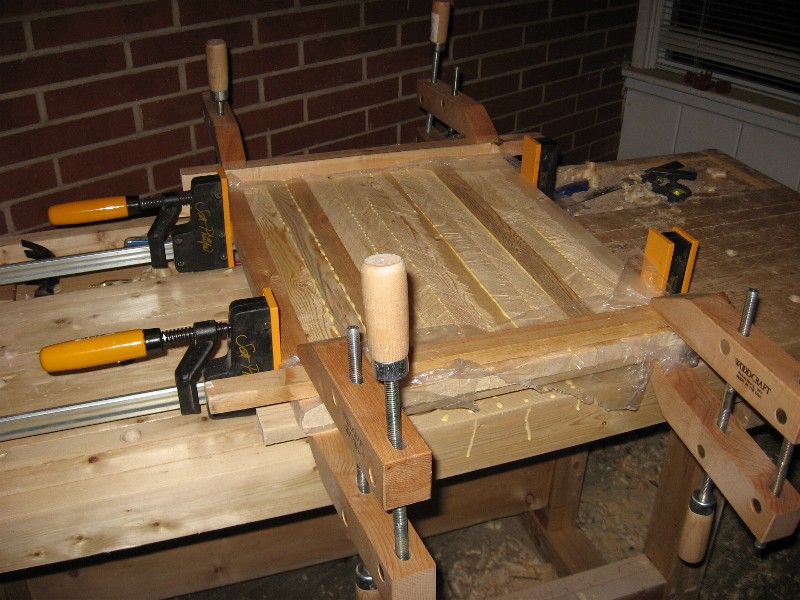
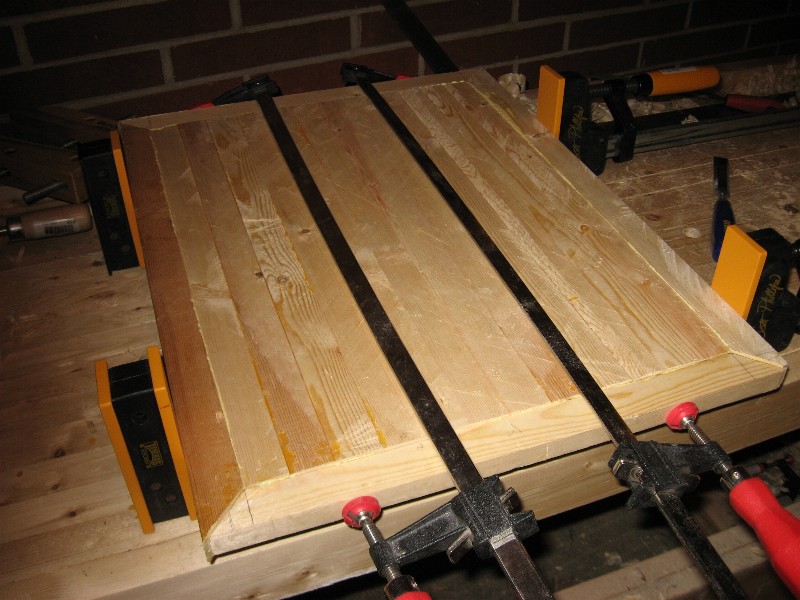
| Glue up of top, note boards along side to keep the top from twisting while the glue was drying. | |
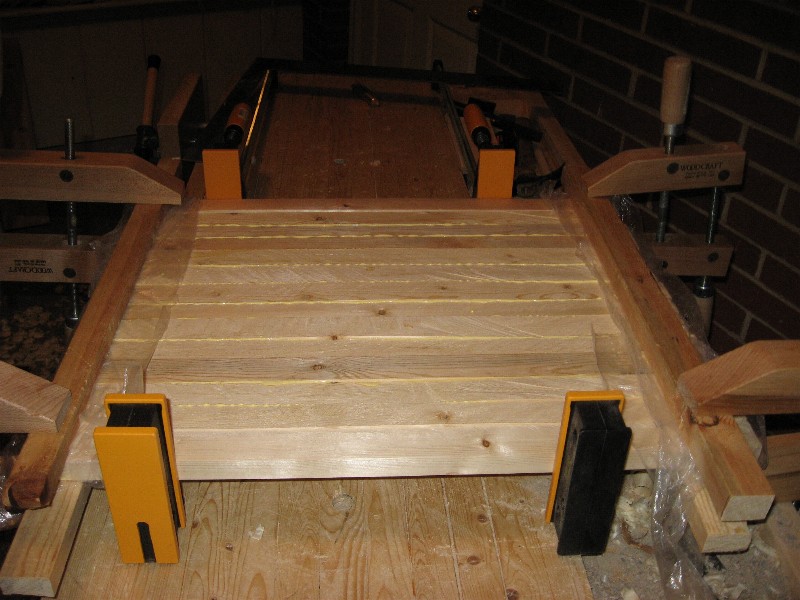
| Different angle. | |
| There should be just a small amount of glue from cracks. Note I did not wipe the glue since I need to plane top and bottom flat. | |
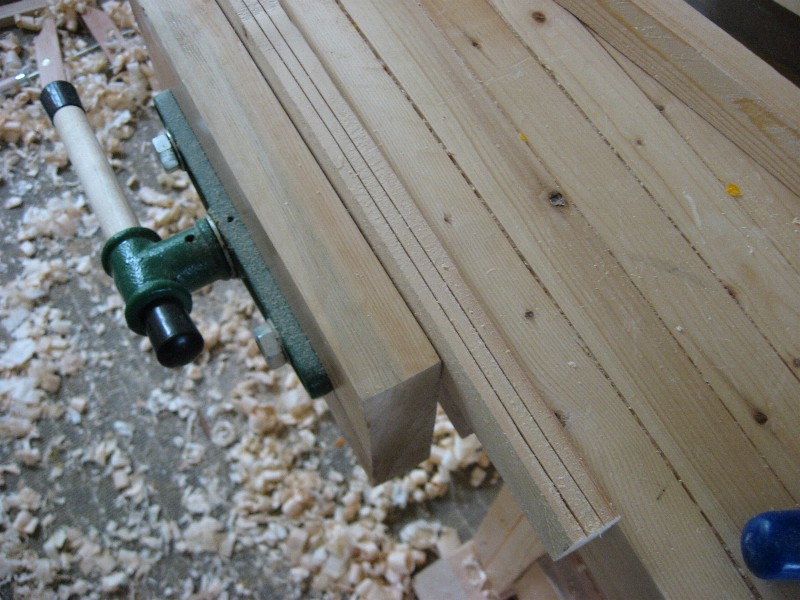
| I used my dovetail saw to saw two grooves into the end pieces. | |
| Then I used my chisel to remove the center to make a rabbet. | |
 Rabbet for end piece cut.
 | ||

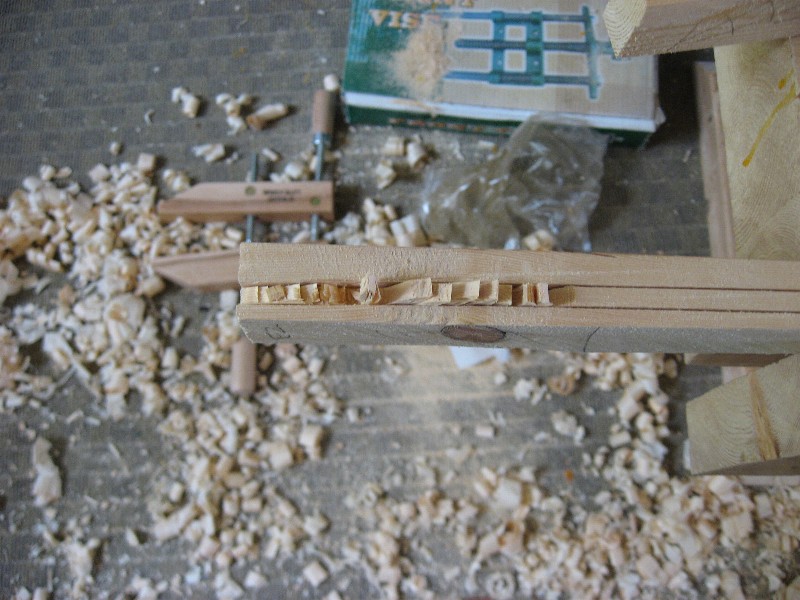
| I cut a matching tongue on the ends of the top. | |
| ||
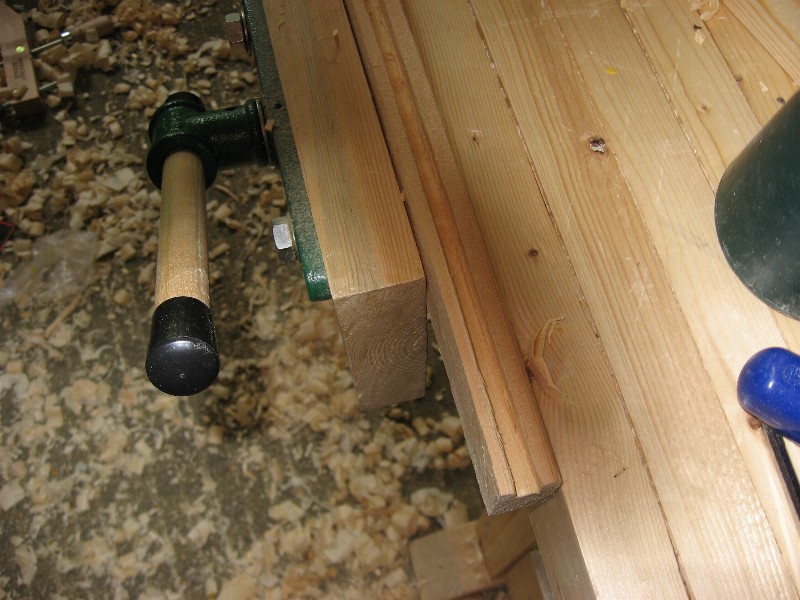
| Test fit to make sure I have a good tight fit. | |

| I mitered the edges to get no end grain. | |
| Ends in place. | |
| Glue up of top end and last side pieces. | |
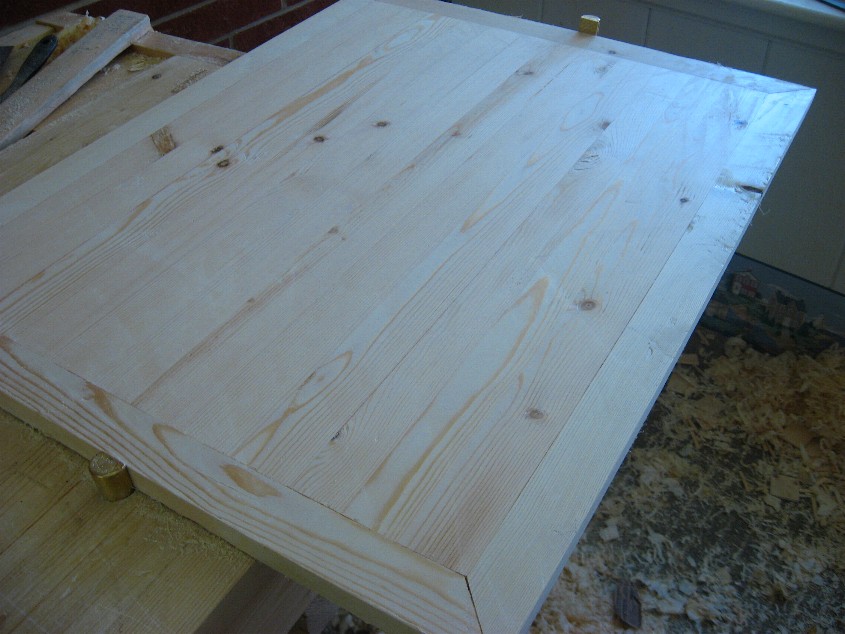
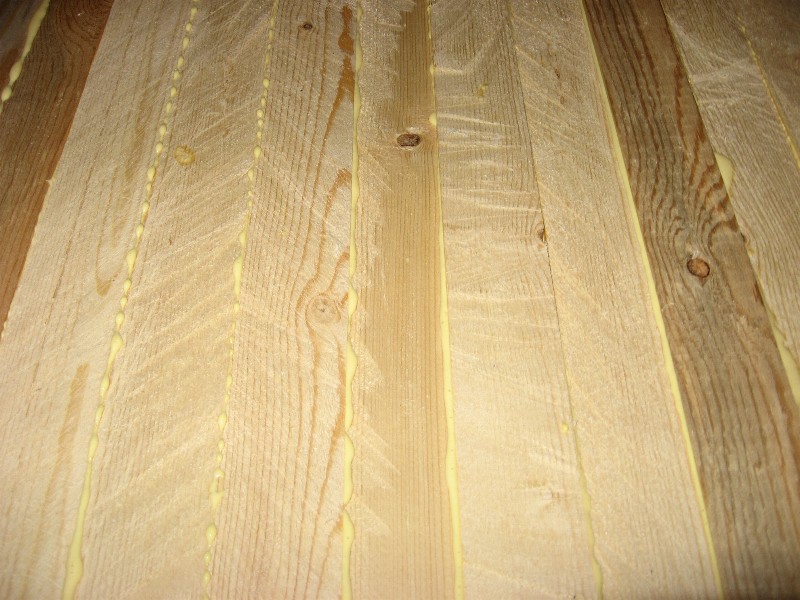
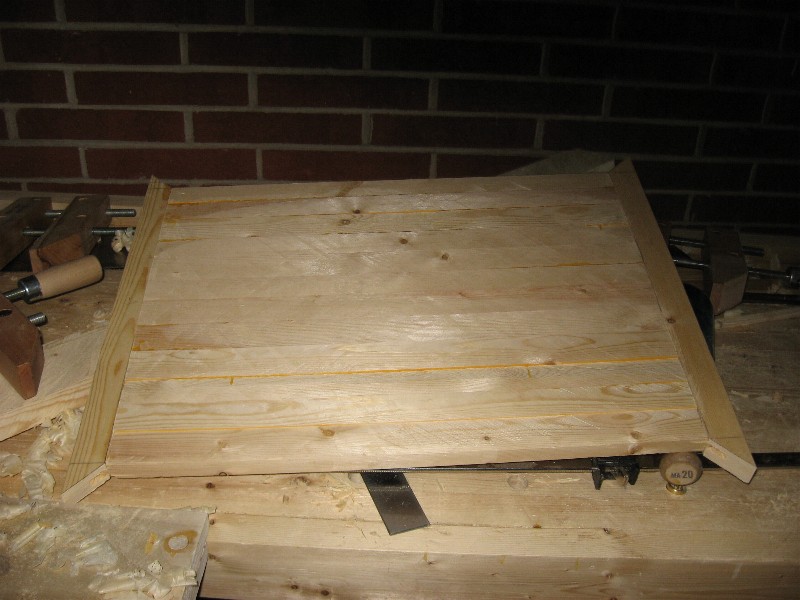
| Top after planing and scraping flat. Note this is not the best wood, so it looks kind of messed up, but this is just due to reflections. | |
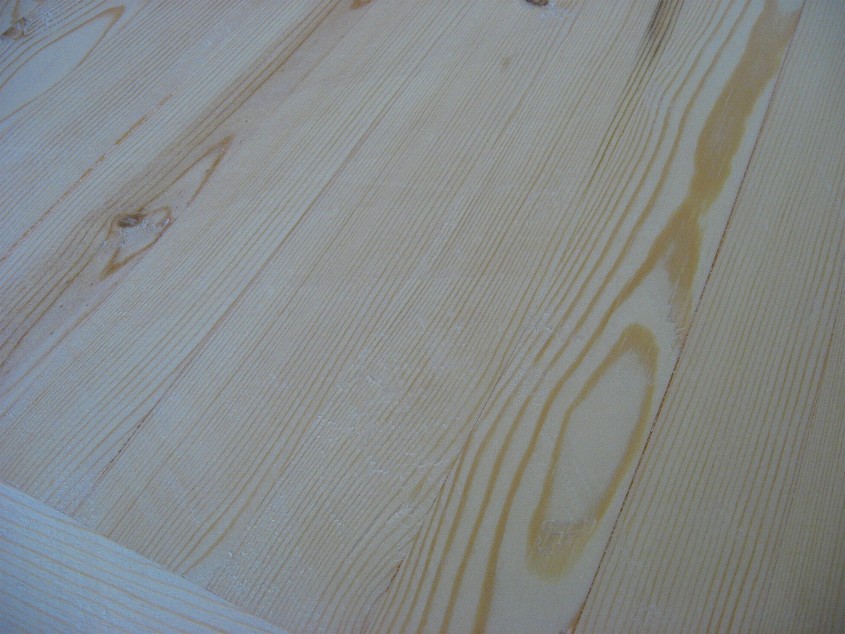
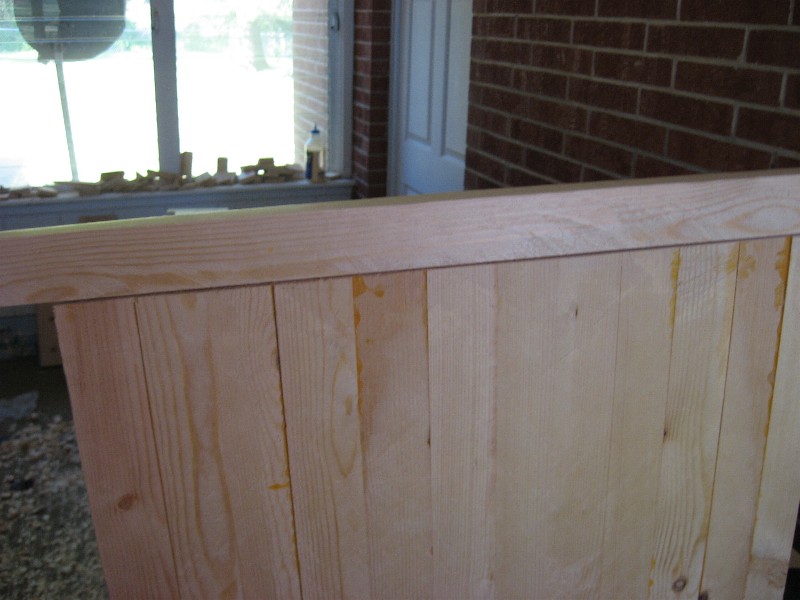
| Close up of top. | |