
Bench Top Router Table - Page 4
 | ||
Finishing TableWhile I was working on the fence I was also finishing off the table. To mount the router to the table, I needed to cut a hole in table to fit router. I used a piece of 1/4 inch plexiglass to hold the router so a depression in round the router hole must also be cut. I did not cut this exactly to depth, instead I set my router to just short of the depth of the plexiglass and used sand paper to bring it to final depth. After that was done I drilled holes for mounting screws and finish whole table off with 3 coats poly-acrilic. I sanded with 600 grit between coats and did a final sand with steel wool. | ||
Finishing | ||
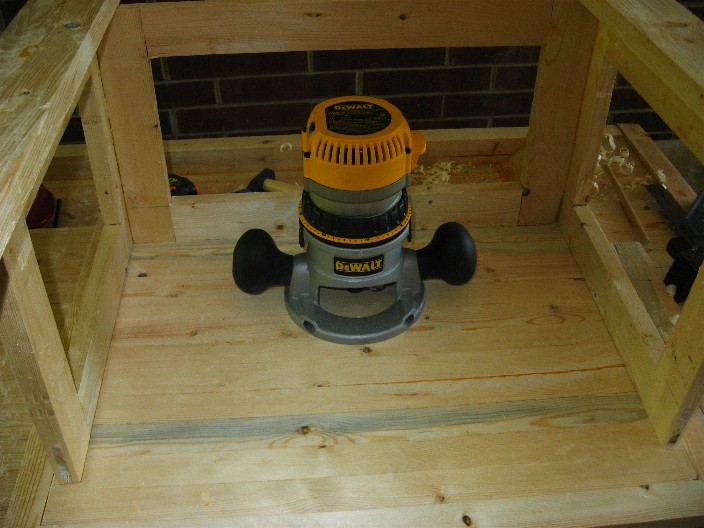
| Adjusting placement of router on bottom of top. It should be neard back for most table area in front. | |

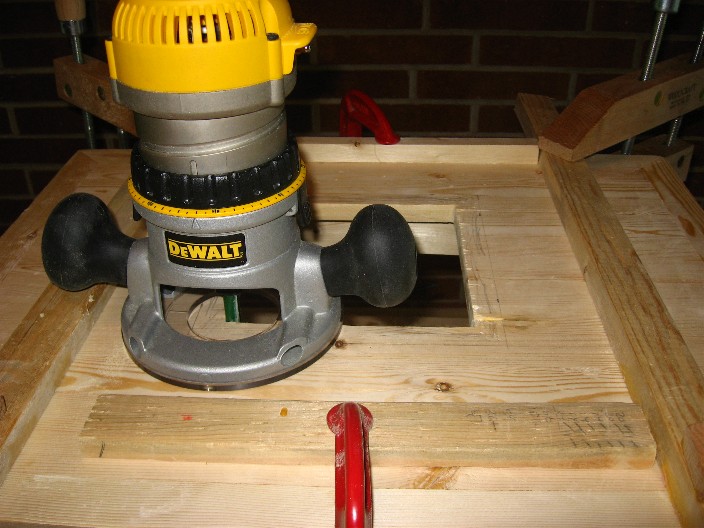
| I used my router to cut out a groove around hole. You could also drill holes and use a chisel, or a jig saw. The boards are set up to provide a guide for cutting. | |
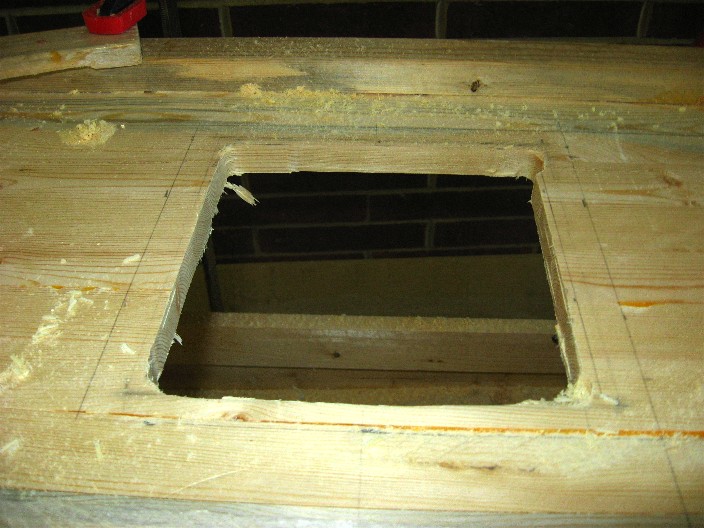
| Cutting finished, now I need to clean it up. | |
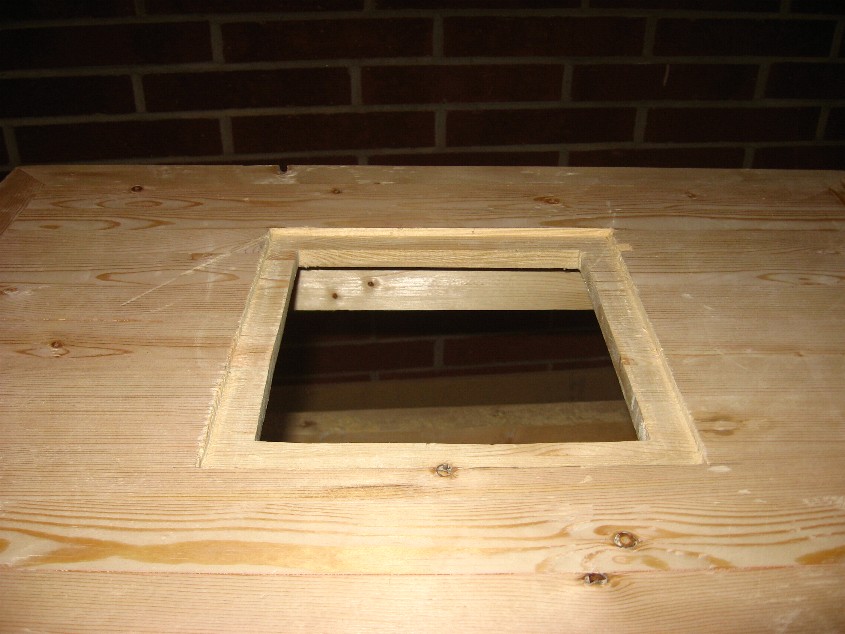
| Hole now cleaned up with chisel and file to be nice and straight. | |
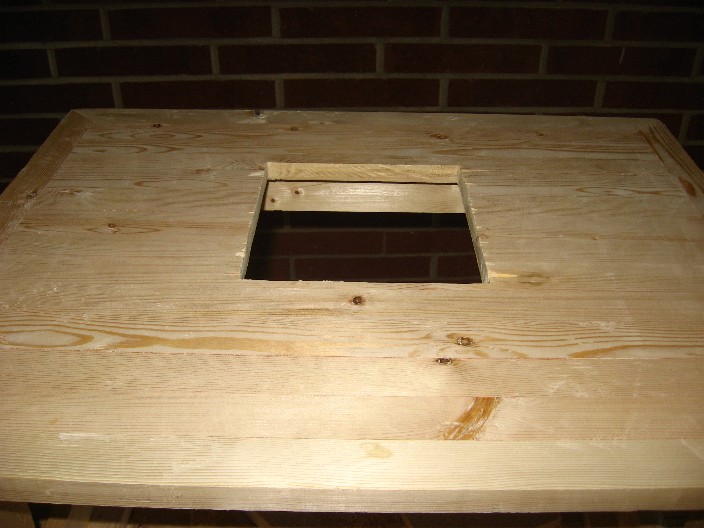
| Top set up to route a 3/4 inch wide trought. This should be set just a bit shorter then the depth of the plexiglass, the final flush fit can be made with sandpaper. | |
| All cut and cleaned up. Ready to fit plexiglass router support. | |

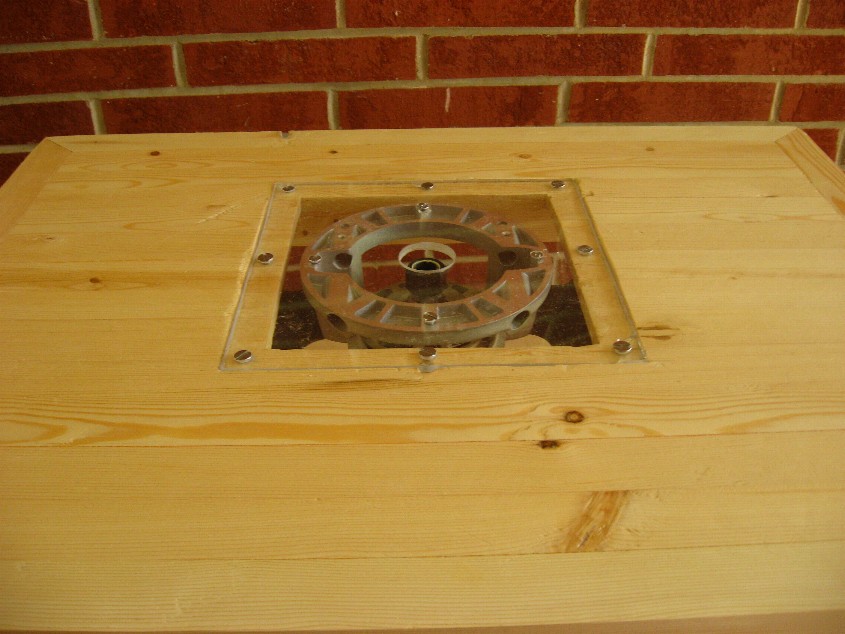
| Plexiglass fitted in place. I had to sand the ledge down so the top of plexiglass was flush with top of table. Don't want to snag on anything. | |
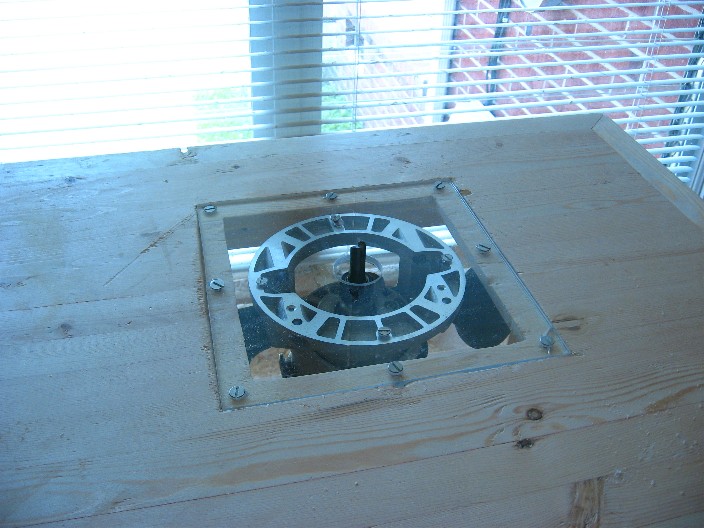
| Close up of the top showing how the plexiglass router mount is held down. The outer screws are #10-32 1inch machine screws, that are held underneath with nuts and star washers. All holes are countersunk, to give smooth surface. The router mounts are #8-32 by 1/2inch (use what ever your router uses). Also I recommend drilling the plexiglass with a bit and brace instead of a power drill. I cracked my plate in a few places becuase of this. | |
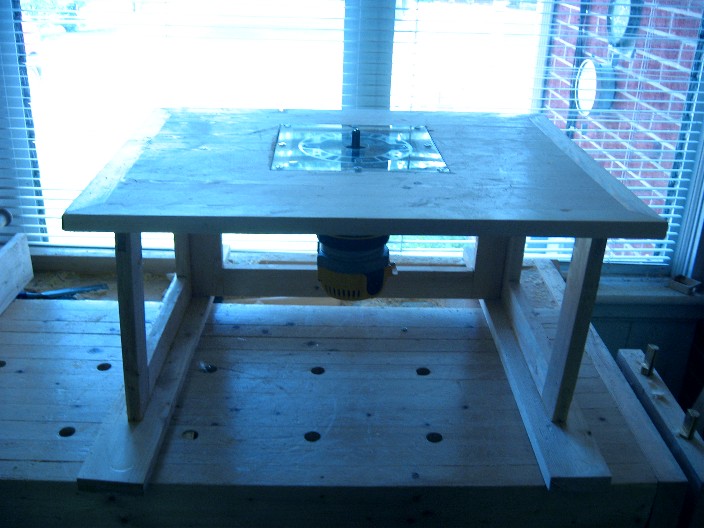
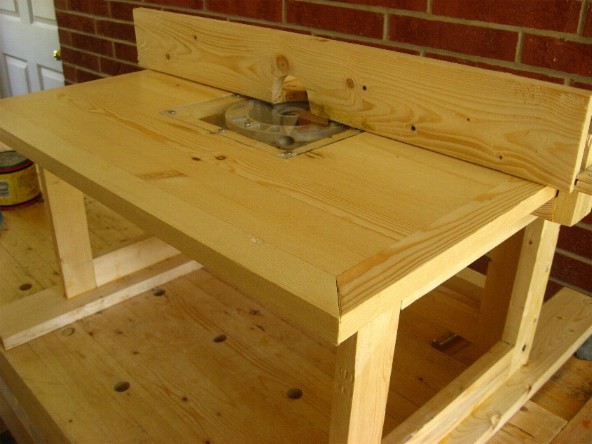
| Shot of table after finish has been applied. | |
| Close up of top after finish has been applied. | |
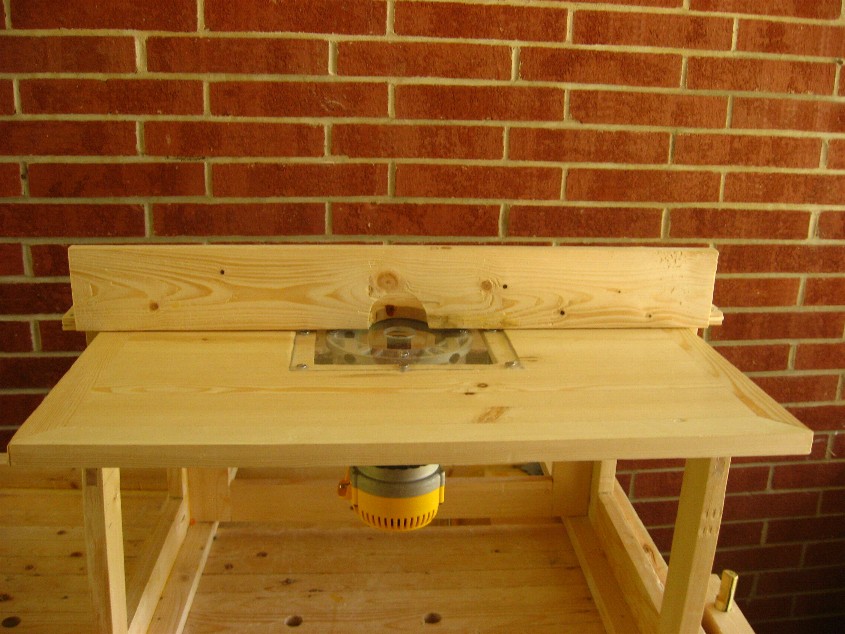
| Finished router table with fence in place. | |
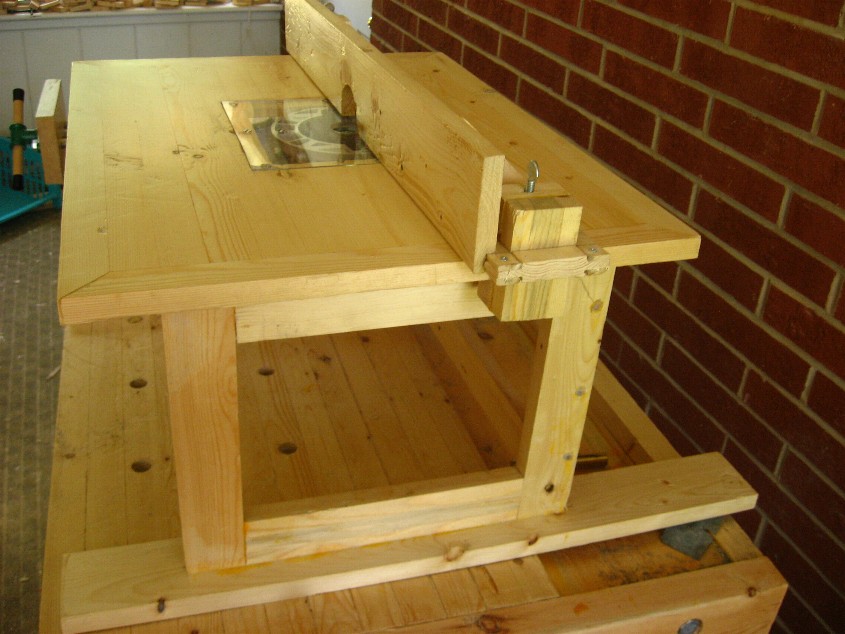
| Side view. | |
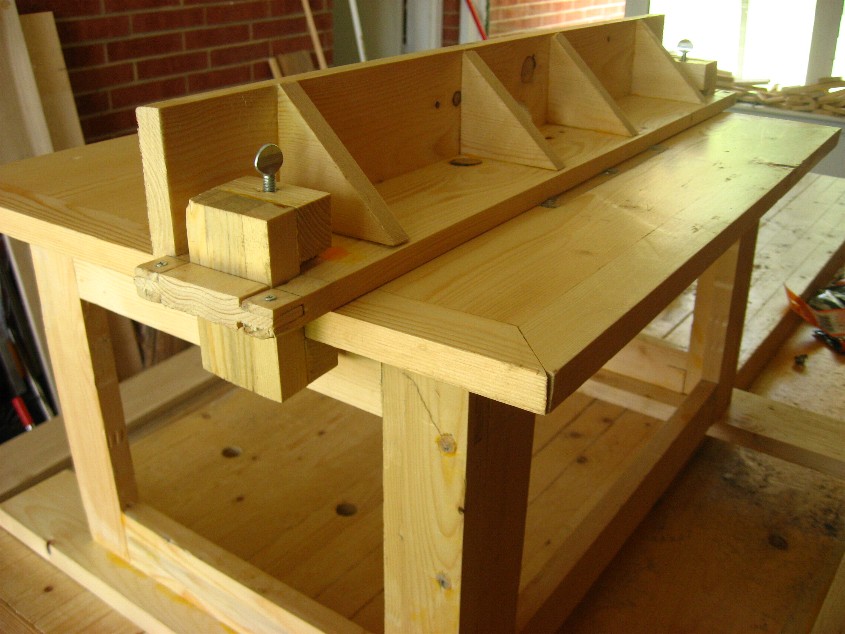
| Back view. | |

| Front view. | |