Oak Bookcase
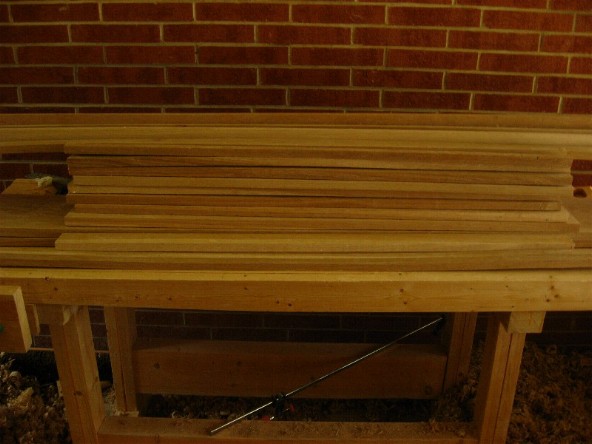 | |||||||||||||||||||||||||||||||||||||||||
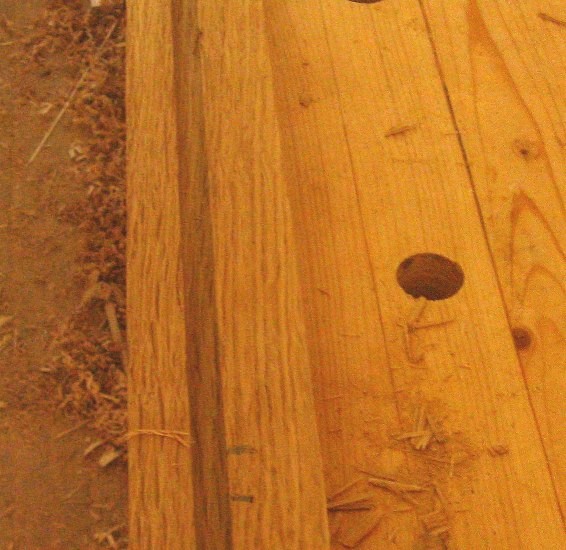
Cutting Joints.Sorry there has not been much to show over last couple weeks. I have been preparing the parts. As you can see from stack above, there are a lot of parts to this bookcase. Note I cut the top and sides alittle longer, since I was not sure how many times it would take to cut a good dovetail join for top. After these have been cut everything will be trimmed to size.
In this section I will show all the cuts that have to be made to the pieces so that they can hold together into a bookcase. All the shorter width pieces have been jointed together, plained, scraped (and/or sanded) to size. It is easier to get major part of surface preparation out of way before beginning to cut joints. You have nice open surface to work with and it will make the final job of cleanup much easier and quicker. | |||||||||||||||||||||||||||||||||||||||||

| Parts cut to width, thicknessed and scraped smooth. Sure is alot, and they are heavy! | ||||||||||||||||||||||||||||||||||||||||
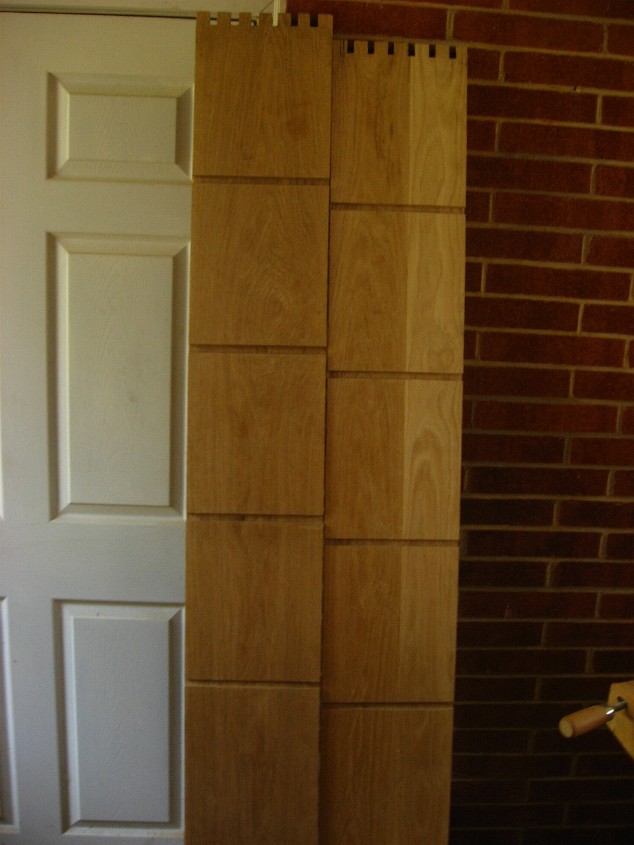
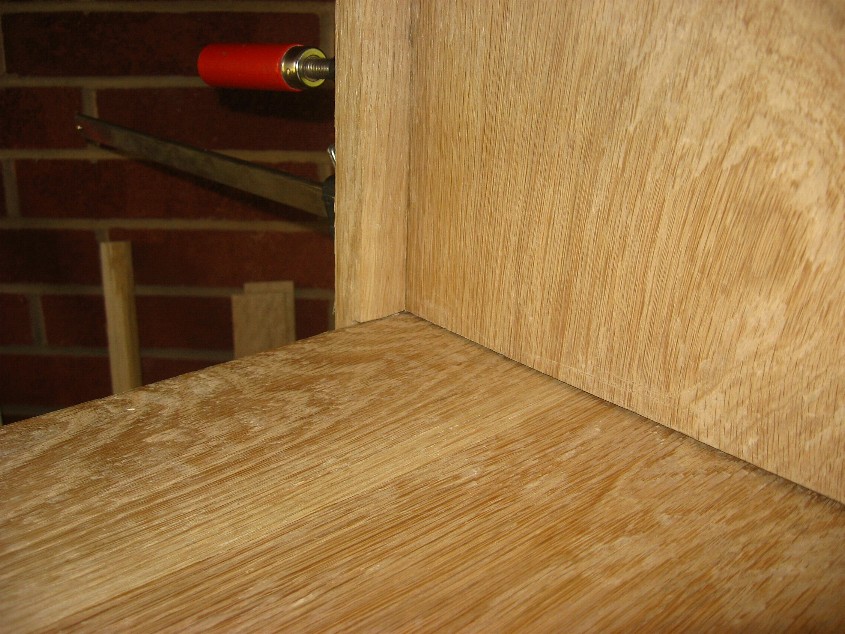
Top Dovetails | |||||||||||||||||||||||||||||||||||||||||

| The top is hooked to the sides with a dovetail joint. This is a one of the strongest joints. This one did not come out too bad for first try at them. It took three tries to get first one right. | ||||||||||||||||||||||||||||||||||||||||

| Tails side, this is on top. Pins are on sides. | ||||||||||||||||||||||||||||||||||||||||
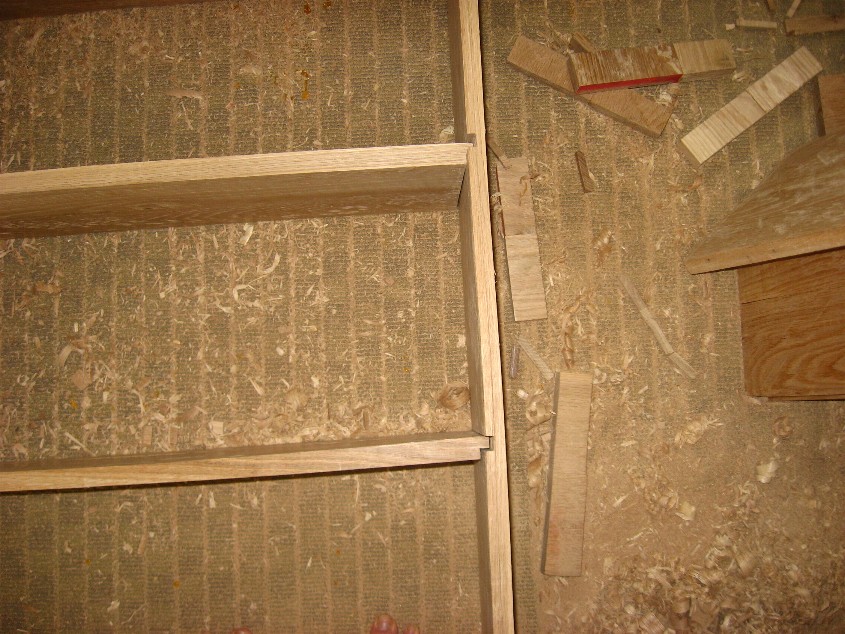
| Test fit of dovetails. I really need a bigger shop! This picture was taken after the dados below were cut. | ||||||||||||||||||||||||||||||||||||||||
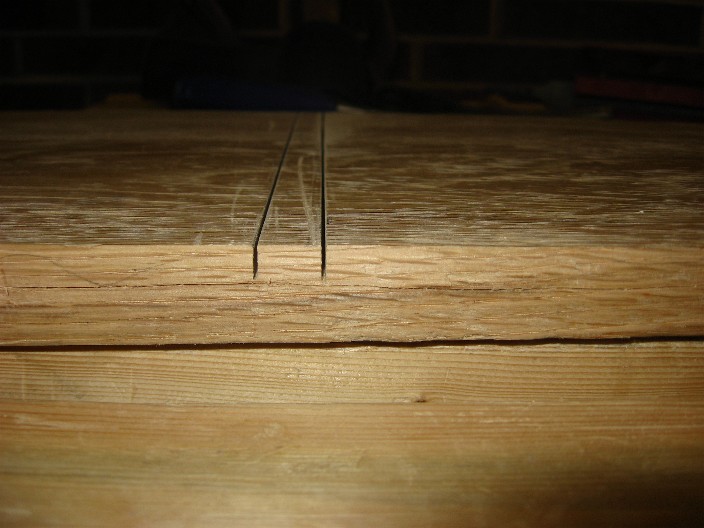
Dados for shelves | |||||||||||||||||||||||||||||||||||||||||
| Process of hand cutting dado joints for the shelves to rest in. First measure the shelf placement and a second line 1/2inch below for to make sides of dado cut. This are also going to be 3/8 inch deep. | ||||||||||||||||||||||||||||||||||||||||

| Next step is to cut along the lines down to the 3/8 inch mark. These will act as stop cuts. | ||||||||||||||||||||||||||||||||||||||||
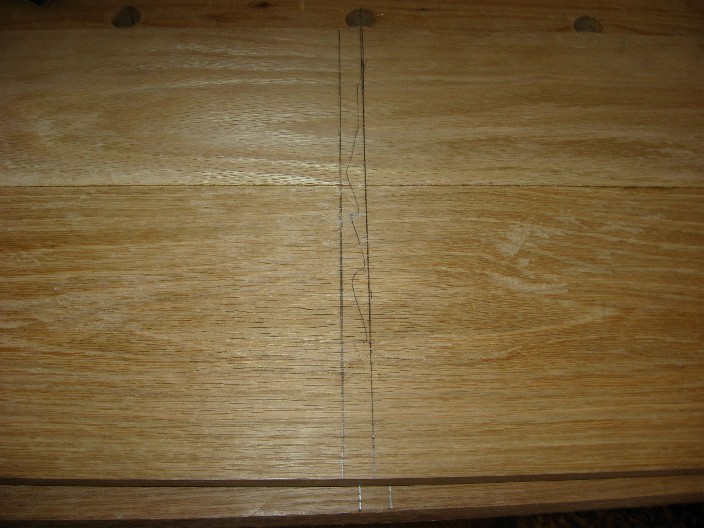
| You can just see the mark from my marking guage here. | ||||||||||||||||||||||||||||||||||||||||
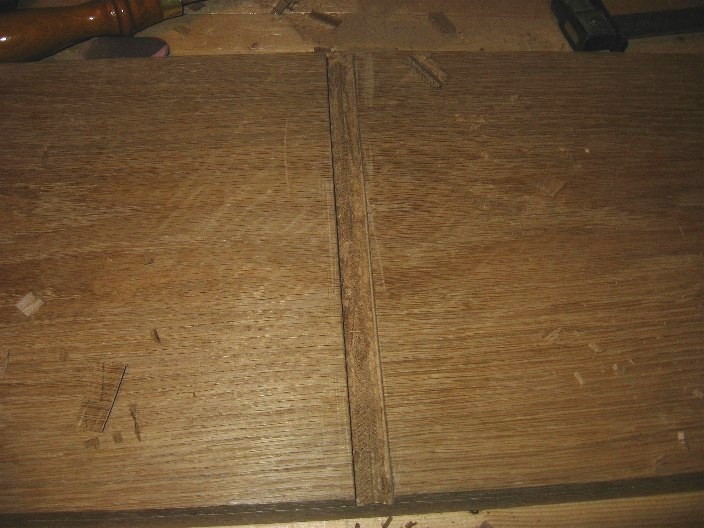
| Next take your chisel and hollow out the dados. I did this first by cutting across at 45 degree angle, then cutting other side. Finaly running my 1/2 inch chisel down flush to 3/8 mark. | ||||||||||||||||||||||||||||||||||||||||
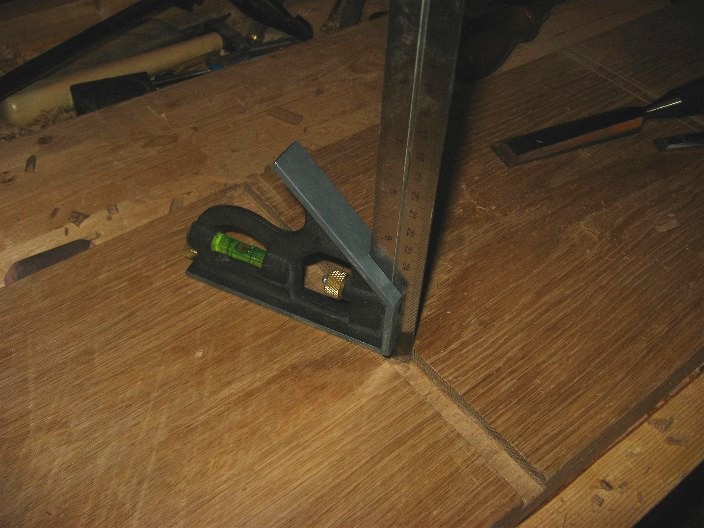
| Using adjustable square ruler as depth gauge. Set to 3/8 inch (see below). By running it along inside of dado I can feel any high spots. | ||||||||||||||||||||||||||||||||||||||||
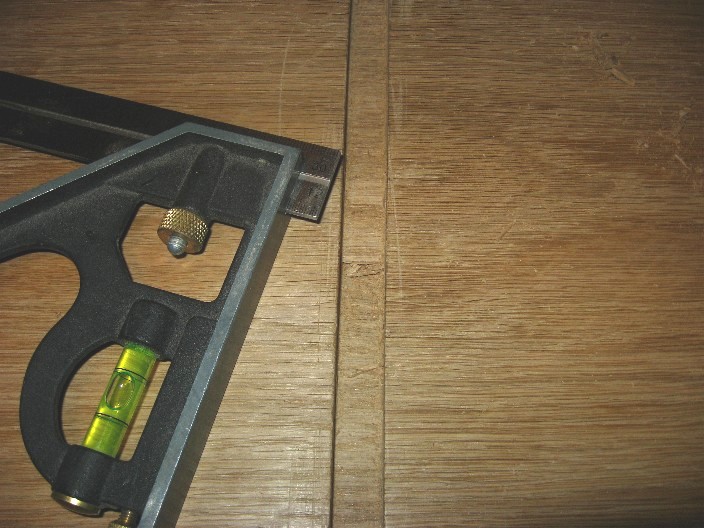
| Ruler set at 3/8 inch. | ||||||||||||||||||||||||||||||||||||||||
| All cut, note they do not align since I have not yet trimmed the sides to same length. The length ended up being 77 inches. | ||||||||||||||||||||||||||||||||||||||||

| Cutout on sides of shelves. 1/2 inch from top and 3/8 inch in from end. | ||||||||||||||||||||||||||||||||||||||||
| This is how shelves fit into sides. | ||||||||||||||||||||||||||||||||||||||||
Front Side Molding | |||||||||||||||||||||||||||||||||||||||||
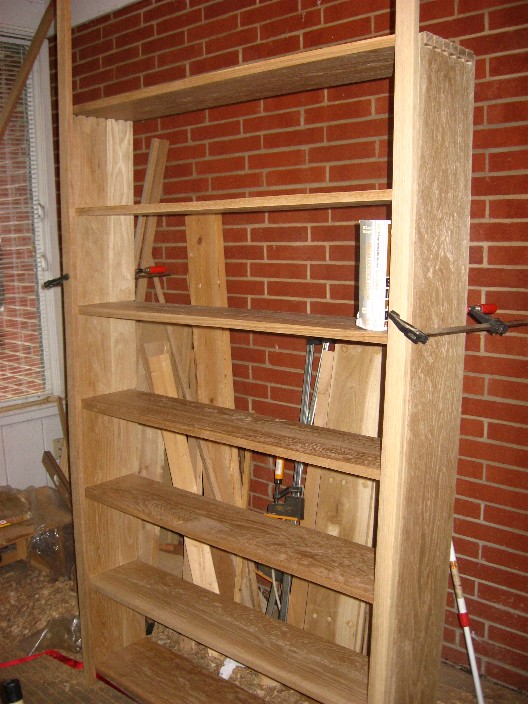
| Test fit of shelves and molding (molding needs to be cut to lenght and rabbit joint needs to be cut to hold it). It is starting to look like a bookshelf finally. Some books on it for looks. | ||||||||||||||||||||||||||||||||||||||||
|
 The side is cut with a rabbit to fit the molding over. | ||||||||||||||||||||||||||||||||||||||||
|
| ||||||||||||||||||||||||||||||||||||||||
|
| ||||||||||||||||||||||||||||||||||||||||
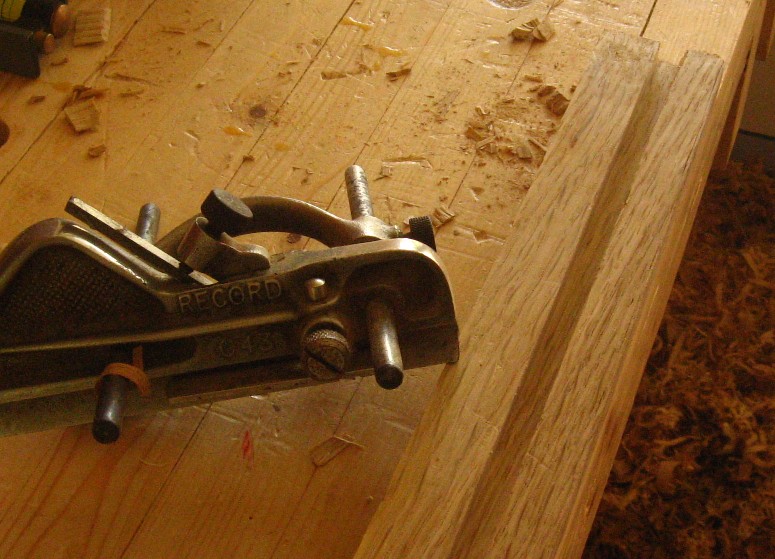
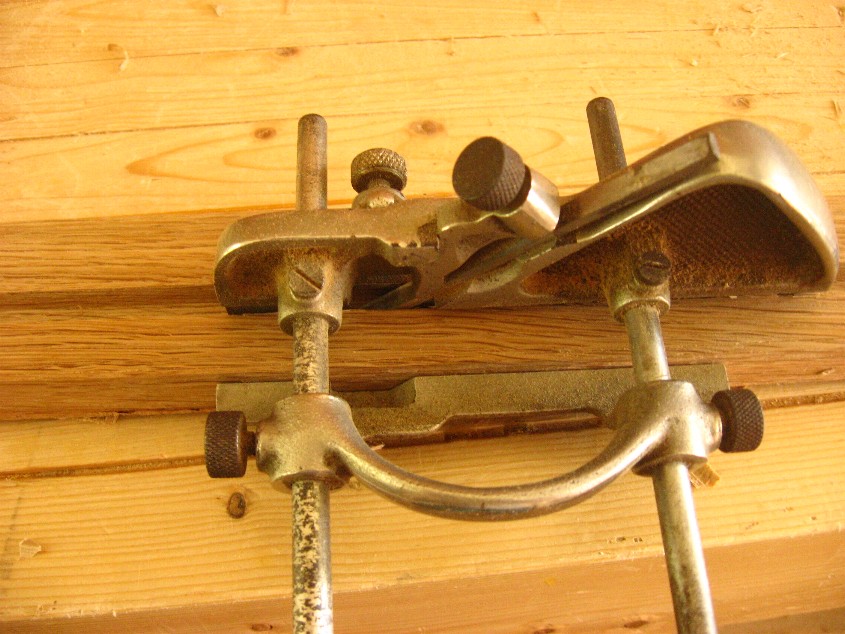
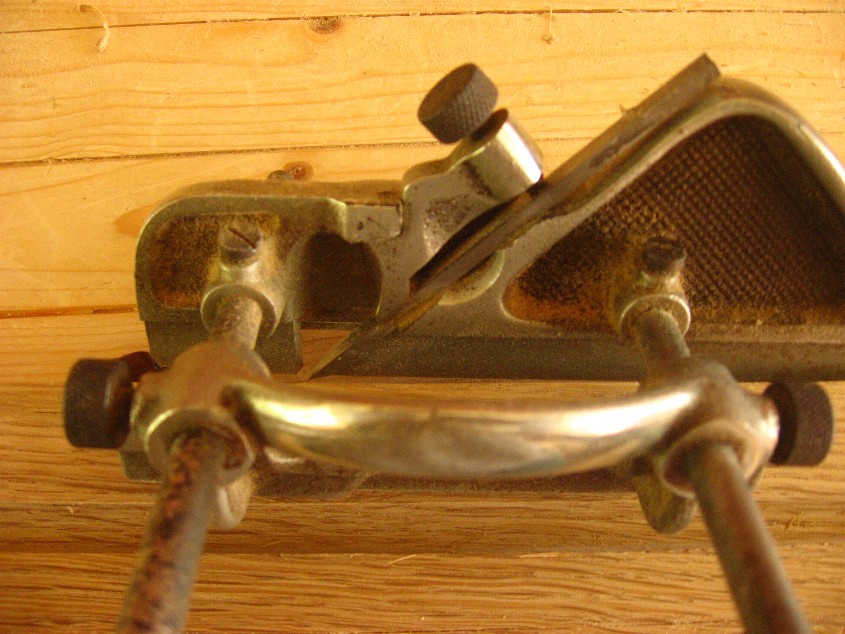
| My new (old) Record No 043 plough plane that I found. This really saved me alot of time with cutting channels. | |||||||||||||||||||||||||||||||||||||||||
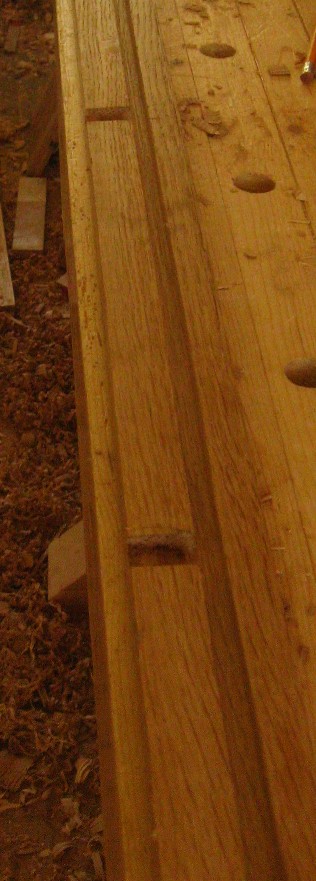
| After the channels were cut, cutouts where made to accept the shelves. | ||||||||||||||||||||||||||||||||||||||||
| Close up of how shelves fit into front molding. | ||||||||||||||||||||||||||||||||||||||||