
Wood Working Work Bench
Page 3 Mounting vises.
 | ||
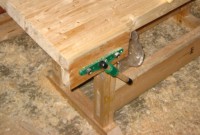
The next step was to attach the vises. I used the same type vise for the front and the end vise. I cut a piece of 1x8 and trimmed it to size and then bolted it to the end of the bench. This is to prevent end grain from interfering with the vise. Also if the end gets messed up I can easily replace it. The side vise is much simpler. | ||
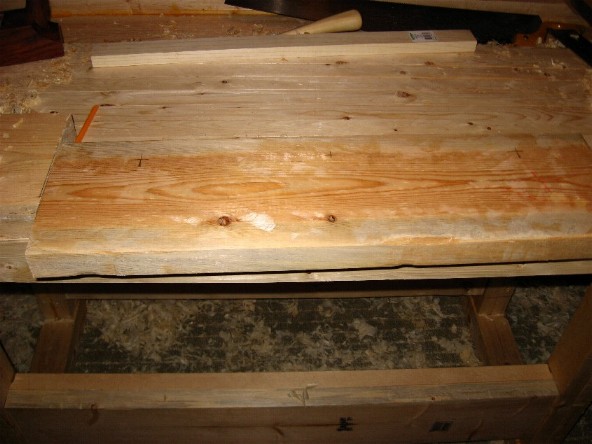
| The end piece was cut to size. | |
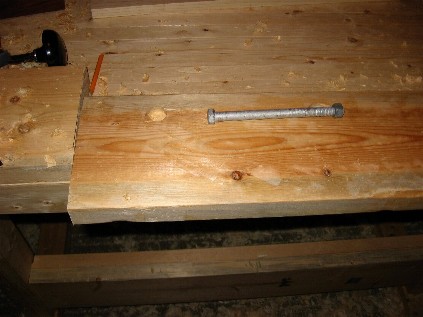
| Then three holes were drilled in it for the 3-inch carriage bolts. | |
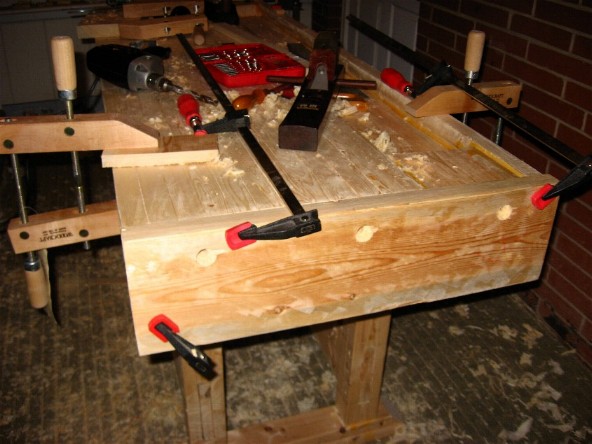
| I had to use an interesting arrangement of clamps to hold the end piece in place while I marked out the holes in the bench itself. | |
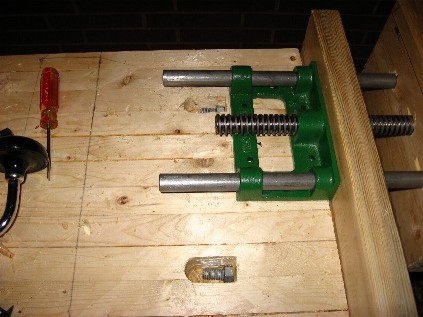
| Next I drilled holes for the rods and screw of the vise to pass through. | |
| I cut holes also to attach the bolts to hold the end cap on. | |

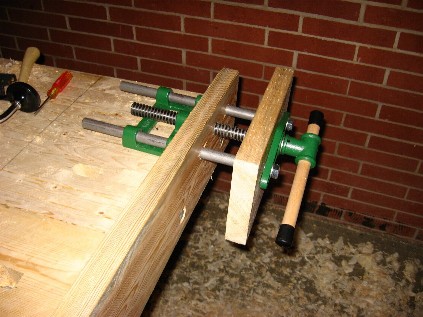
| Fitting the sleeve into the vise. | |
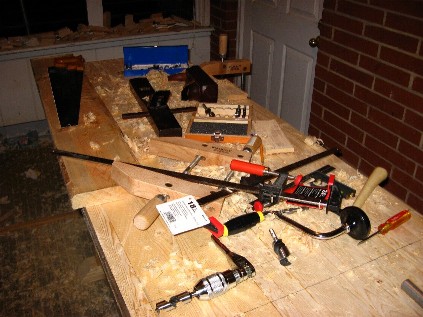
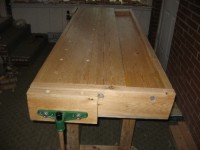
| Even not finished it seems to get filled with tools. | |
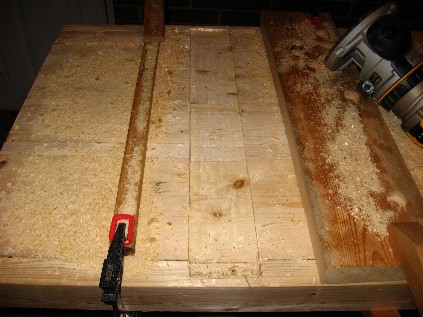
| I flipped the bench over and routed some 1/4 inch deep tracks to slip the legs into. I felt this would offer a bit more stability then just setting it on. In the end I chose to glue the top down. I set up guides so that I could route a straight channel. | |
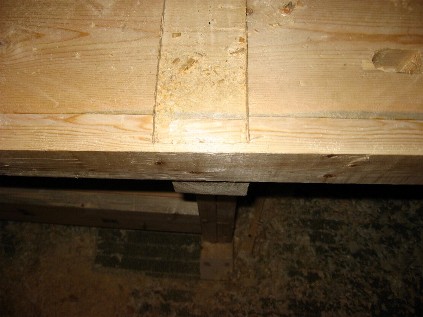
| Finished channel. | |
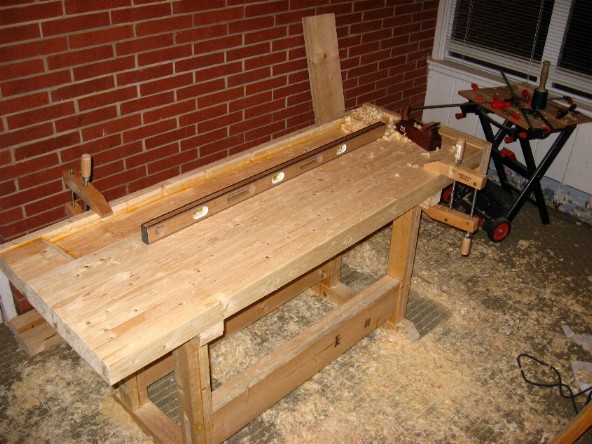
| Making sure things are level. | |
| Here is the piece that I attached to provide a flat place to clamp to for the side vise. | |

| The other side. | |

| Another interesting clamp job so that everything would stay tight and straight. | |

| Finished end vise. | |
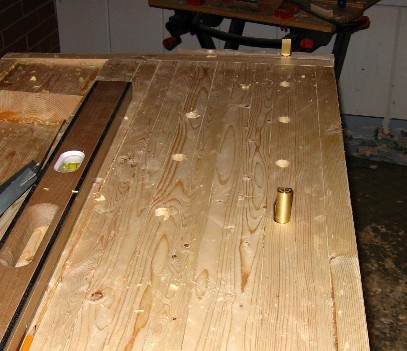
| Next I drilled holes for bench dogs. I purchased my bench dogs rather then make them. Hence the round holes. | |
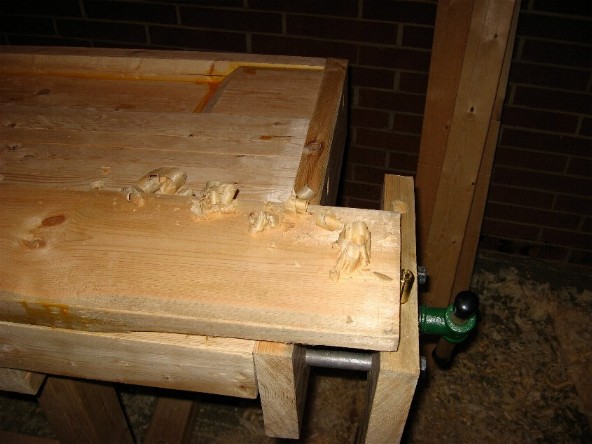
| Quick test planing a board. | |